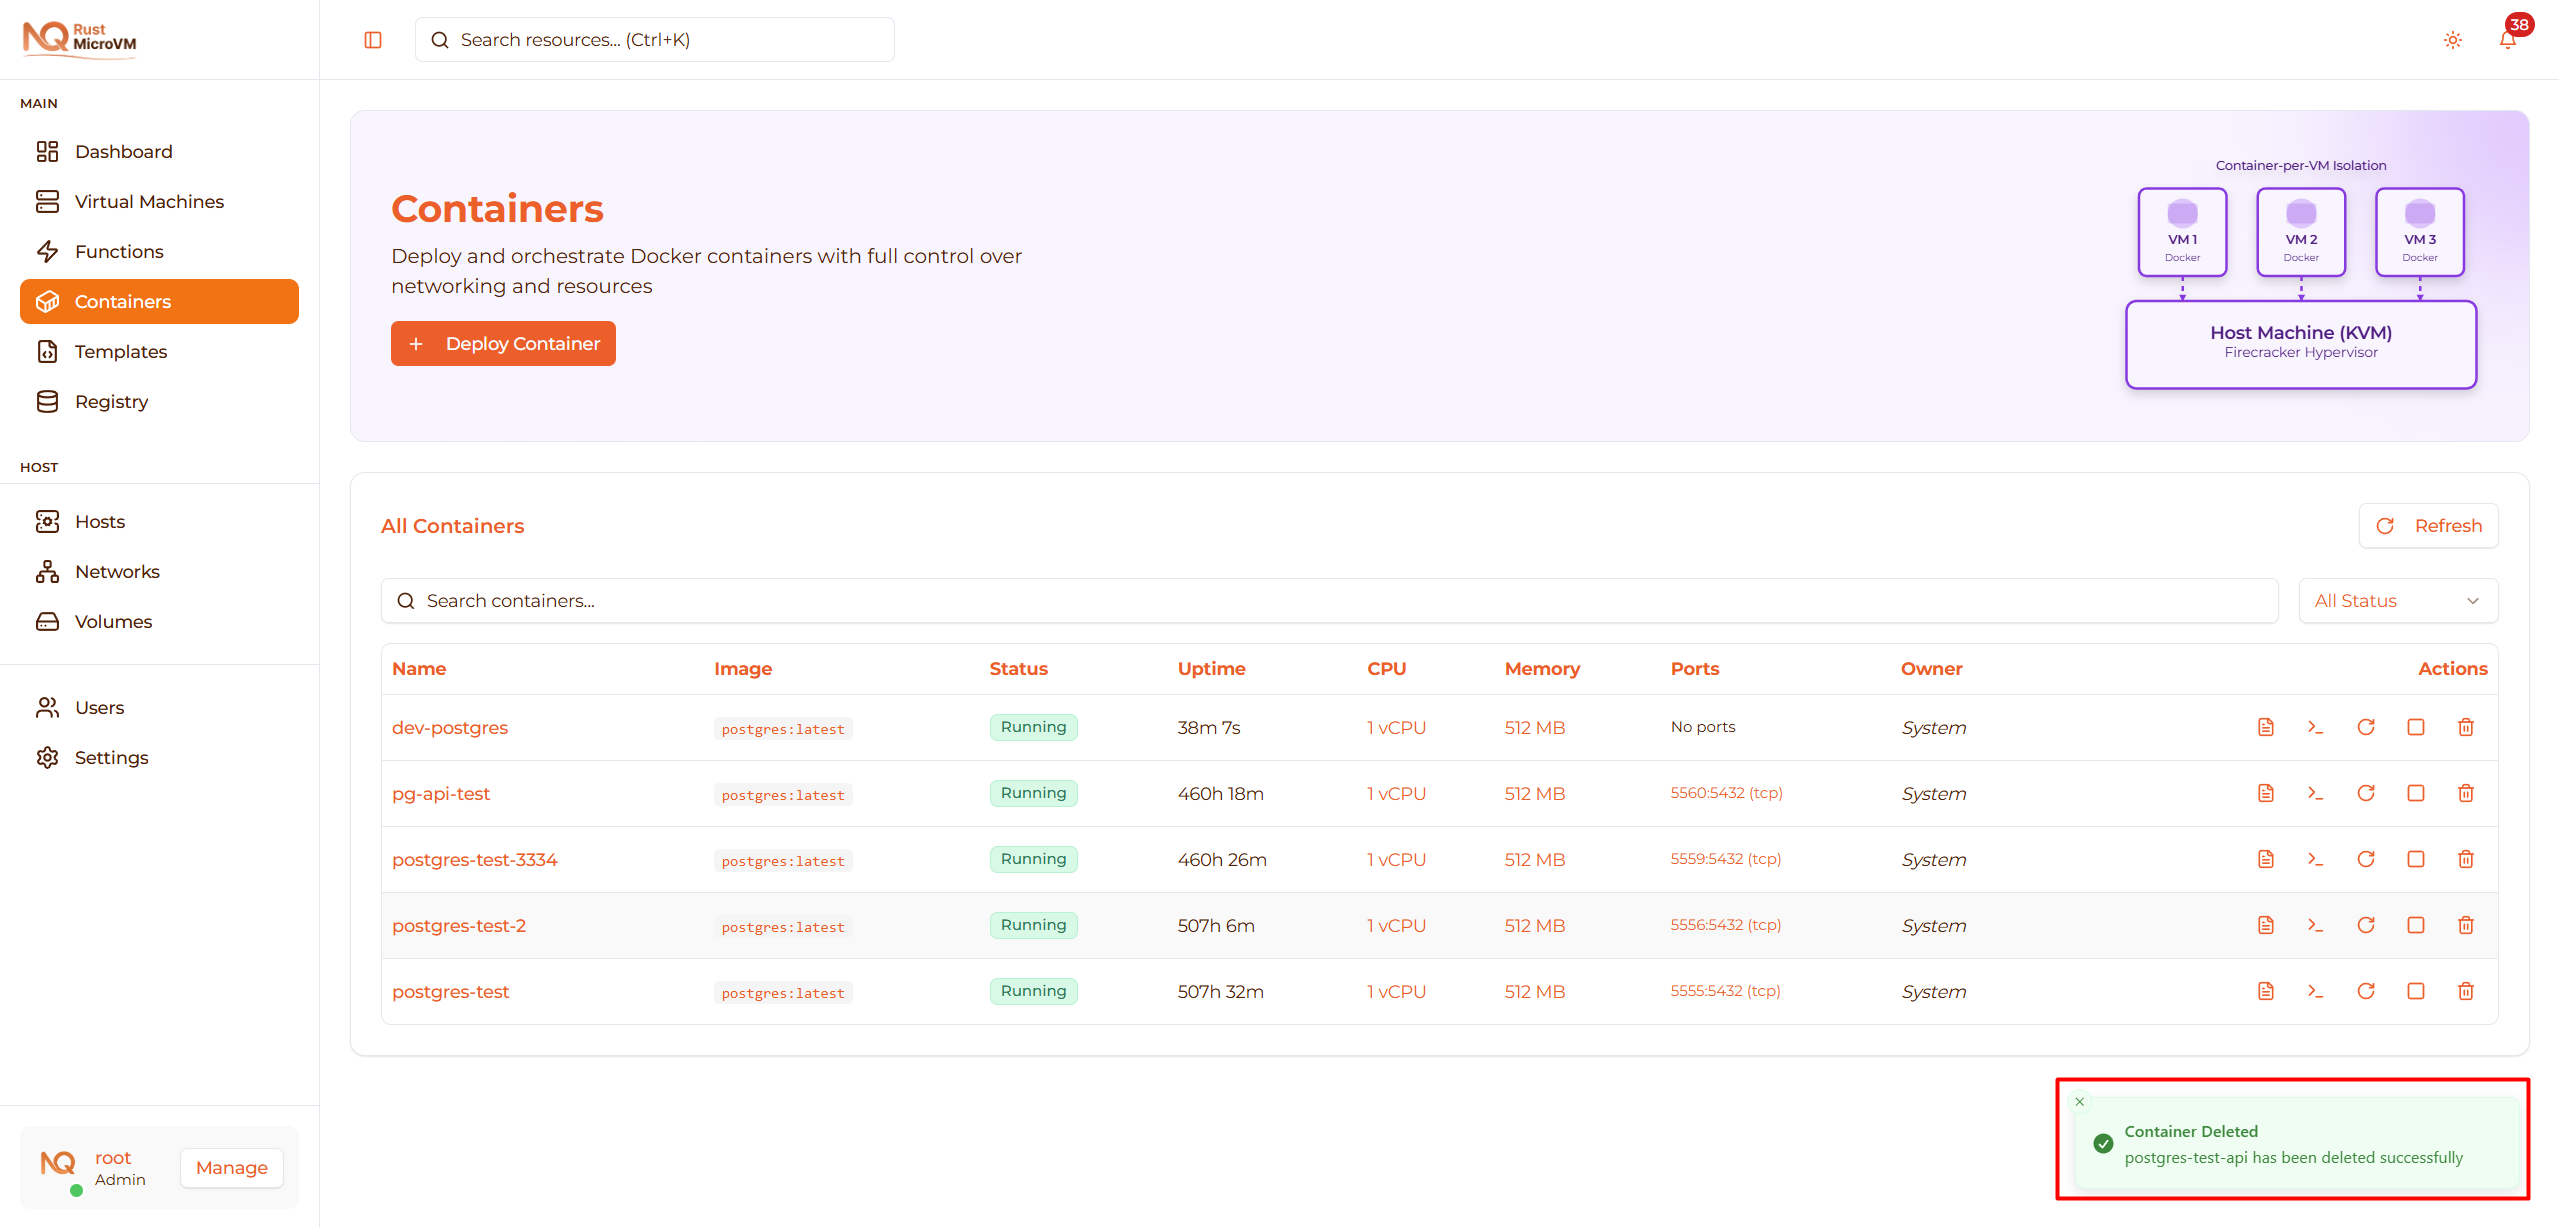
Manage Containers
Learn how to manage your containers throughout their lifecycle - from starting and stopping to monitoring and deletion.
Accessing Containers
From Containers Page
Navigate to the main containers page:
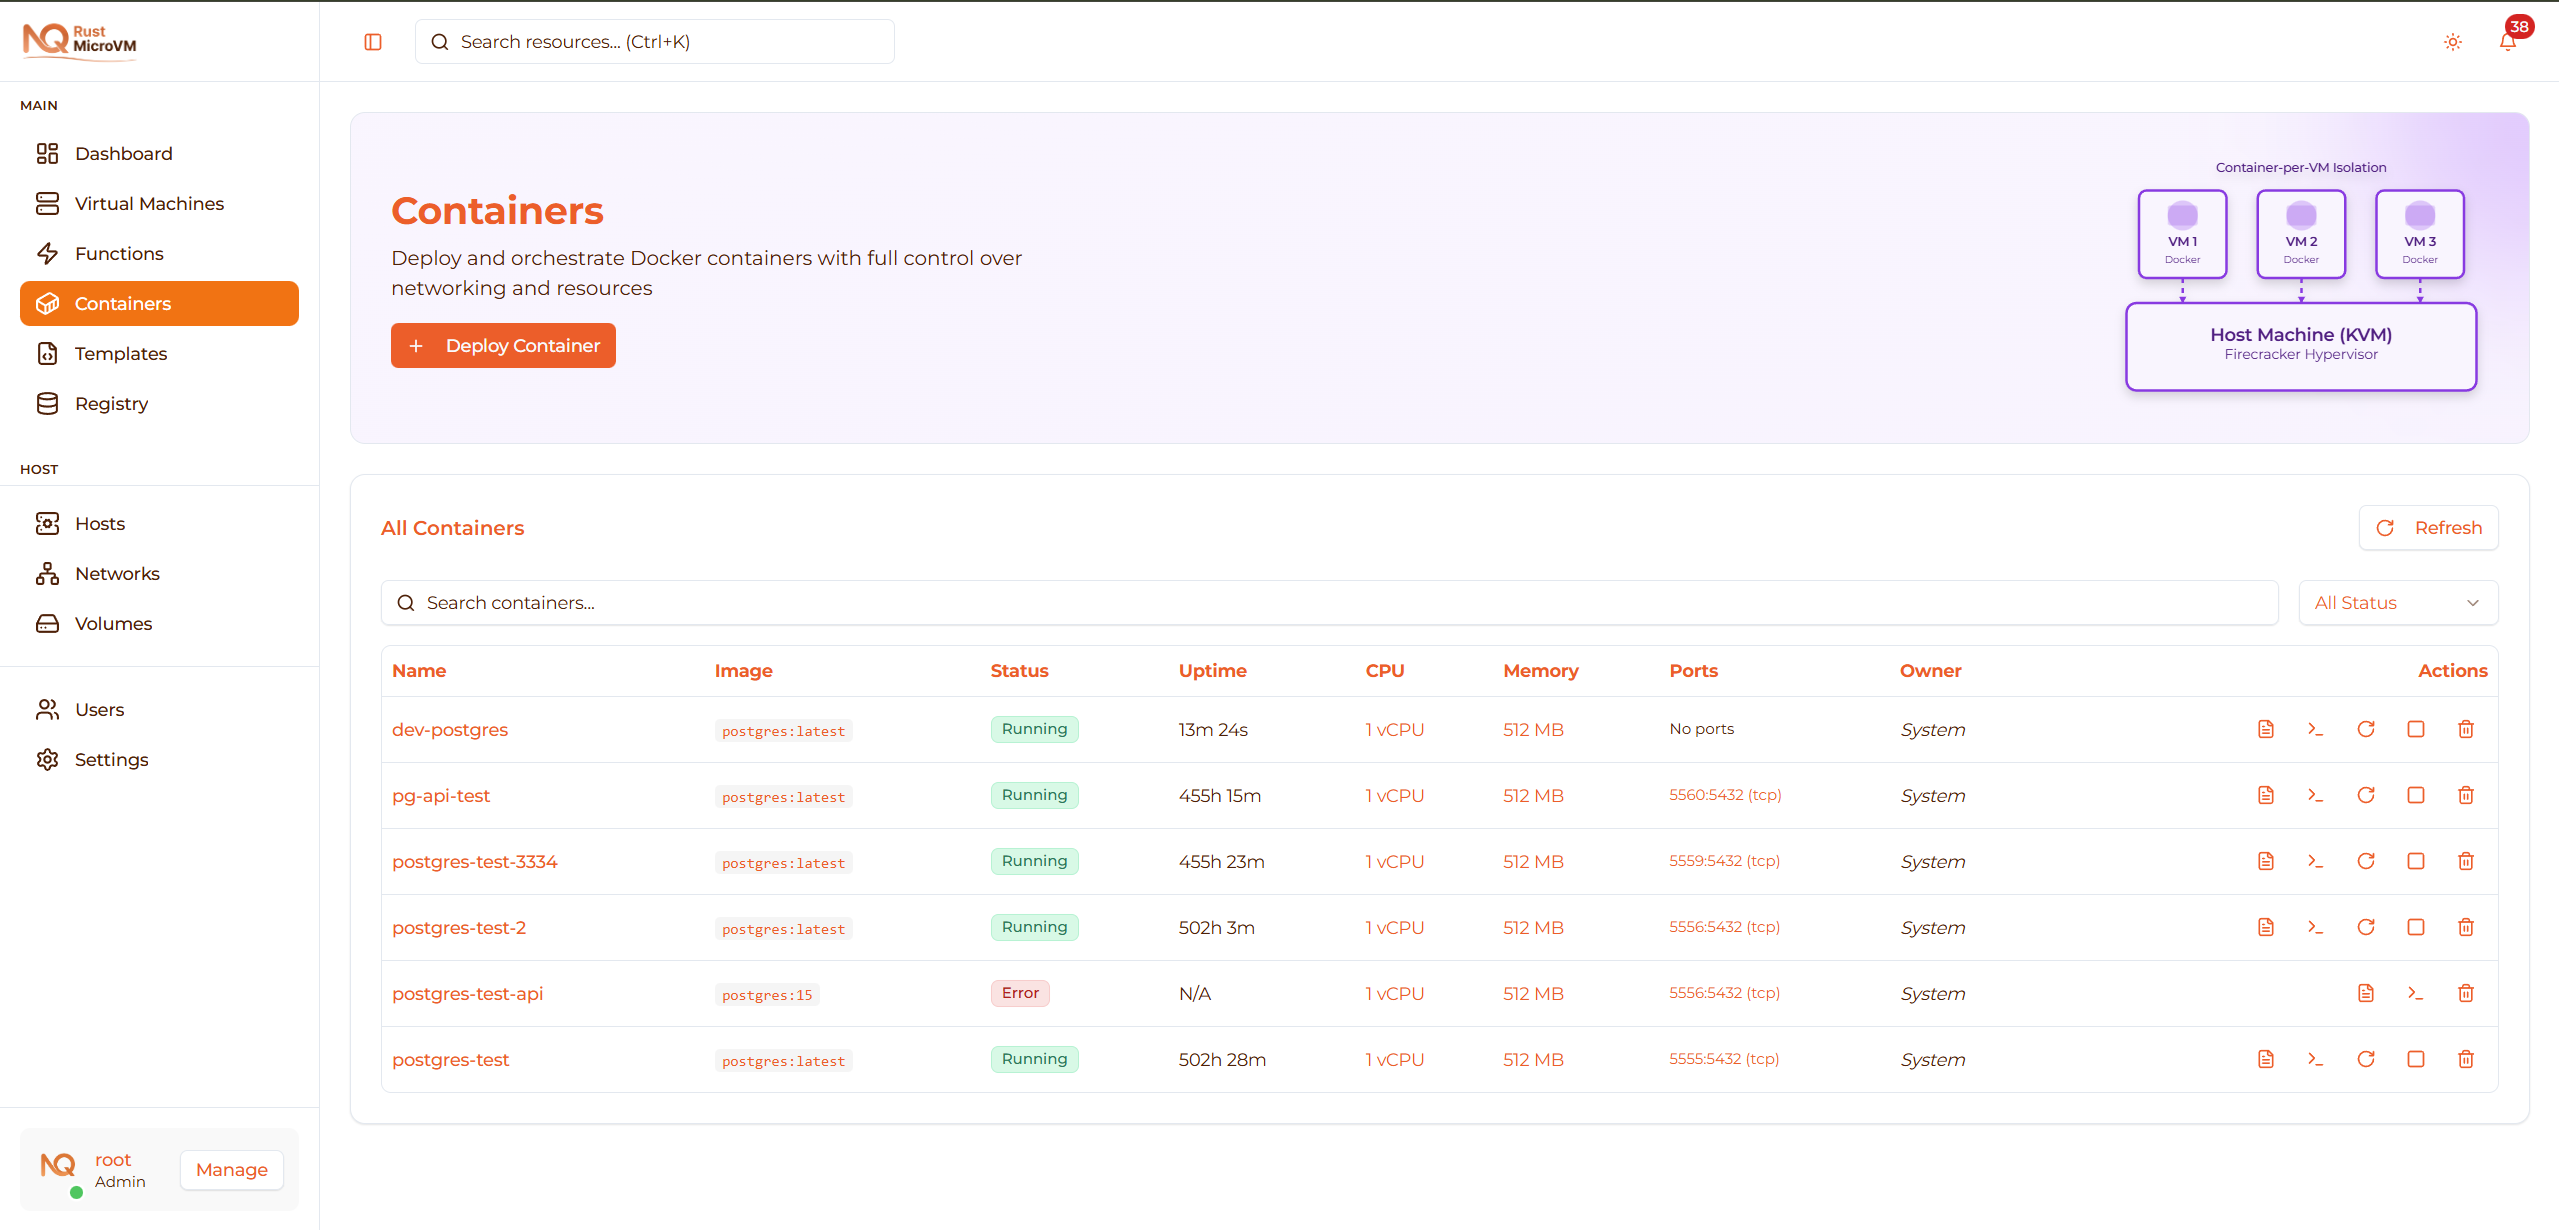
- Click “Containers” in the sidebar
- See all your containers in the table
Container States
Containers can be in different states with color-coded badges:
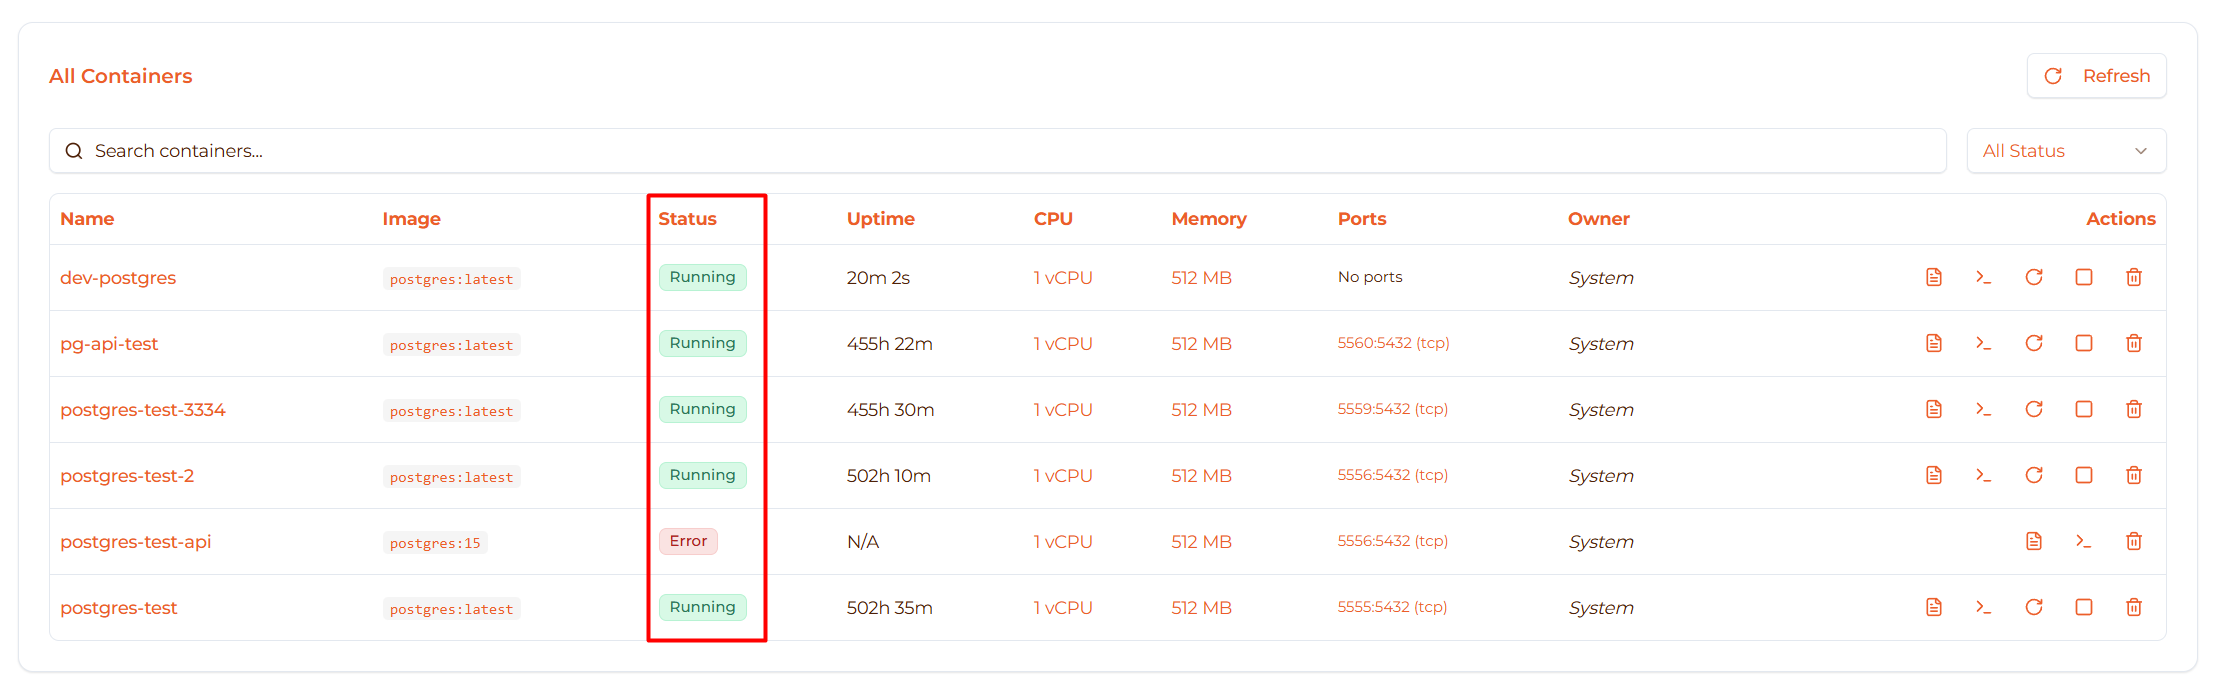
| State | Badge Color | Description | Available Actions |
|---|---|---|---|
| Creating | Yellow | VM being created | Wait |
| Booting | Gray | VM booting up | Wait |
| Initializing | Cyan | Docker daemon starting | Wait |
| Running | Green | Container active | Stop, Restart, Pause, Logs, Shell |
| Stopped | Red | Container stopped | Start, Delete |
| Paused | Amber | Container paused | Resume, Stop |
| Error | Red | Deployment/runtime error | View logs, Delete, Retry |
State transitions:
  Creating → Booting → Initializing → Running
Running → Stopped (via Stop)
Running → Paused (via Pause)
Paused → Running (via Resume)
Any State → Error (if failure occurs)
Filtering and Searching
Search Containers
Use the search box to find specific containers:

Search by:
- Container name (e.g., “nginx”)
- Image name (e.g., “postgres”)
- Partial matches (e.g., “prod” finds all production containers)
Example searches:
  "postgres"  → Finds all PostgreSQL containers
"prod"      → Finds prod-api, prod-db, nginx-prod
"alpine"    → Finds containers using Alpine images
Filter by Status
Filter containers by their current state:
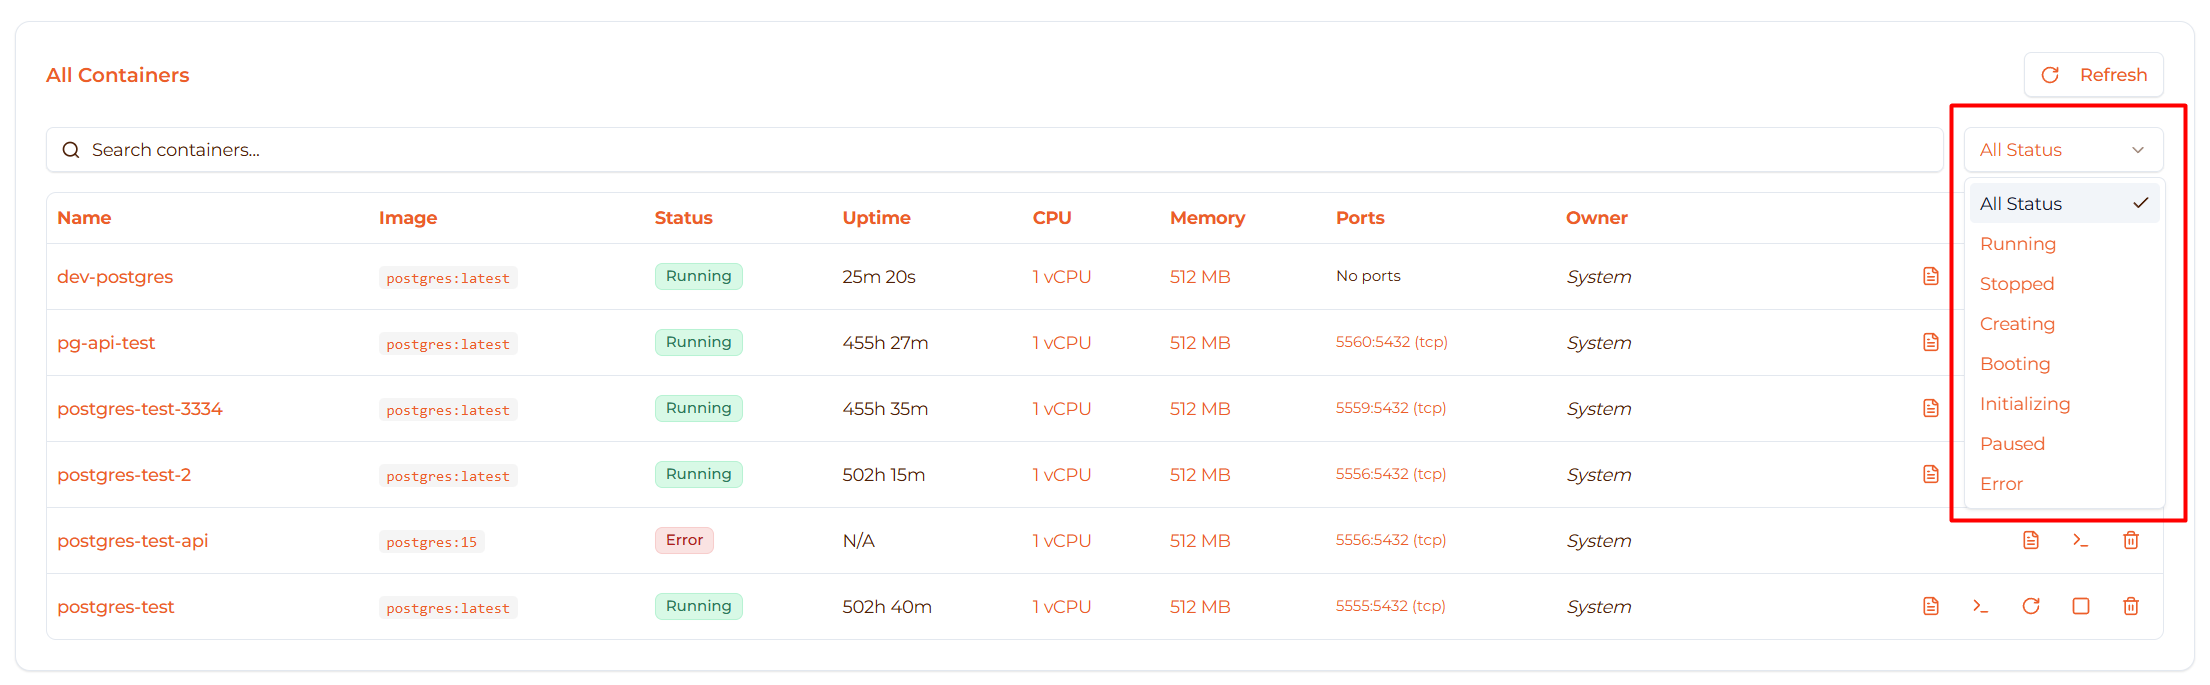
Filter options:
- All Status - Show all containers
- Running - Only running containers
- Stopped - Only stopped containers
- Creating - Containers being created
- Booting - Containers booting
- Initializing - Containers initializing
- Paused - Paused containers
- Error - Containers with errors
Use cases:
- Find all running containers to check resource usage
- Find stopped containers to clean up
- Find error containers to troubleshoot
Container Table
The container table shows detailed information:
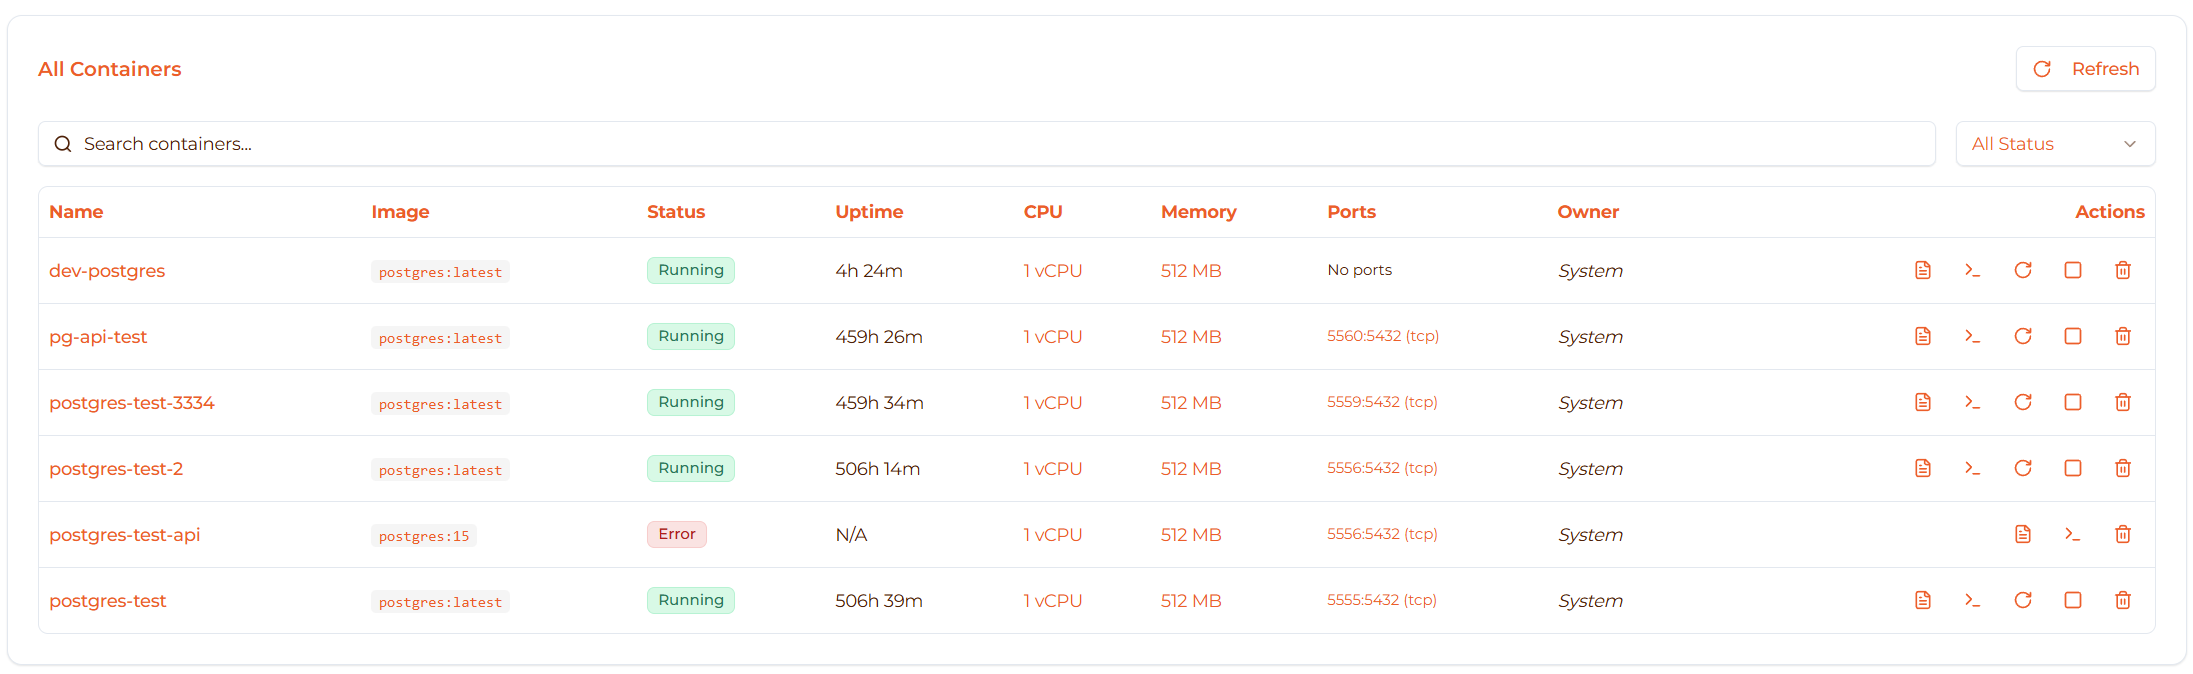
Table Columns
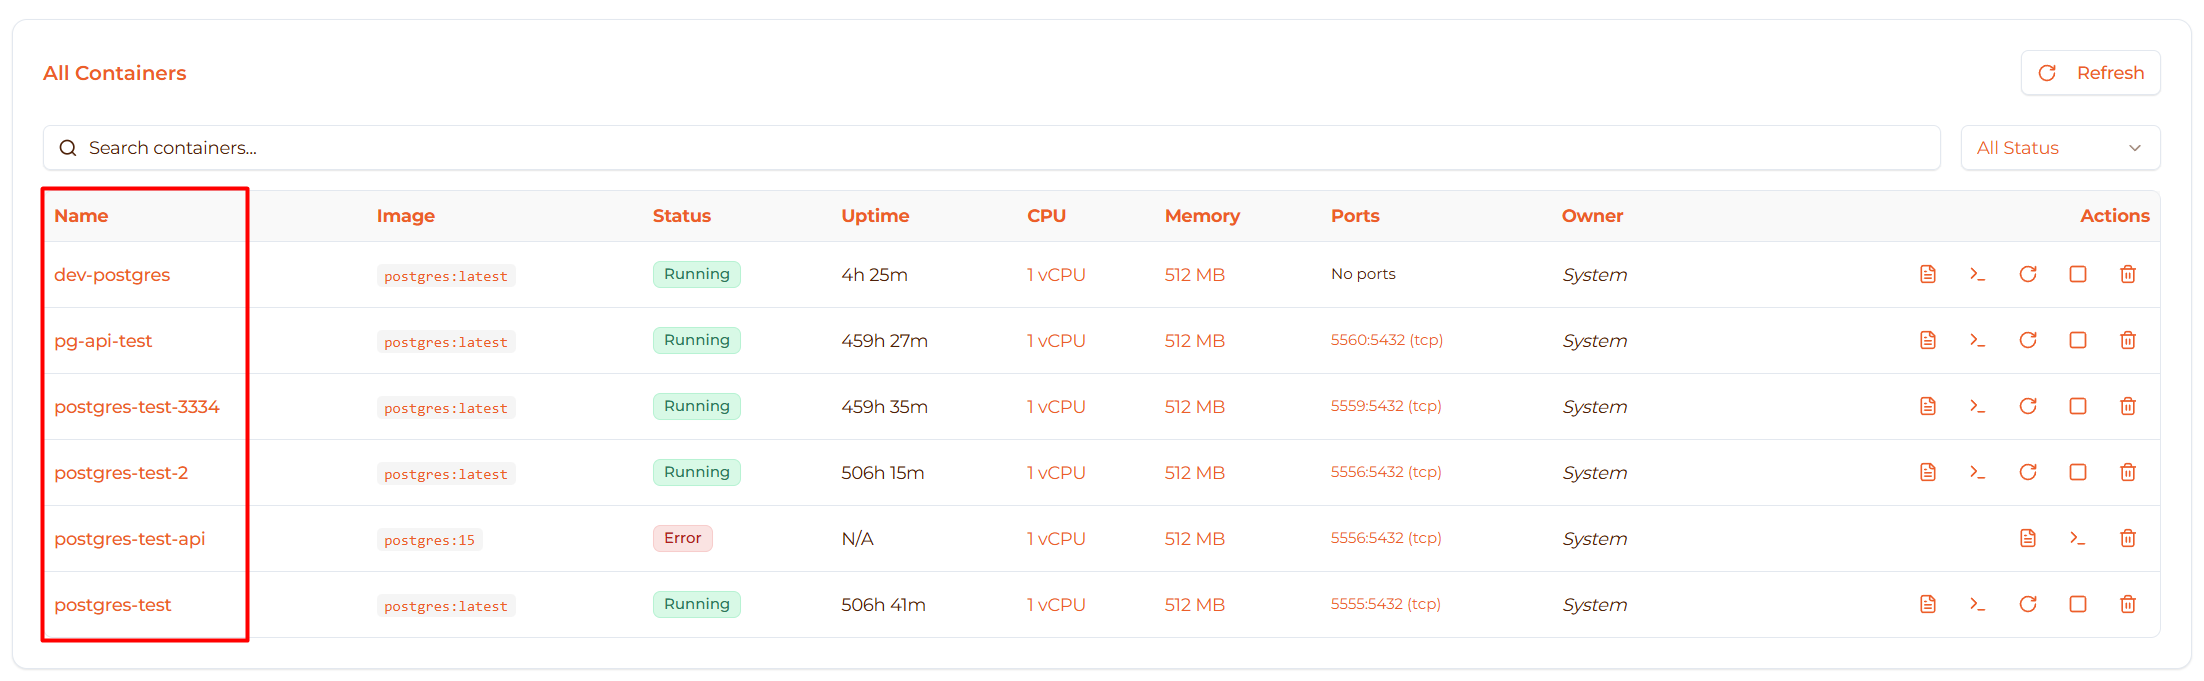
1. Name
- Container name (clickable link)
- Click to open container detail page
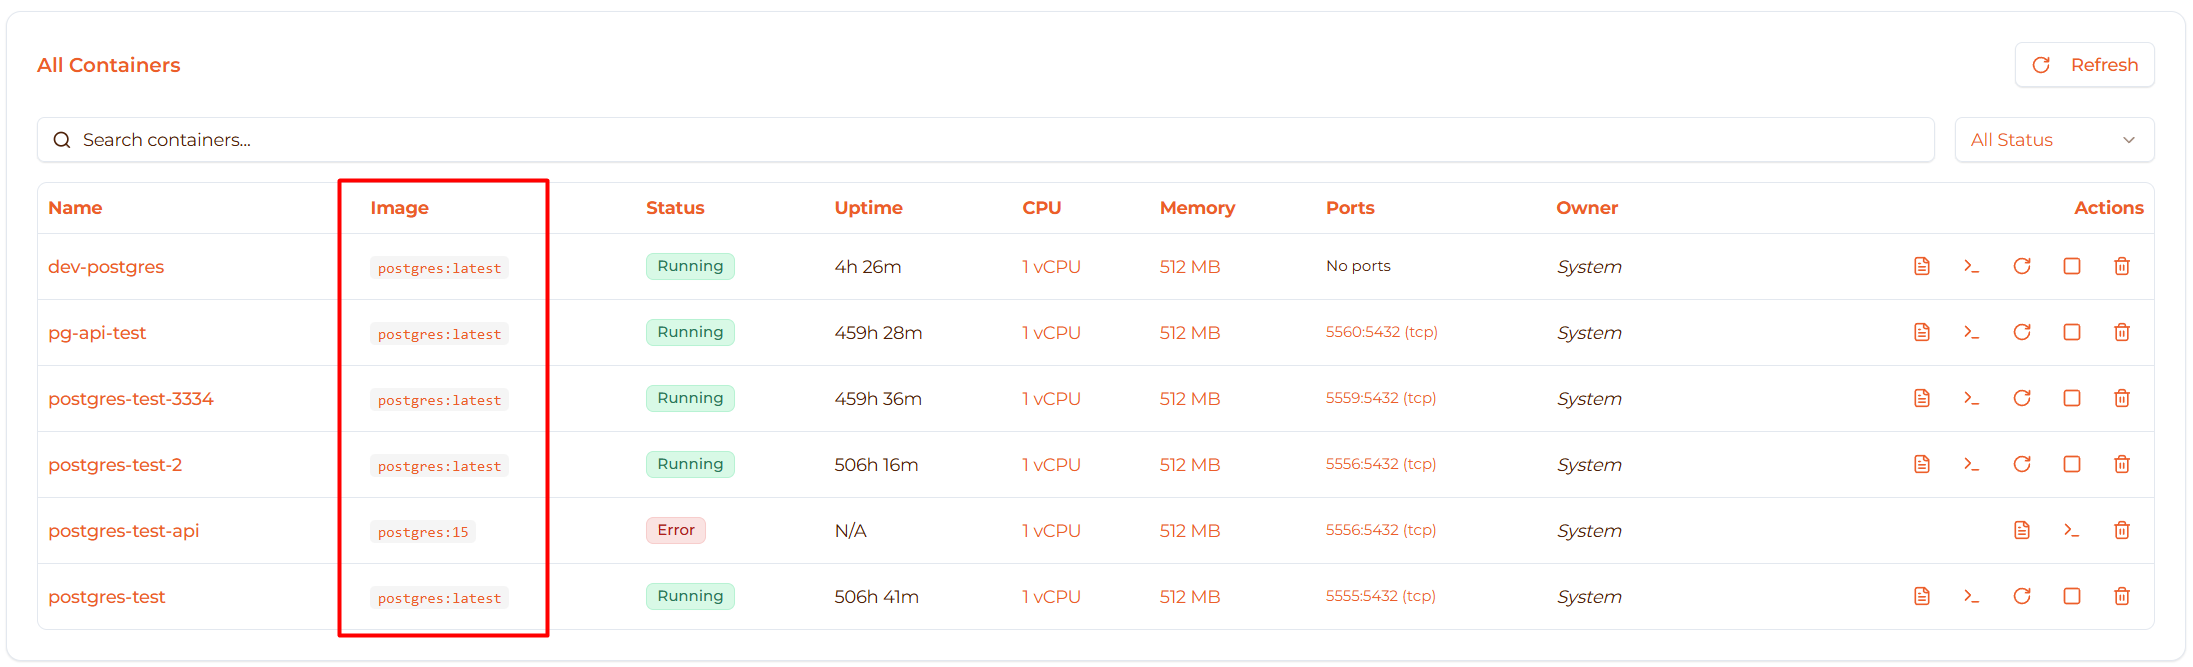
2. Image
- Docker image and tag
- Displayed in monospace font
- Examples:
nginx:alpine,postgres:15
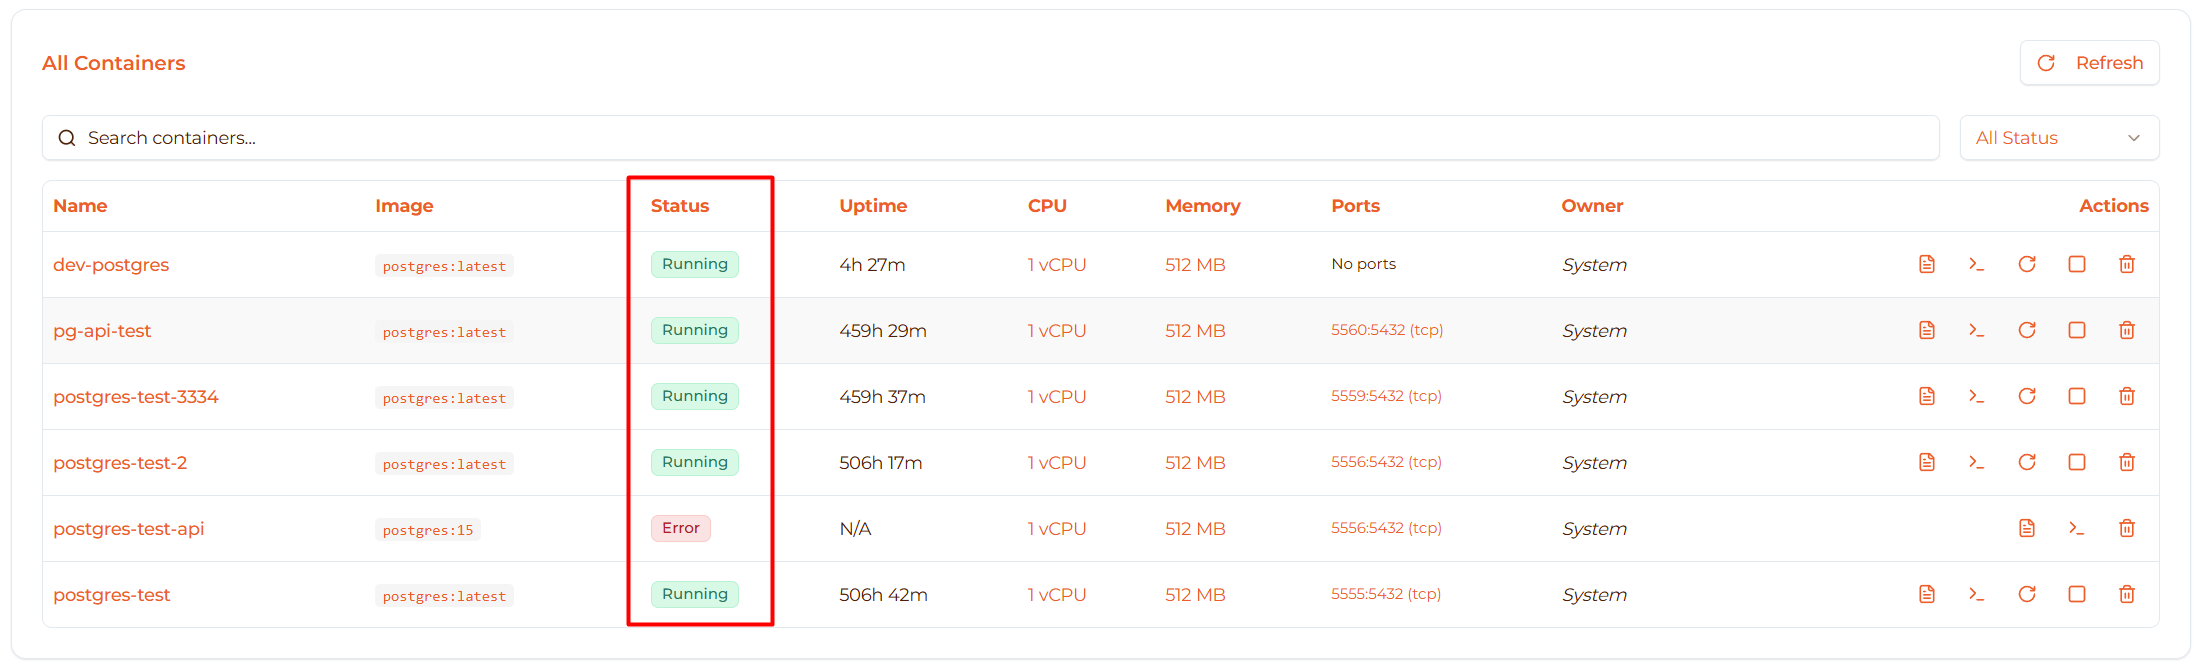
3. Status
- Current state with colored badge
- Colors: Green (Running), Red (Stopped/Error), Yellow (Creating), Gray (Booting), Cyan (Initializing), Amber (Paused)
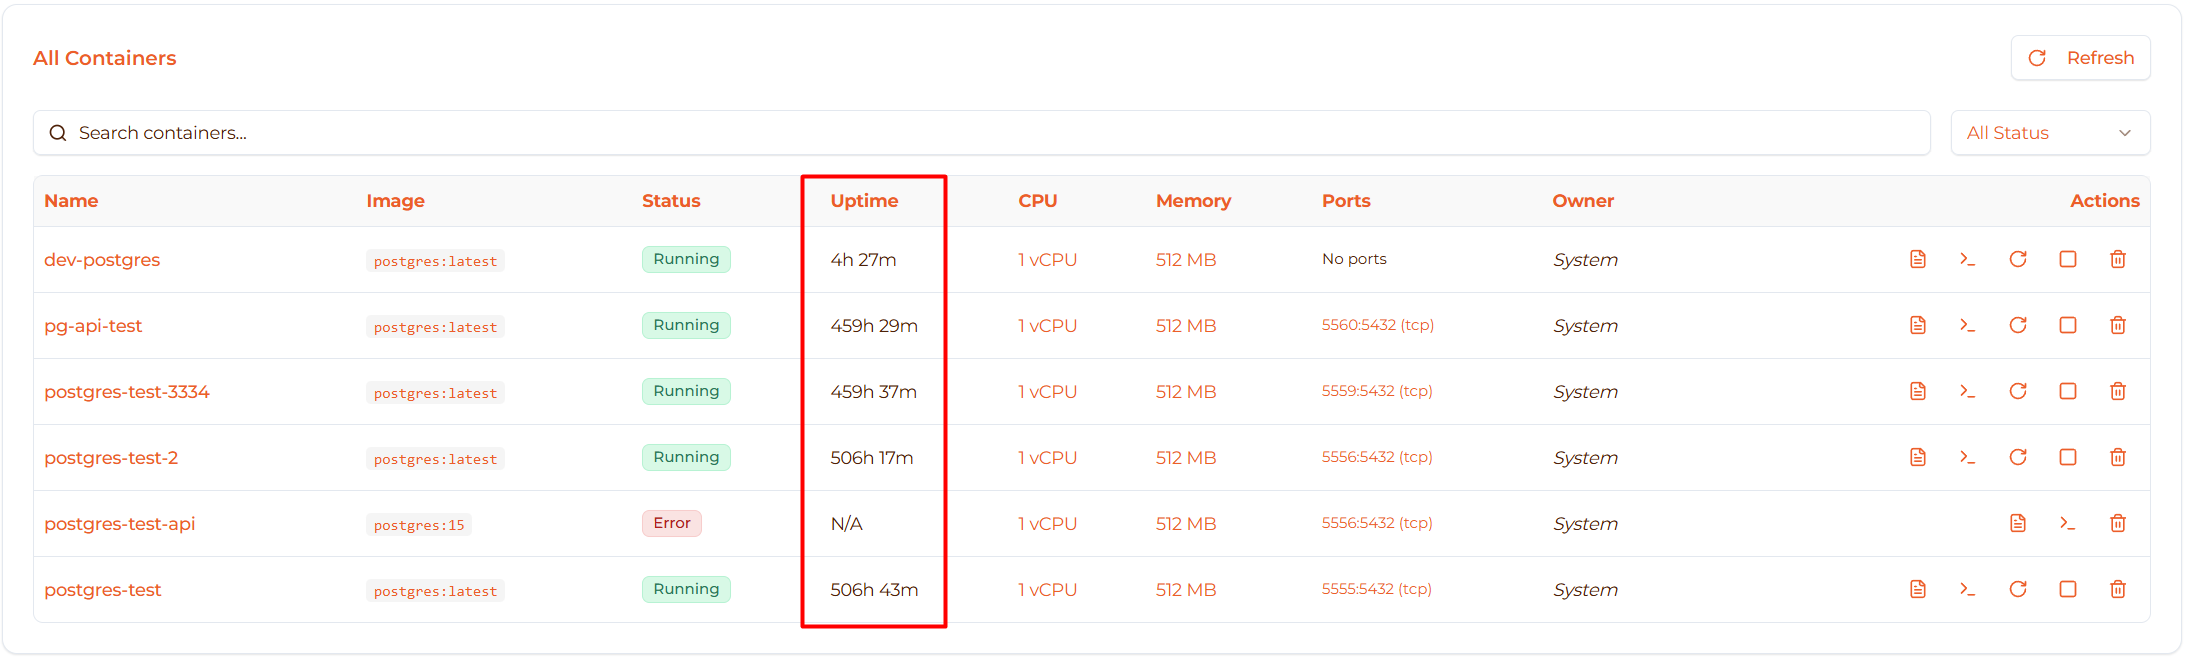
4. Uptime
- How long container has been running
- Format: “2h 30m”, “5d 12h”, “Never” (if never started)
- Only shown for running containers
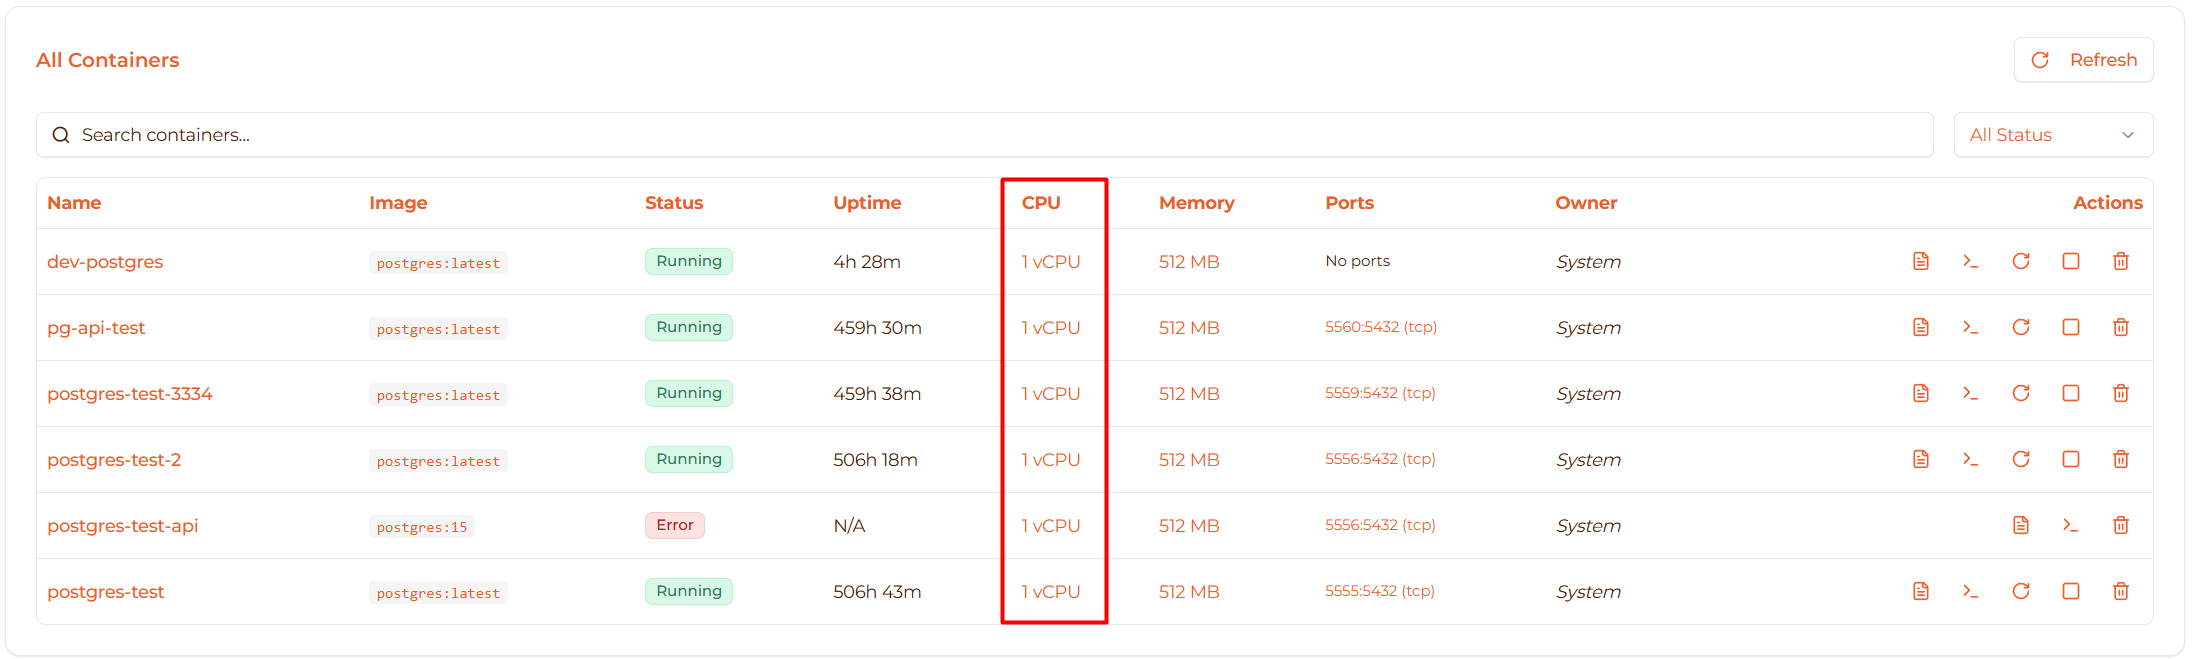
5. CPU
- vCPU allocation
- Examples: “0.5 vCPU”, “2 vCPU”, “4 vCPU”
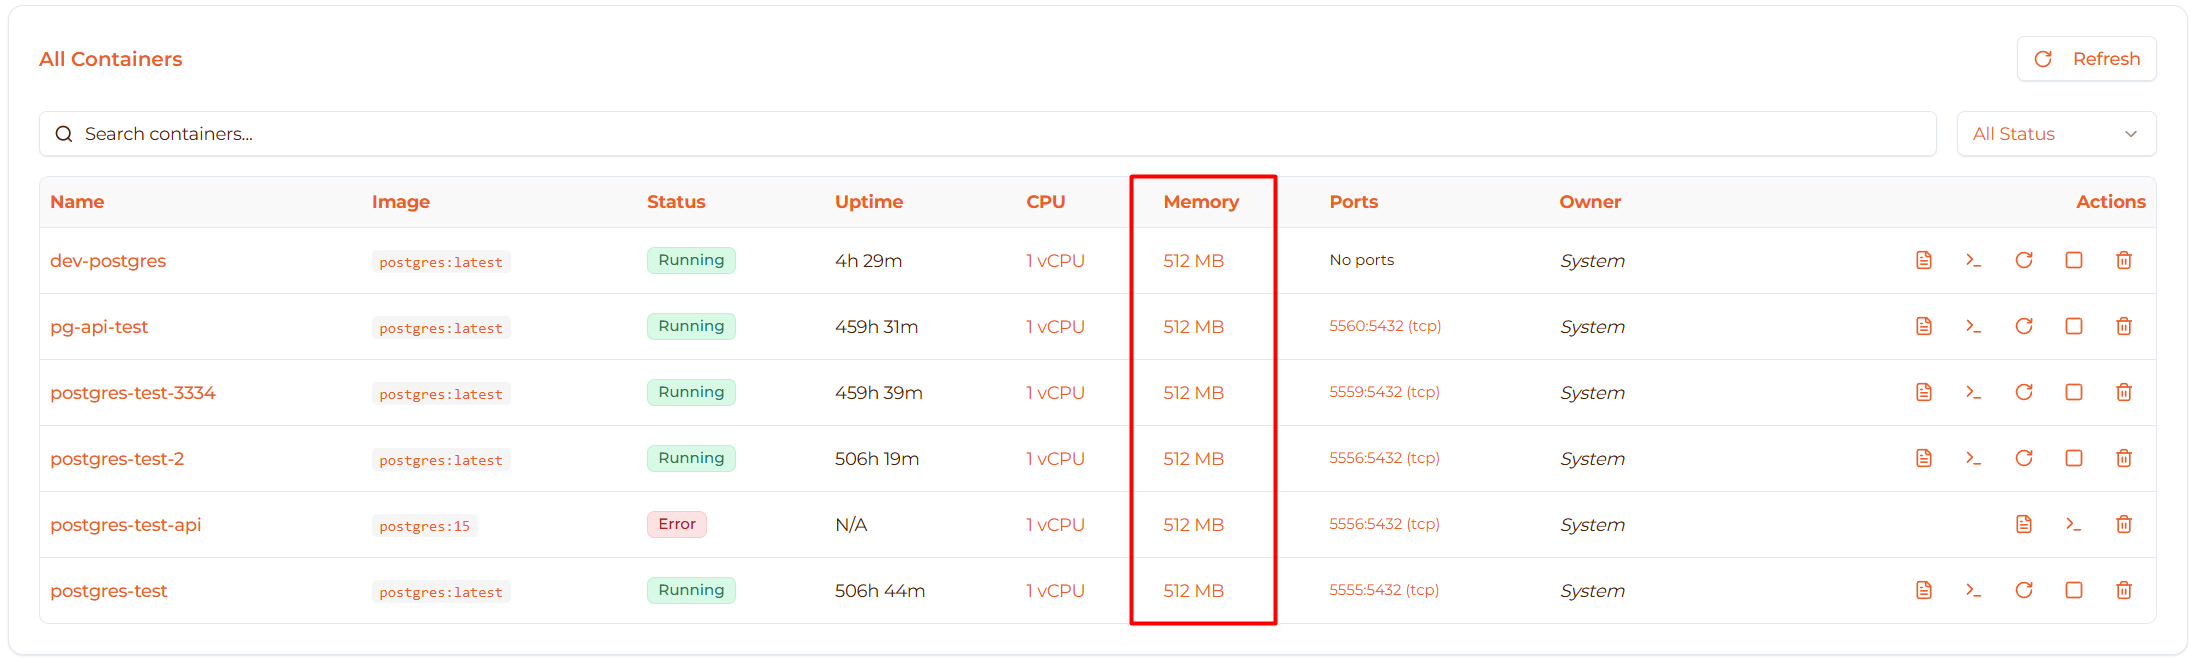
6. Memory
- Memory allocation in MB
- Examples: “512 MB”, “2048 MB”, “4096 MB”
7. Ports
- Port mappings (Host:Container)
- Shows protocol (TCP/UDP)
- Multiple rows if multiple ports
- “No ports” if no mappings
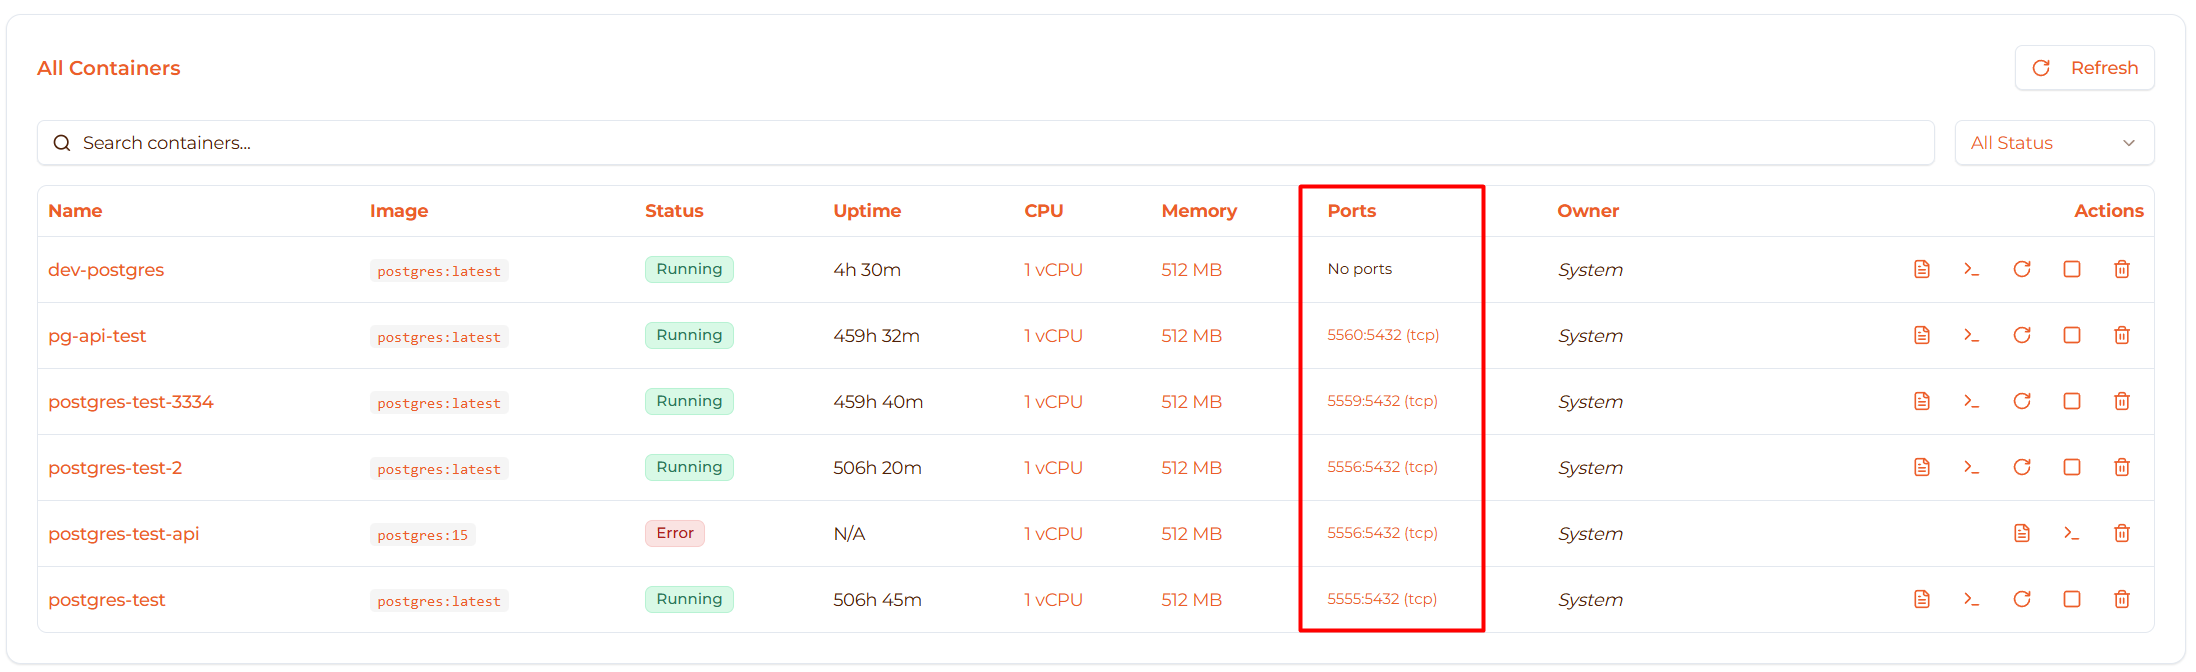
Example port displays:
  8080:80 (TCP)
5432:5432 (TCP)

Multiple ports:
  8080:80 (TCP)
  8443:443 (TCP)
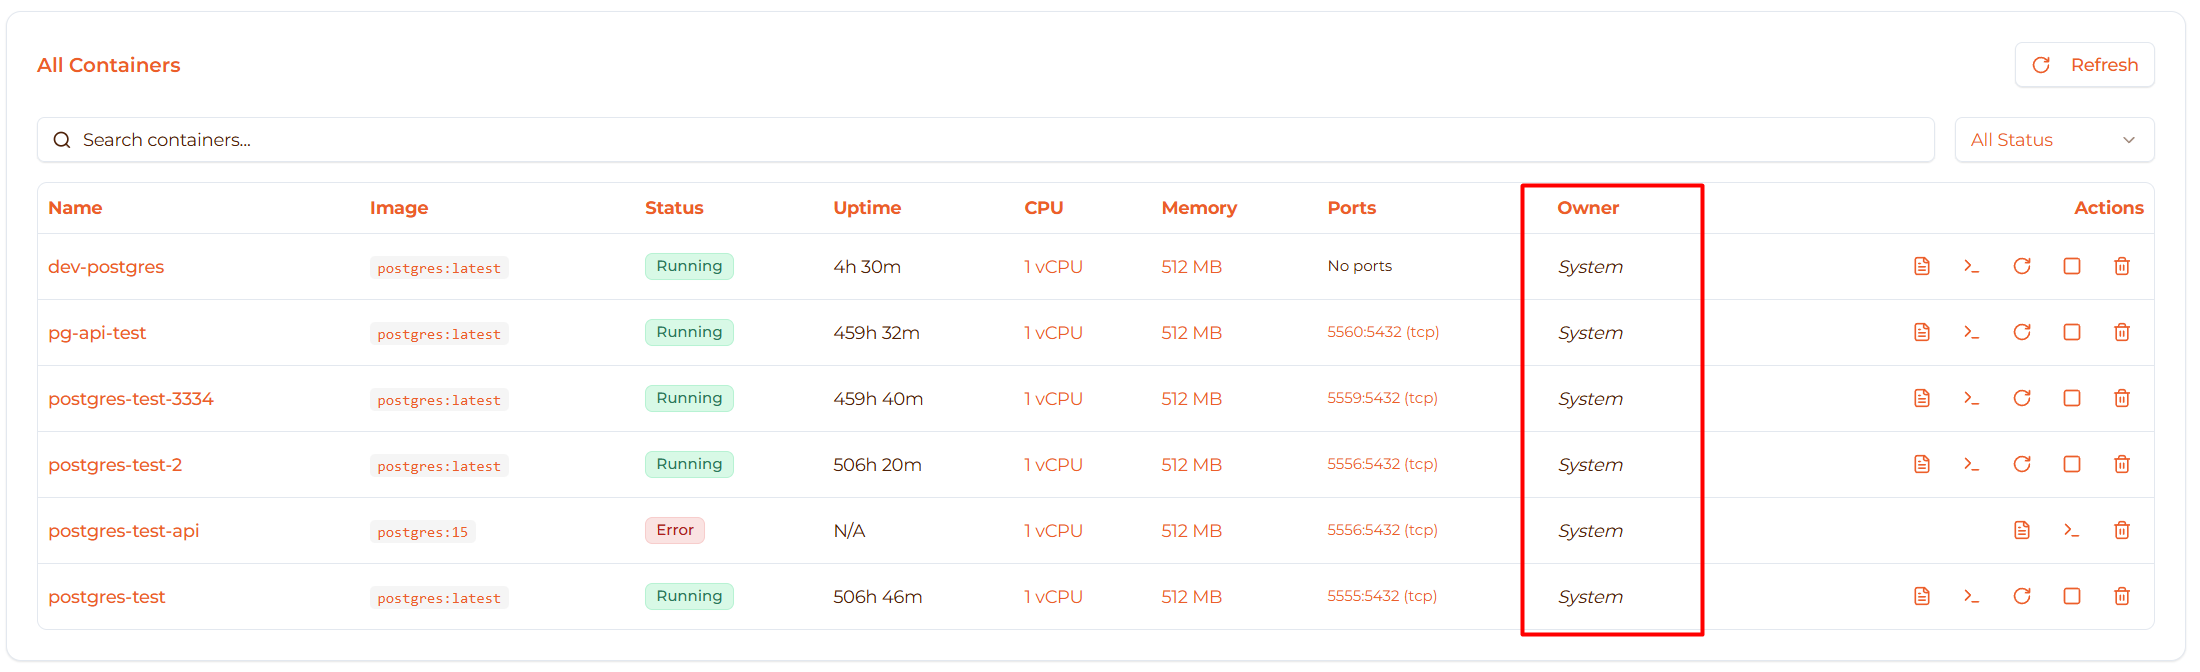
8. Owner
- Who created the container
- Shows: “You” (your containers), “Other User”, or “System”
9. Actions
- Action buttons for container operations
- See “Container Actions” section below
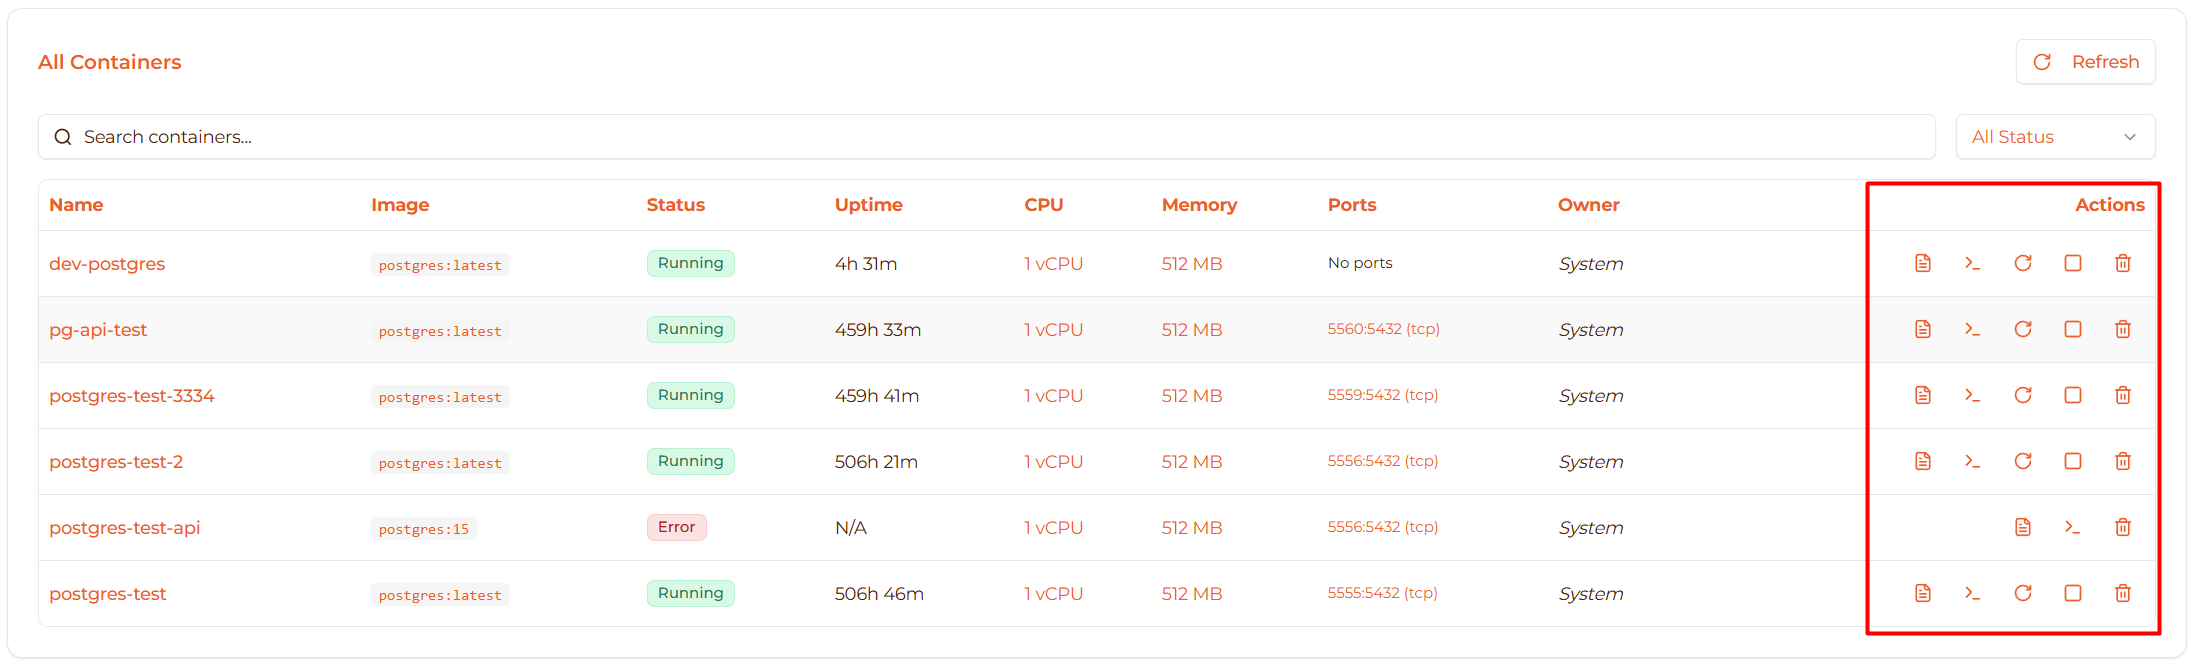
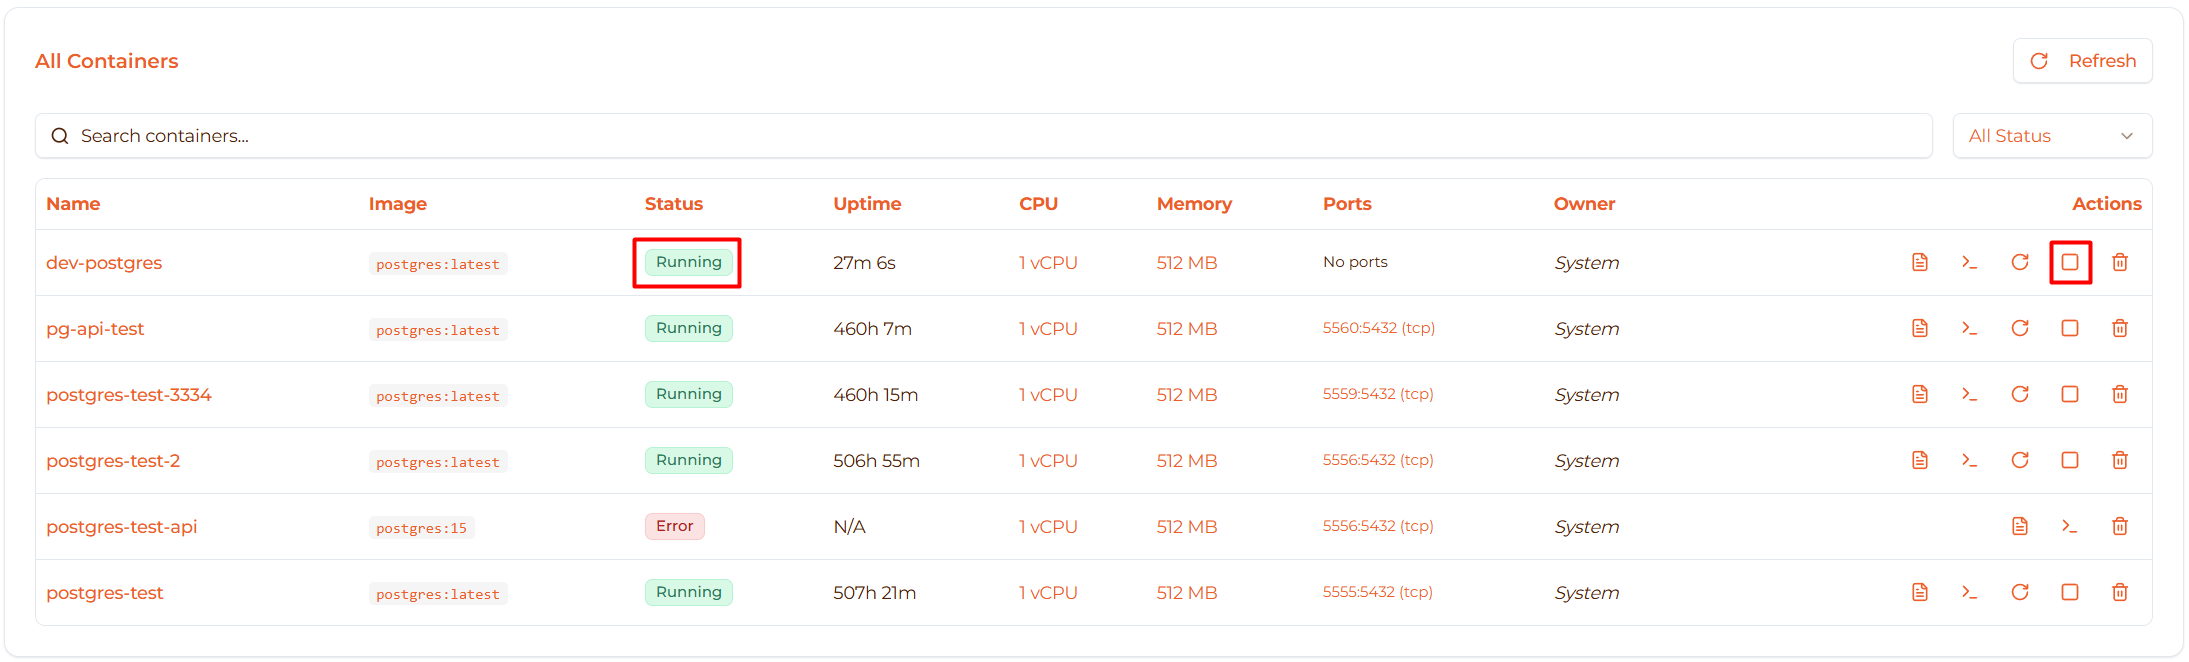
Container Actions
Actions available in the table and detail page:
View Logs
Click the Logs icon (📄) to view container logs:
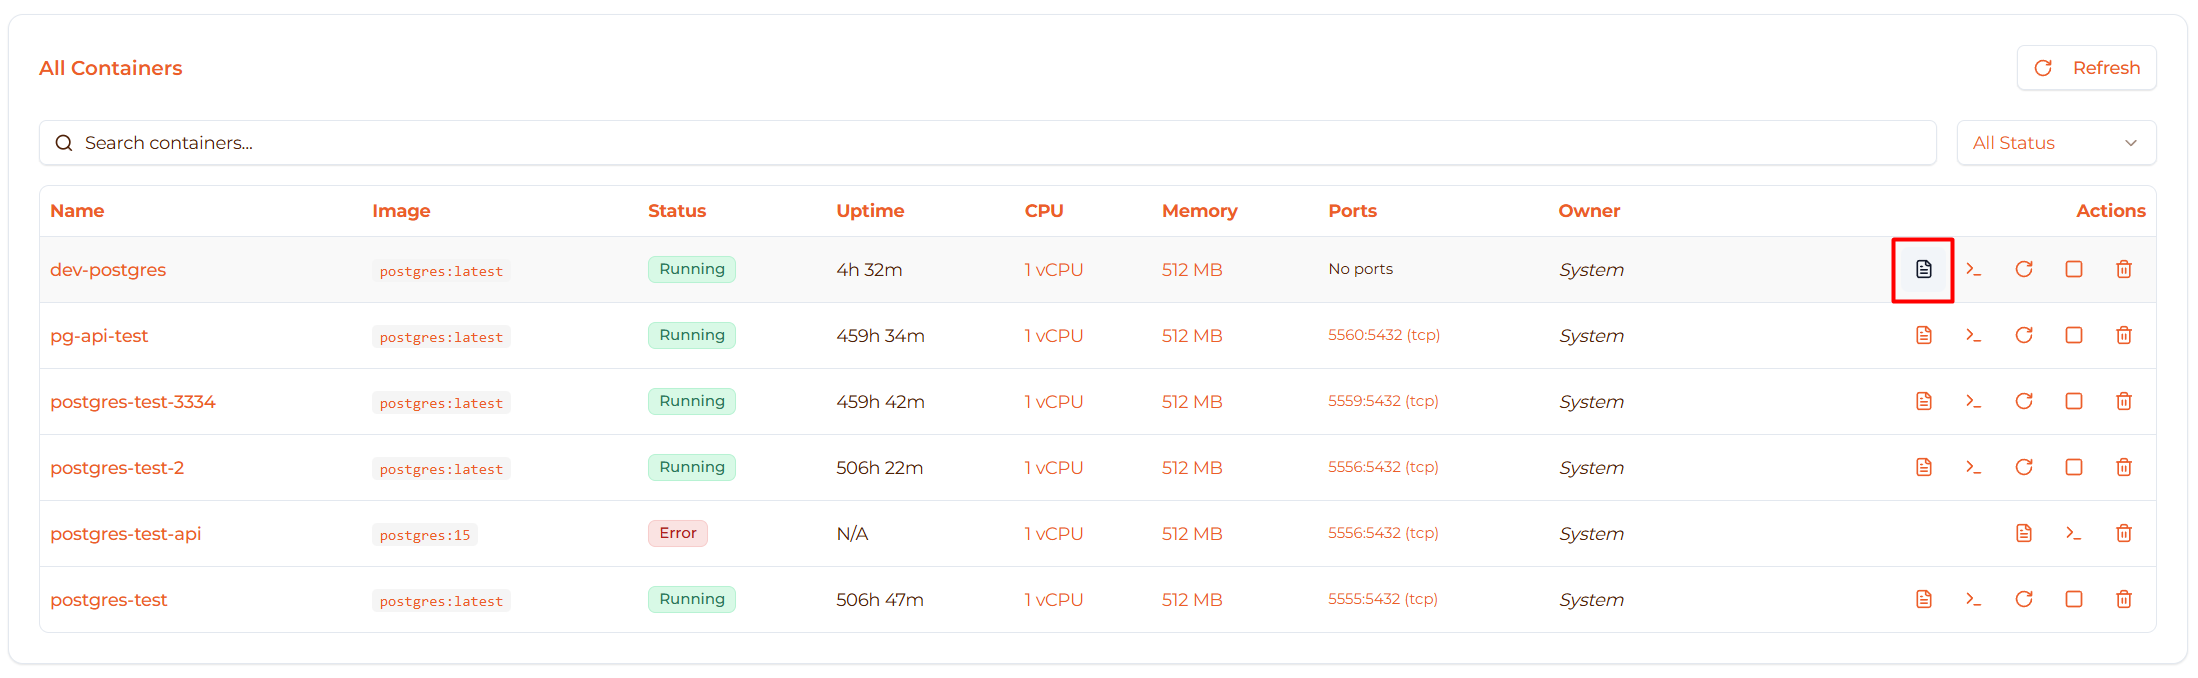
Opens the container detail page on the Logs tab.
What you’ll see:
- Real-time log streaming
- stdout and stderr output
- Timestamps for each log entry
See View Logs for complete guide.
View Shell
Click the Shell icon (⌨️) to open container shell:
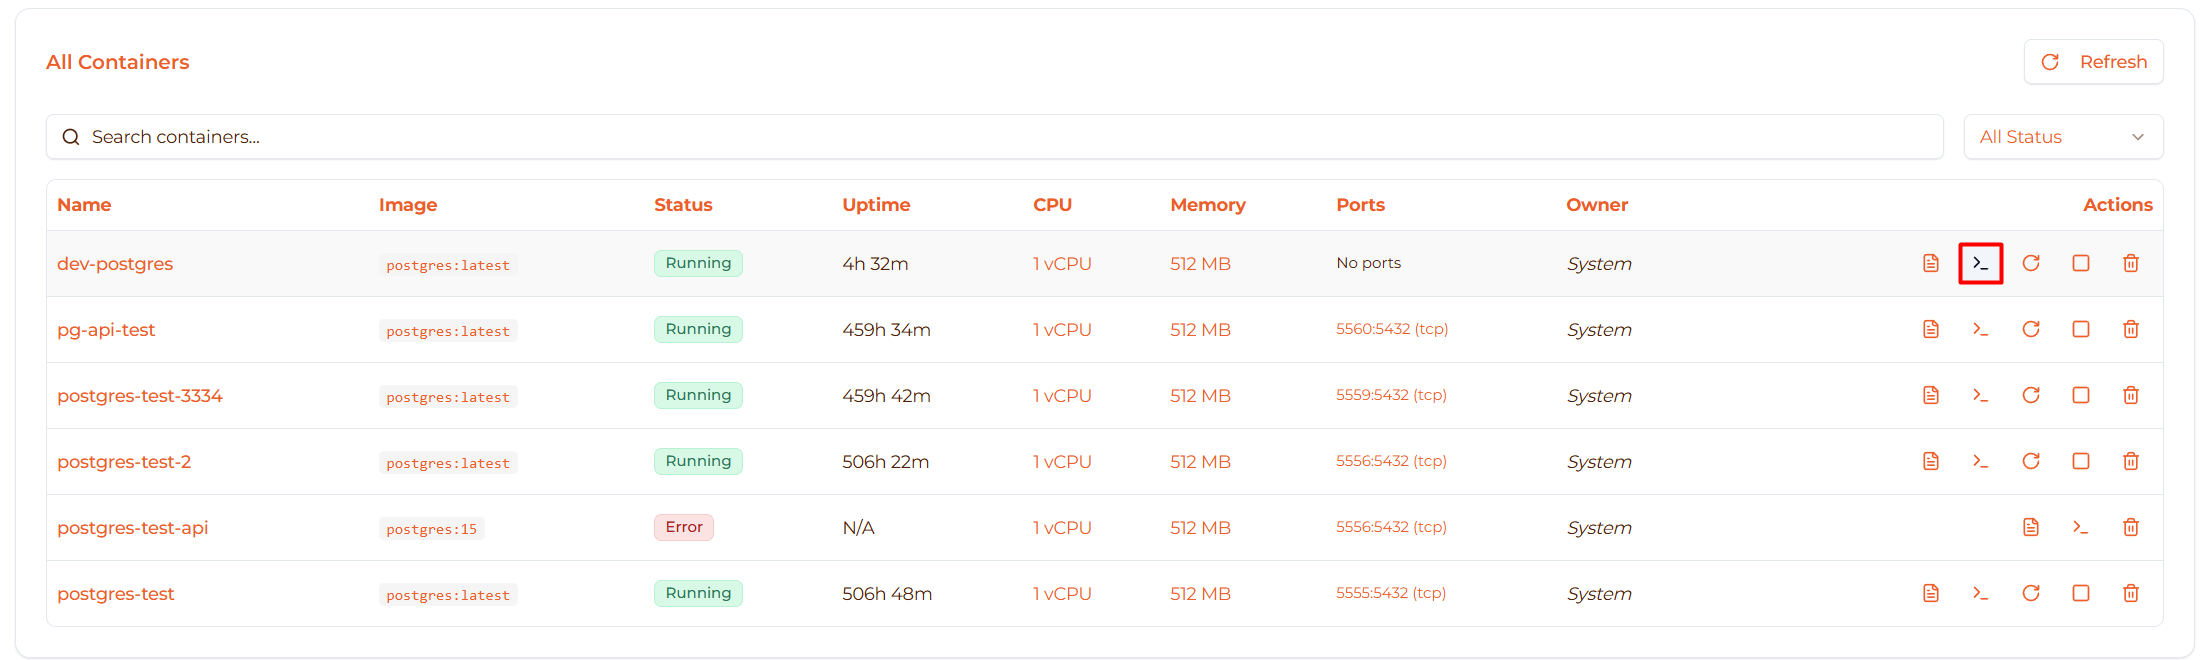
Opens the container detail page on the Shell tab.
What you’ll see:
- Interactive terminal inside container
- Execute commands directly
- Access container filesystem
Start Container
Available when: Container is Stopped
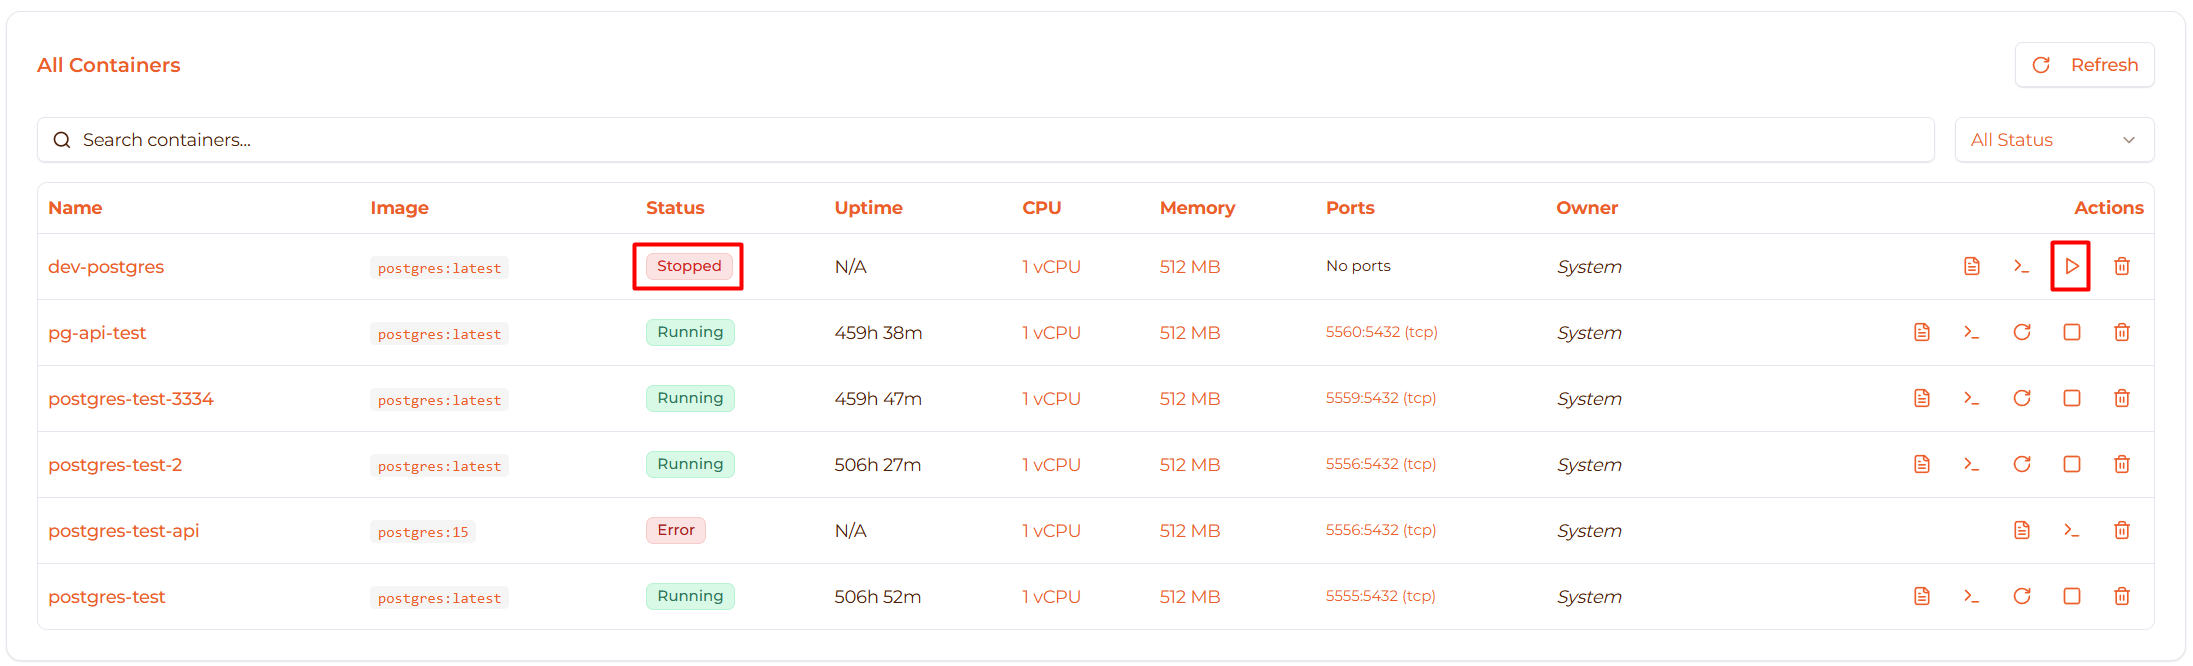
How to start:
- Locate stopped container in table
- Click Play icon (▶️) button
- Container state changes to “Booting” then “Running”
- Wait 5-10 seconds for startup
What happens:
- Firecracker VM is resumed or restarted
- Docker daemon starts
- Container starts with saved configuration
Stop Container
Available when: Container is Running
How to stop:
- Locate running container in table
- Click Stop icon (⏹️) button
- Container gracefully shuts down
- State changes to “Stopped”
What happens:
- Container receives SIGTERM signal
- 10-second grace period for cleanup
- Then SIGKILL if not stopped
- Firecracker VM is stopped
Data safety:
- ✅ Data in volumes is preserved
- ✅ Configuration is preserved
- ⚠️ Data not in volumes may be lost
Restart Container
Available when: Container is Running
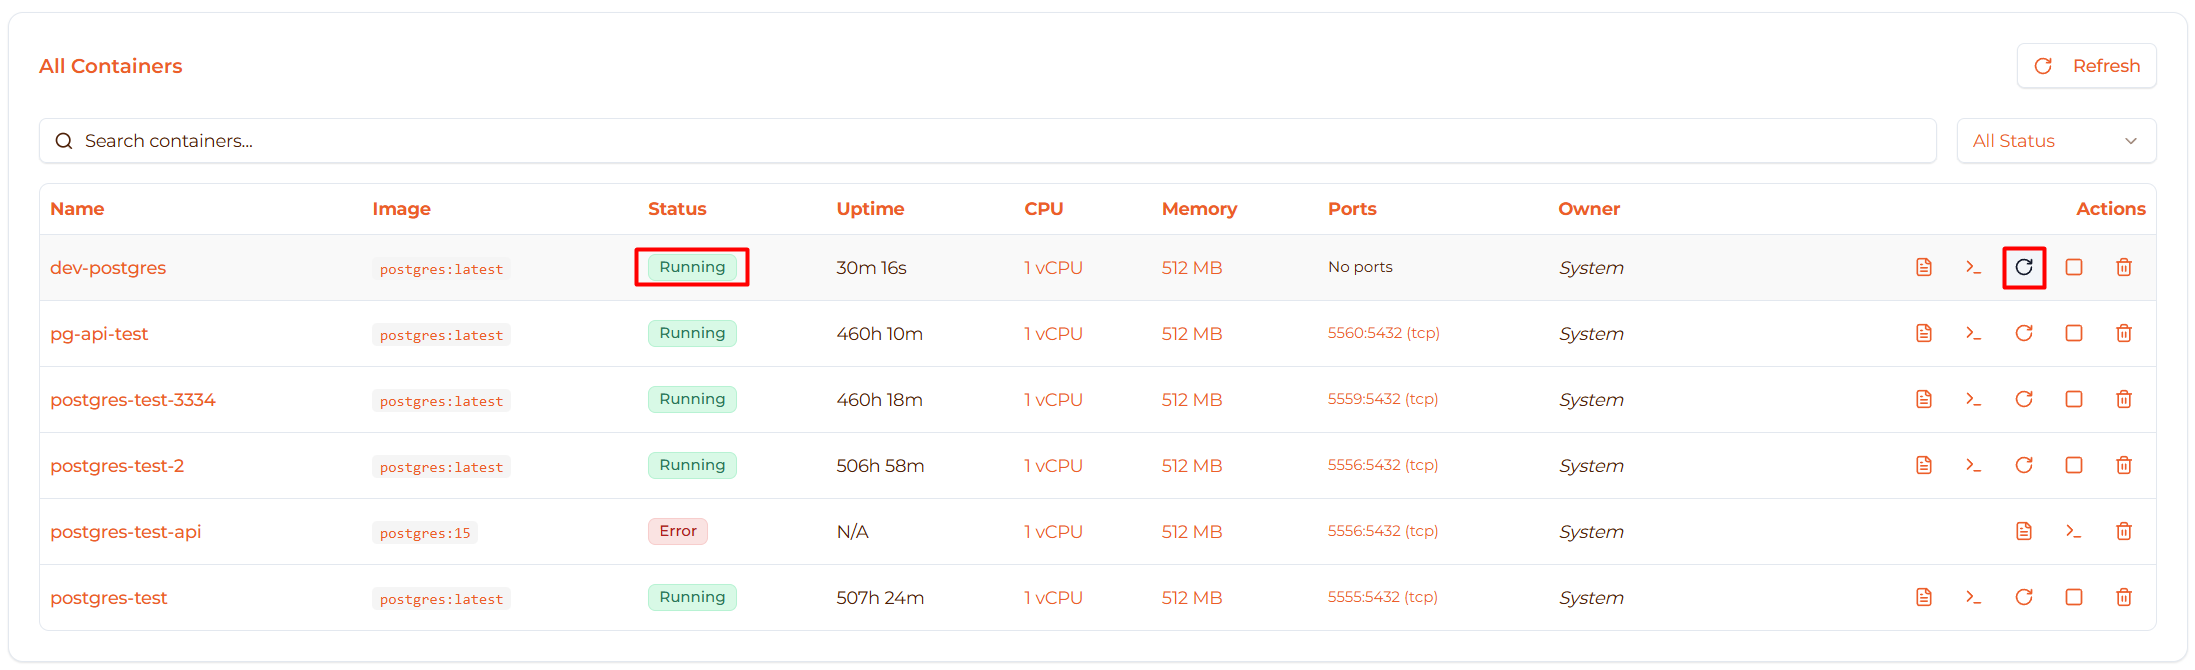
How to restart:
- Locate running container in table
- Click Restart icon (🔄) button
- Container stops then starts again
- Total time: 10-20 seconds
What happens:
- Container is stopped (graceful shutdown)
- Container is started fresh
- Same configuration used
- New uptime counter
Use cases:
- Apply configuration changes
- Clear memory state
- Recover from soft errors
- Reload application code (if volume-mounted)
Delete Container
Available when: Container is Stopped or in Error state
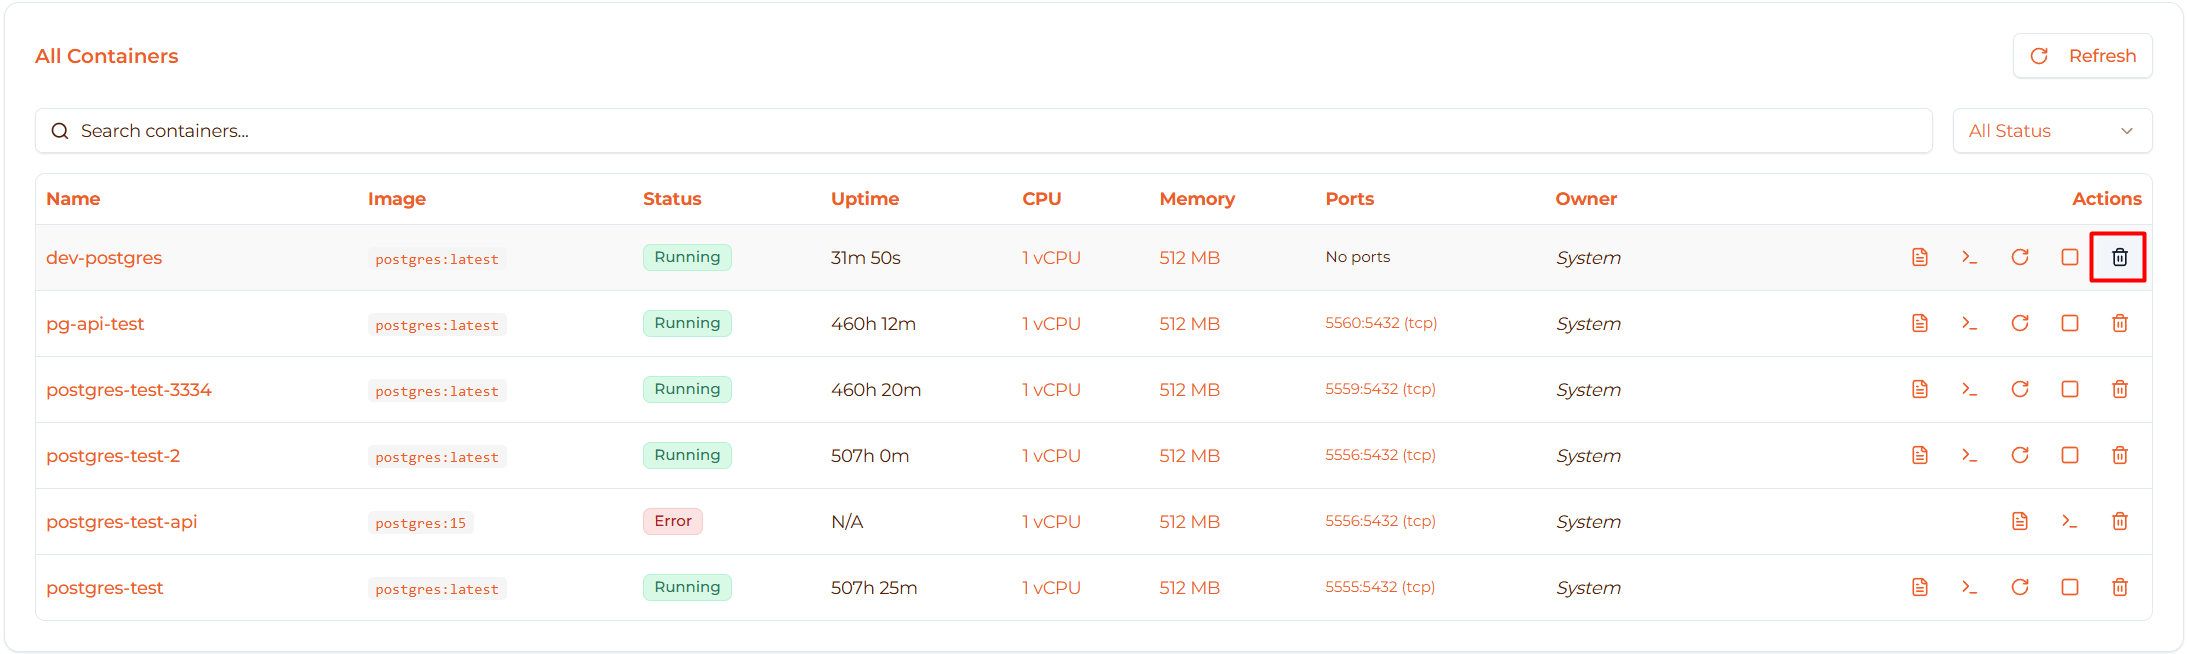
How to delete:
From table:
- Locate stopped/error container
- Click Trash icon (🗑️) button
- Confirm deletion in dialog
From detail page:
- Stop container first (if running)
- Click “Delete” button in header
- Confirm deletion
Confirmation dialog:
Warning: This action cannot be undone!
What is deleted:
- ❌ Container configuration
- ❌ Container instance
- ❌ Firecracker microVM
- ❌ Temporary container data (not in volumes)
- ✅ Volumes are preserved (can be reused)
Important: If you want to delete volumes too, manually delete them from the Volumes page.
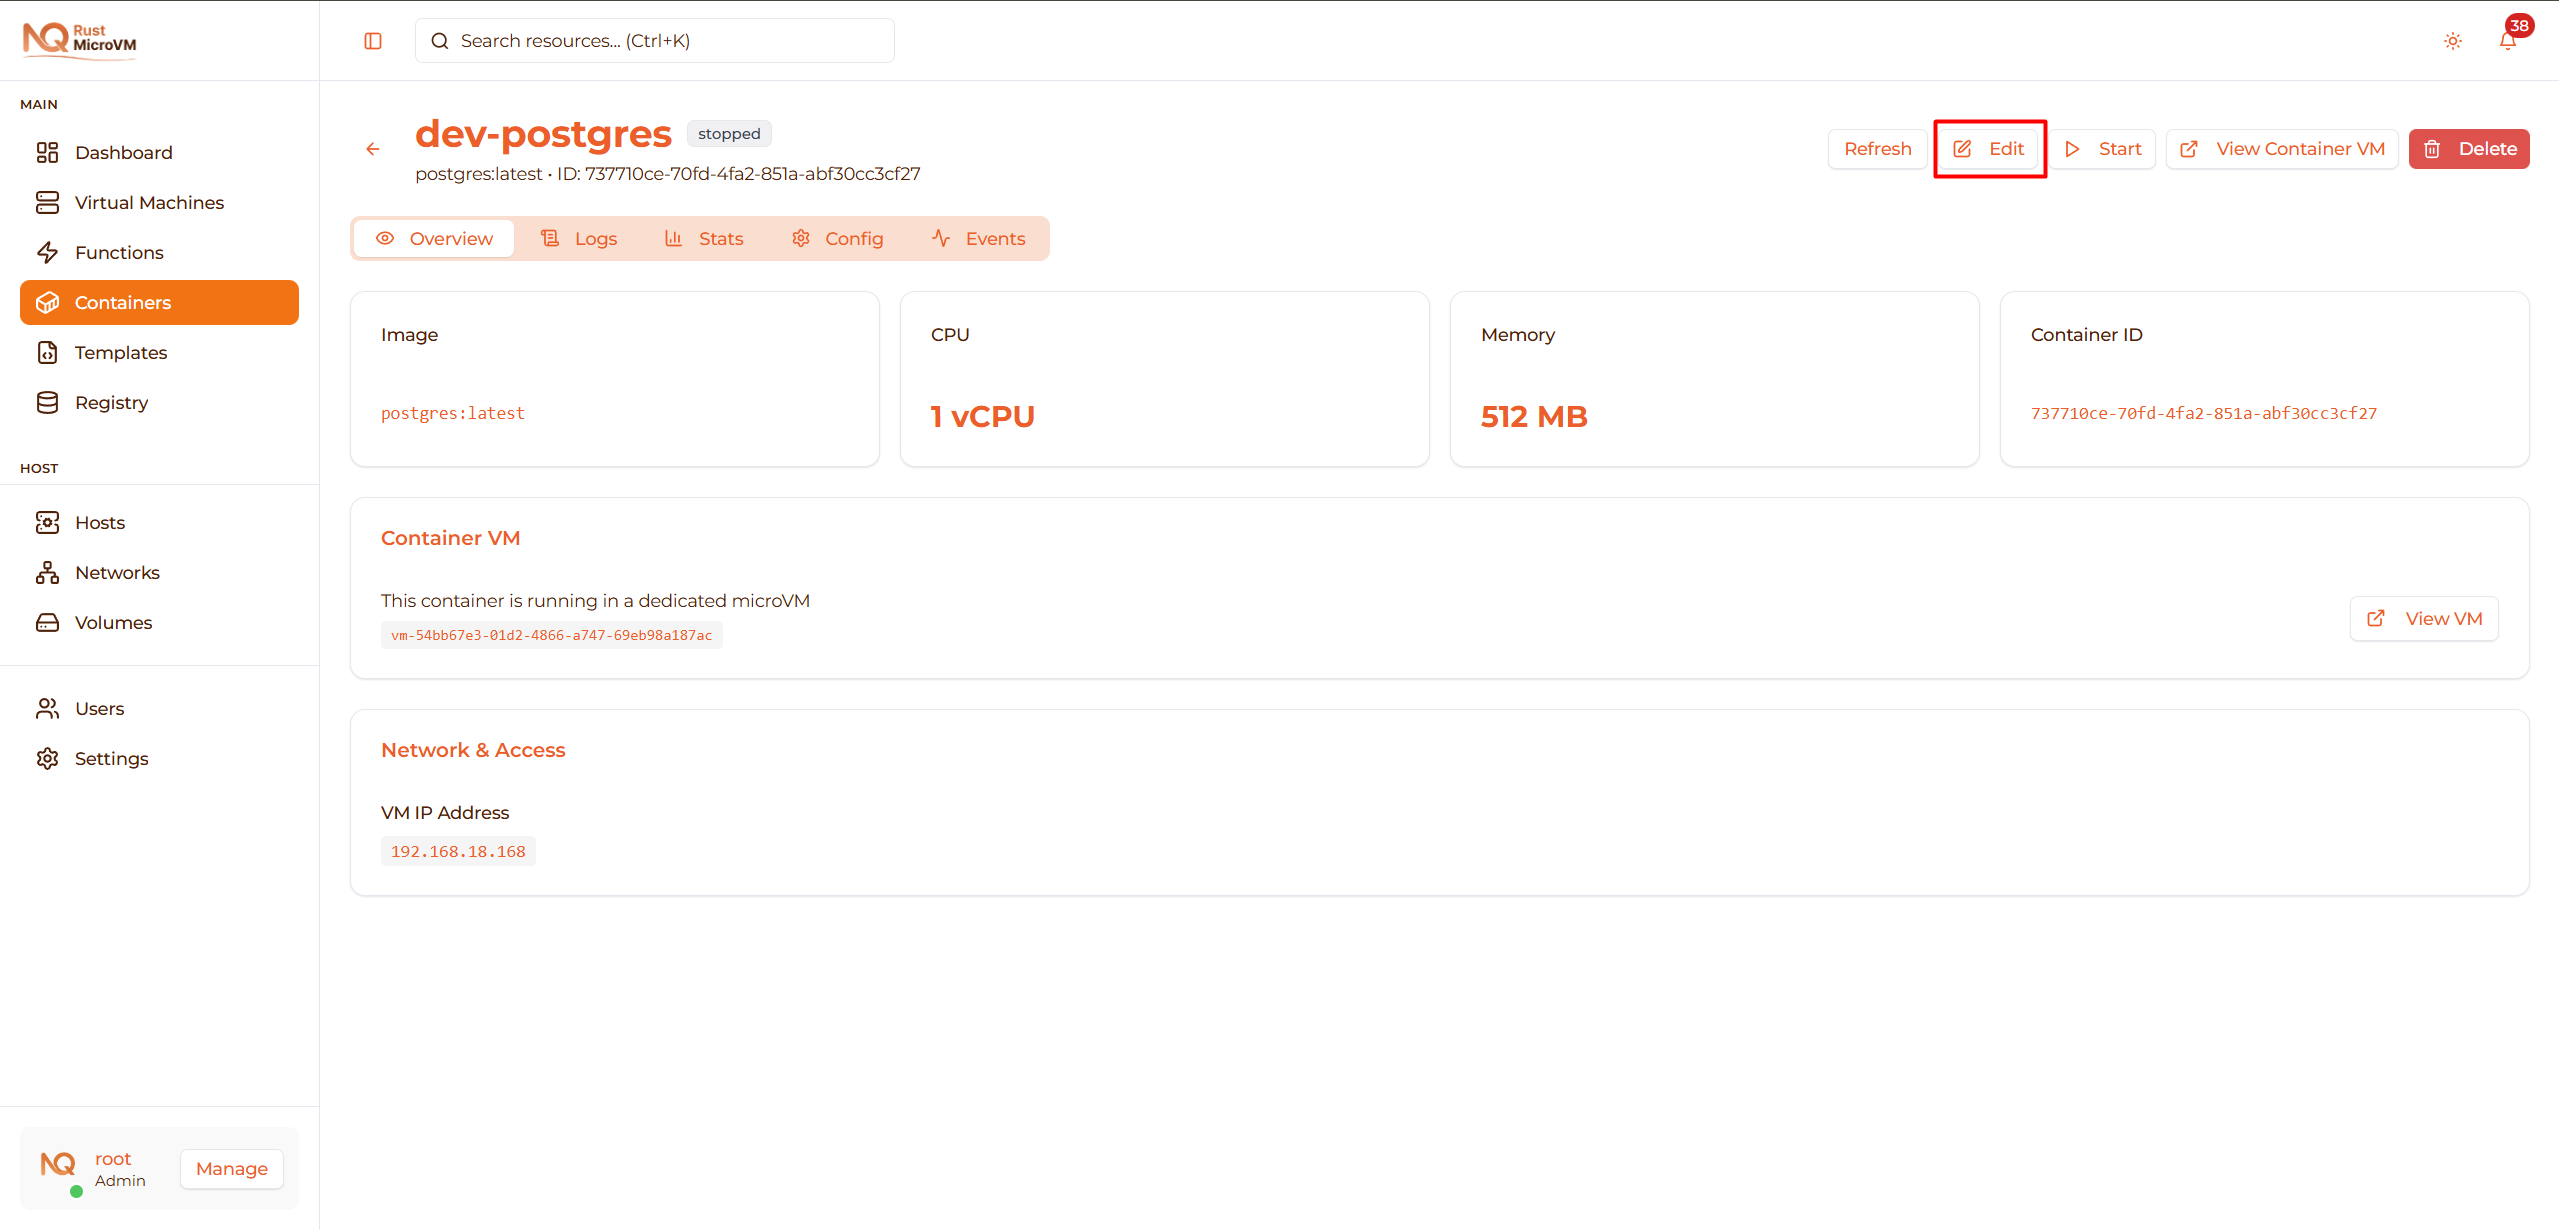
Container Detail Page
Click a container name to open the detail page:
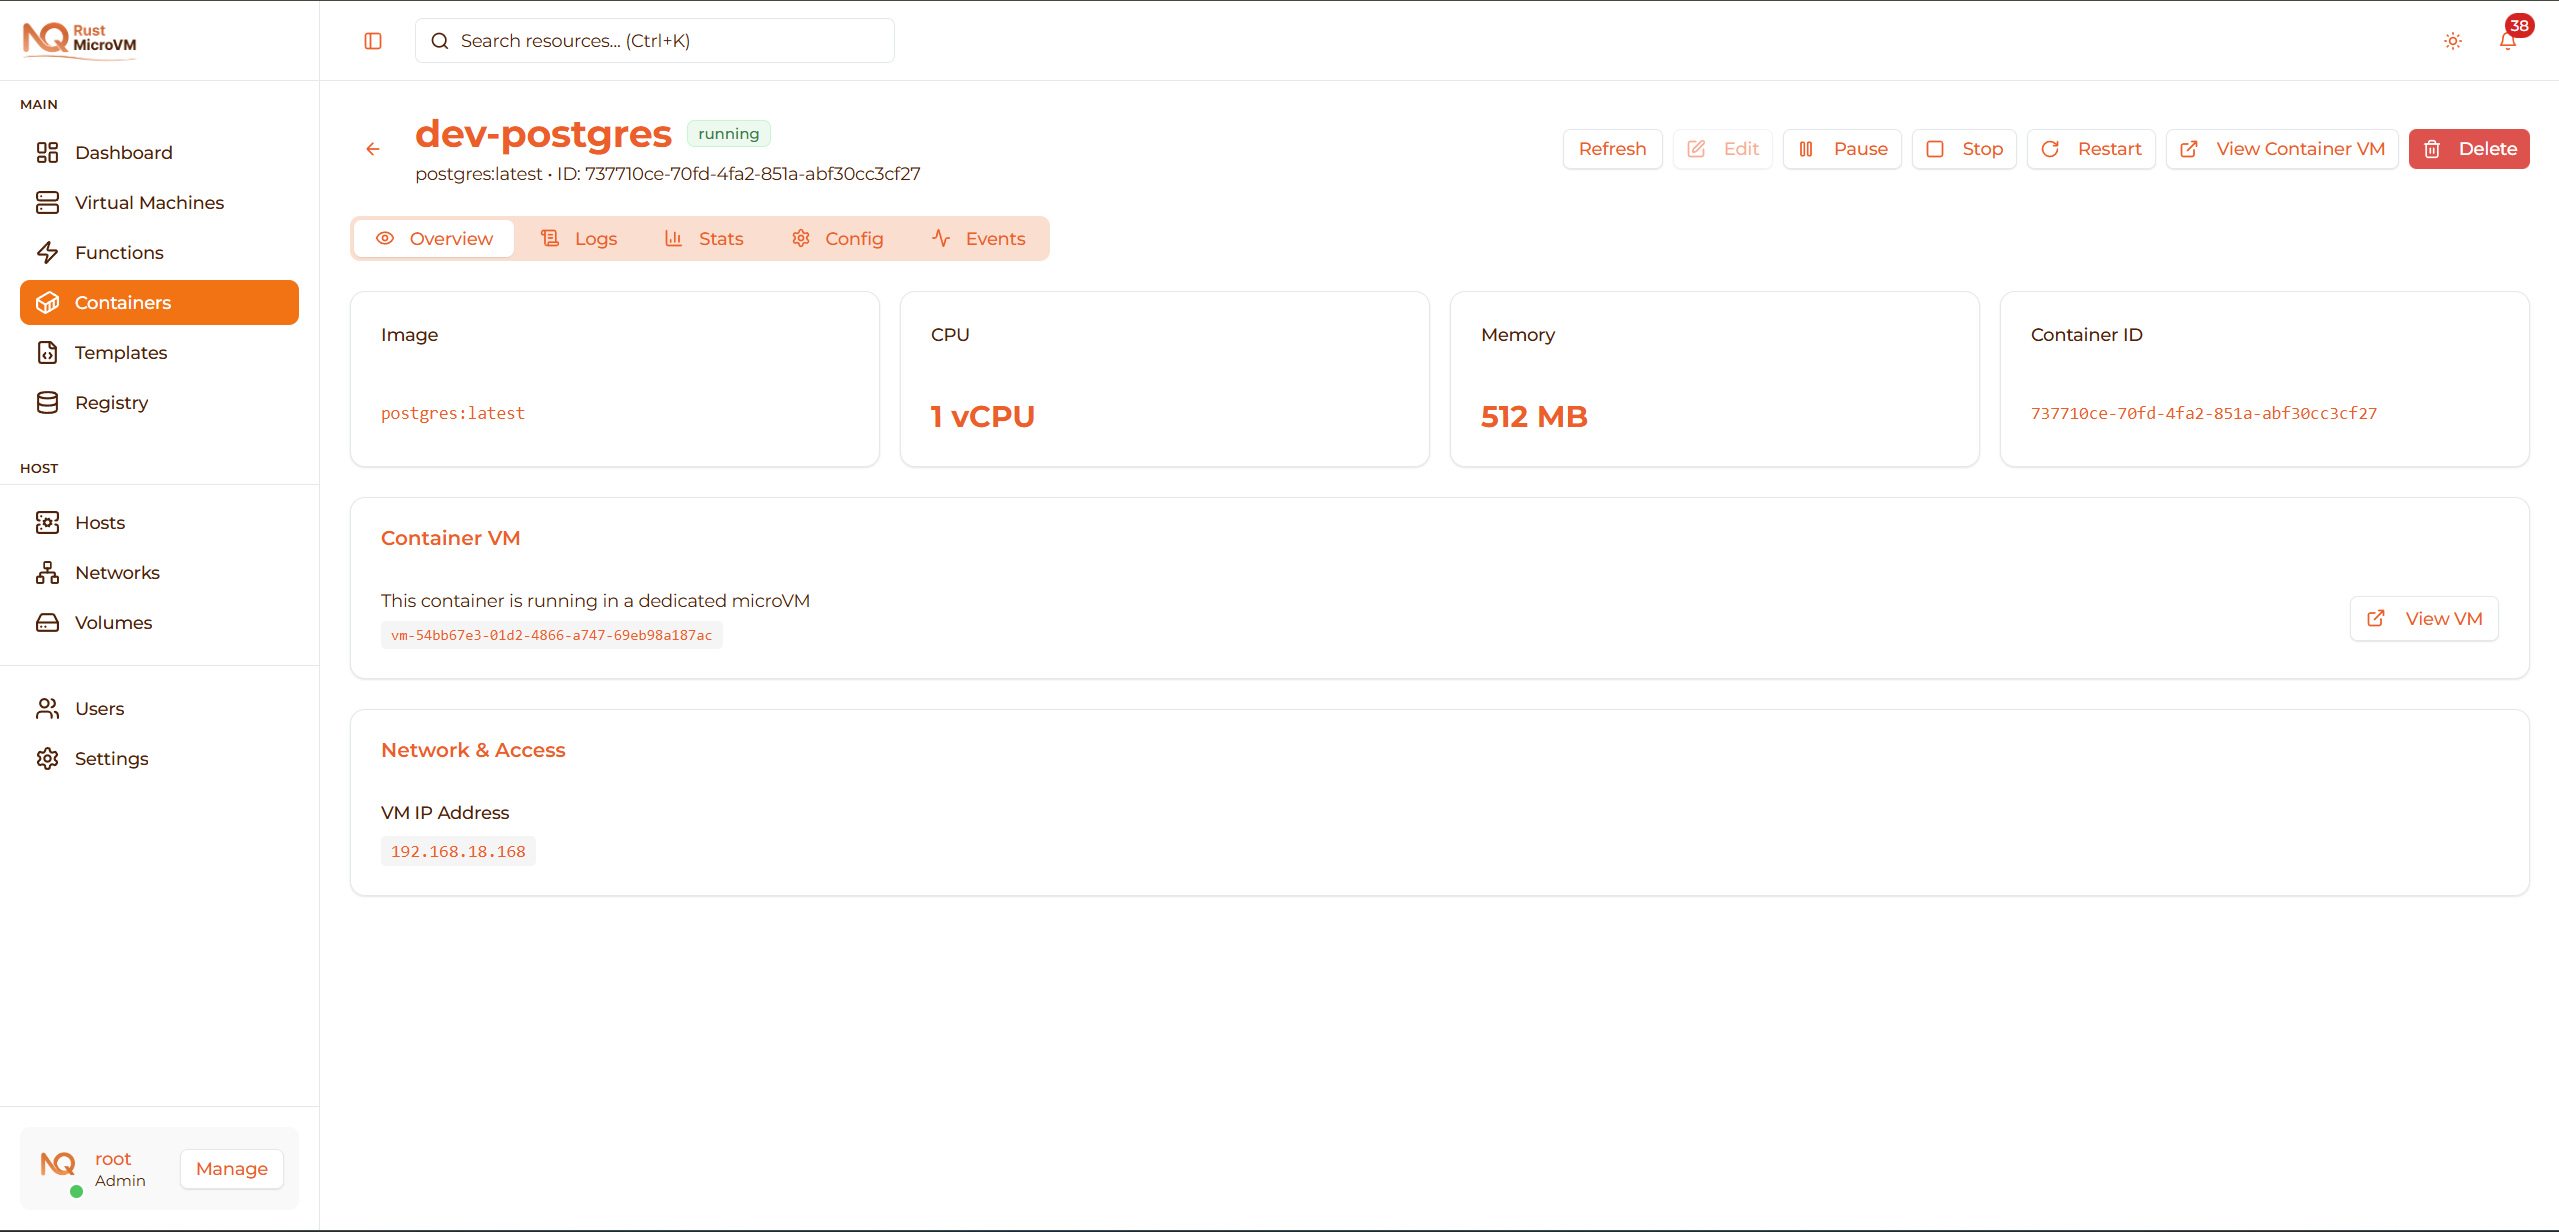
Page Header
The header shows:
- Back button - Return to containers list
- Container name - Large, bold
- Status badge - Current state with color
- Image name - Below container name
- Container ID - Unique identifier
- Error message - If in error state (red text)
- Action buttons - Right side
Action Buttons (Detail Page)

Available buttons (depends on state):
- Refresh - Reload container data
- Edit - Modify configuration (when stopped)
- Start - Start stopped container
- Pause - Pause running container
- Resume - Resume paused container
- Stop - Stop running container
- Restart - Restart running container
- View Container VM - Open underlying microVM
- Delete - Delete container
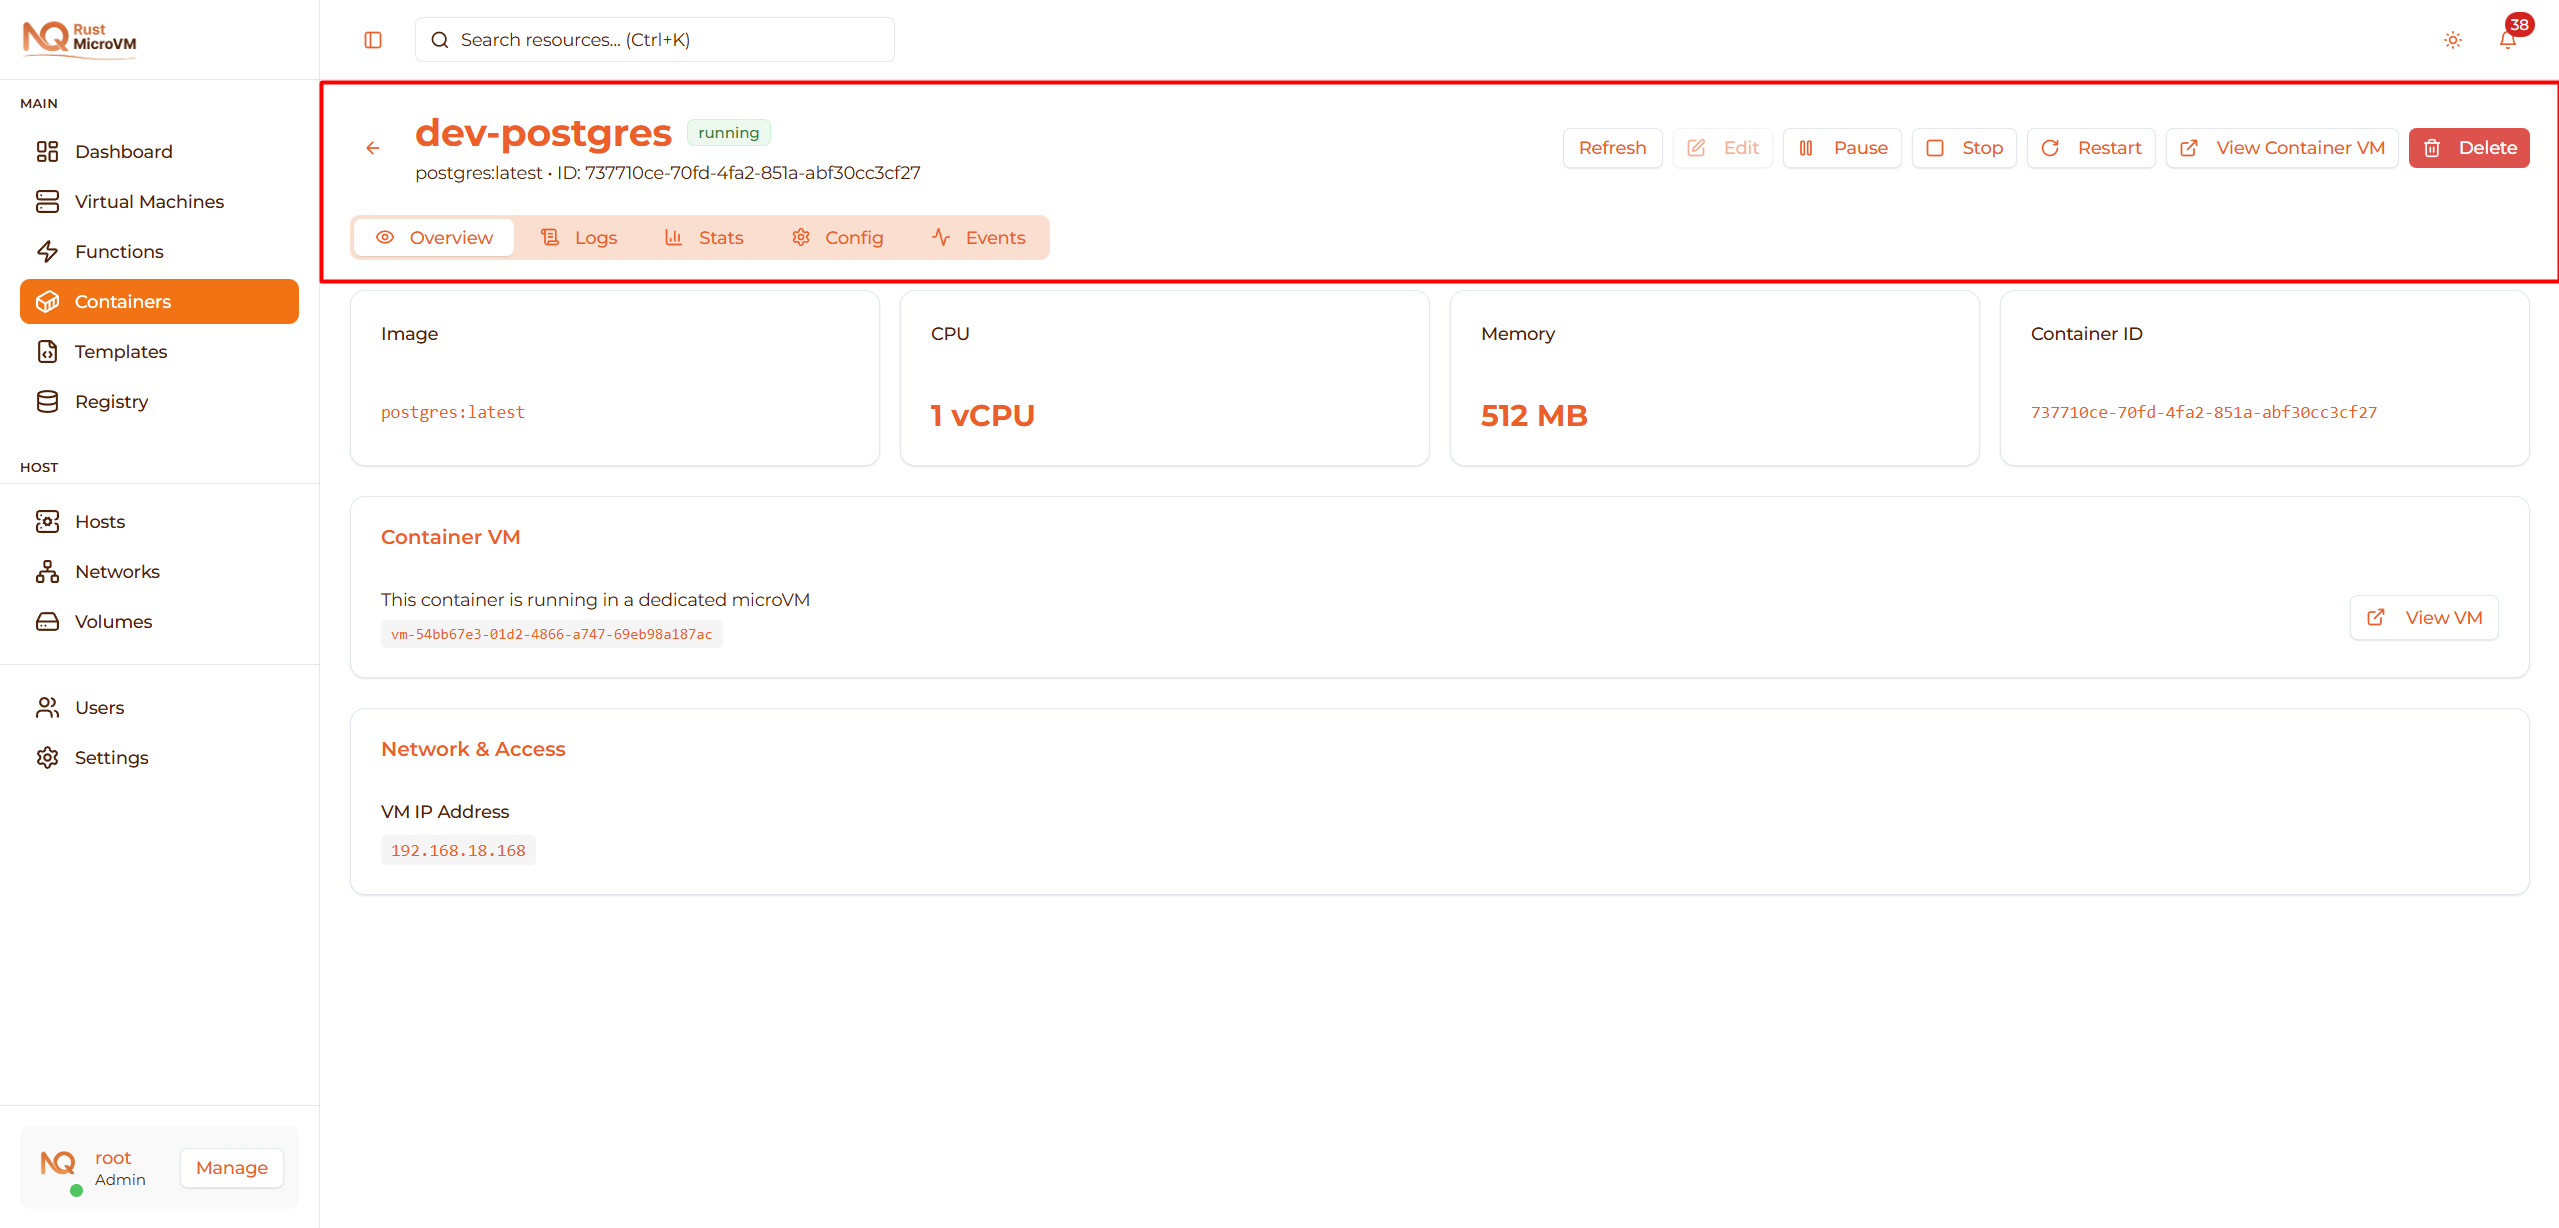
Container Tabs
The detail page has 5 tabs:

1. Overview Tab
Shows container summary and information:
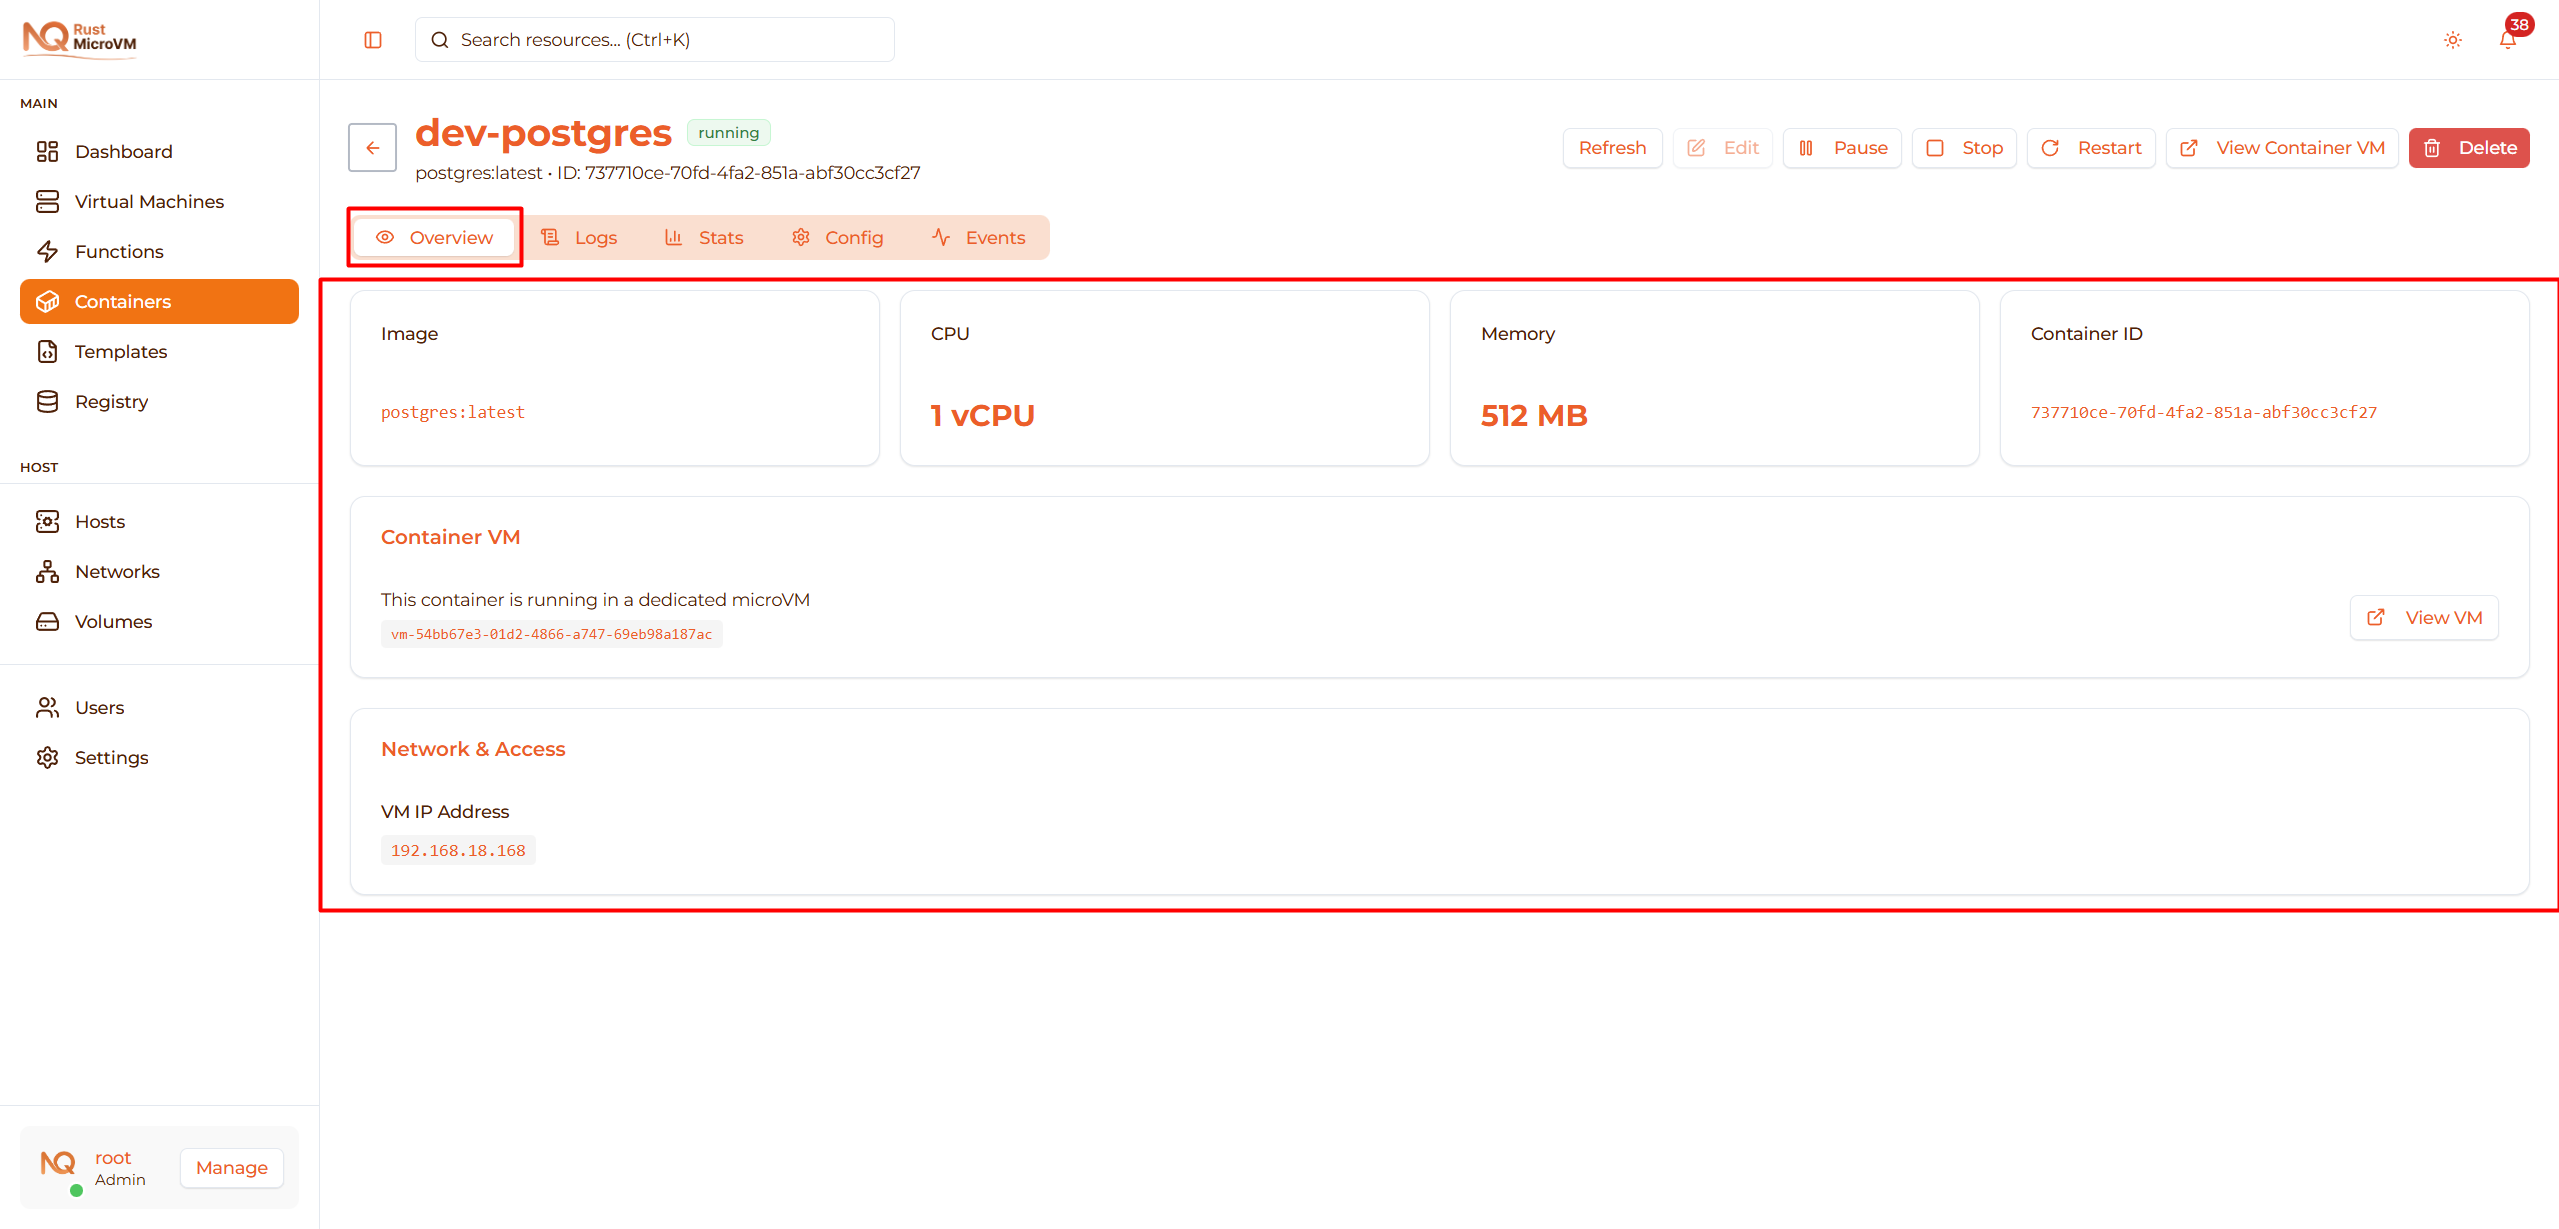
Information displayed:
- Container ID
- Current state
- Image name and tag
- Uptime
- Created date
- CPU and memory limits
- Port mappings
- Environment variables
- Volume mounts
- Container VM link
Use cases:
- Quick status check
- View configuration at a glance
- Access container VM
2. Logs Tab
Real-time container logs:
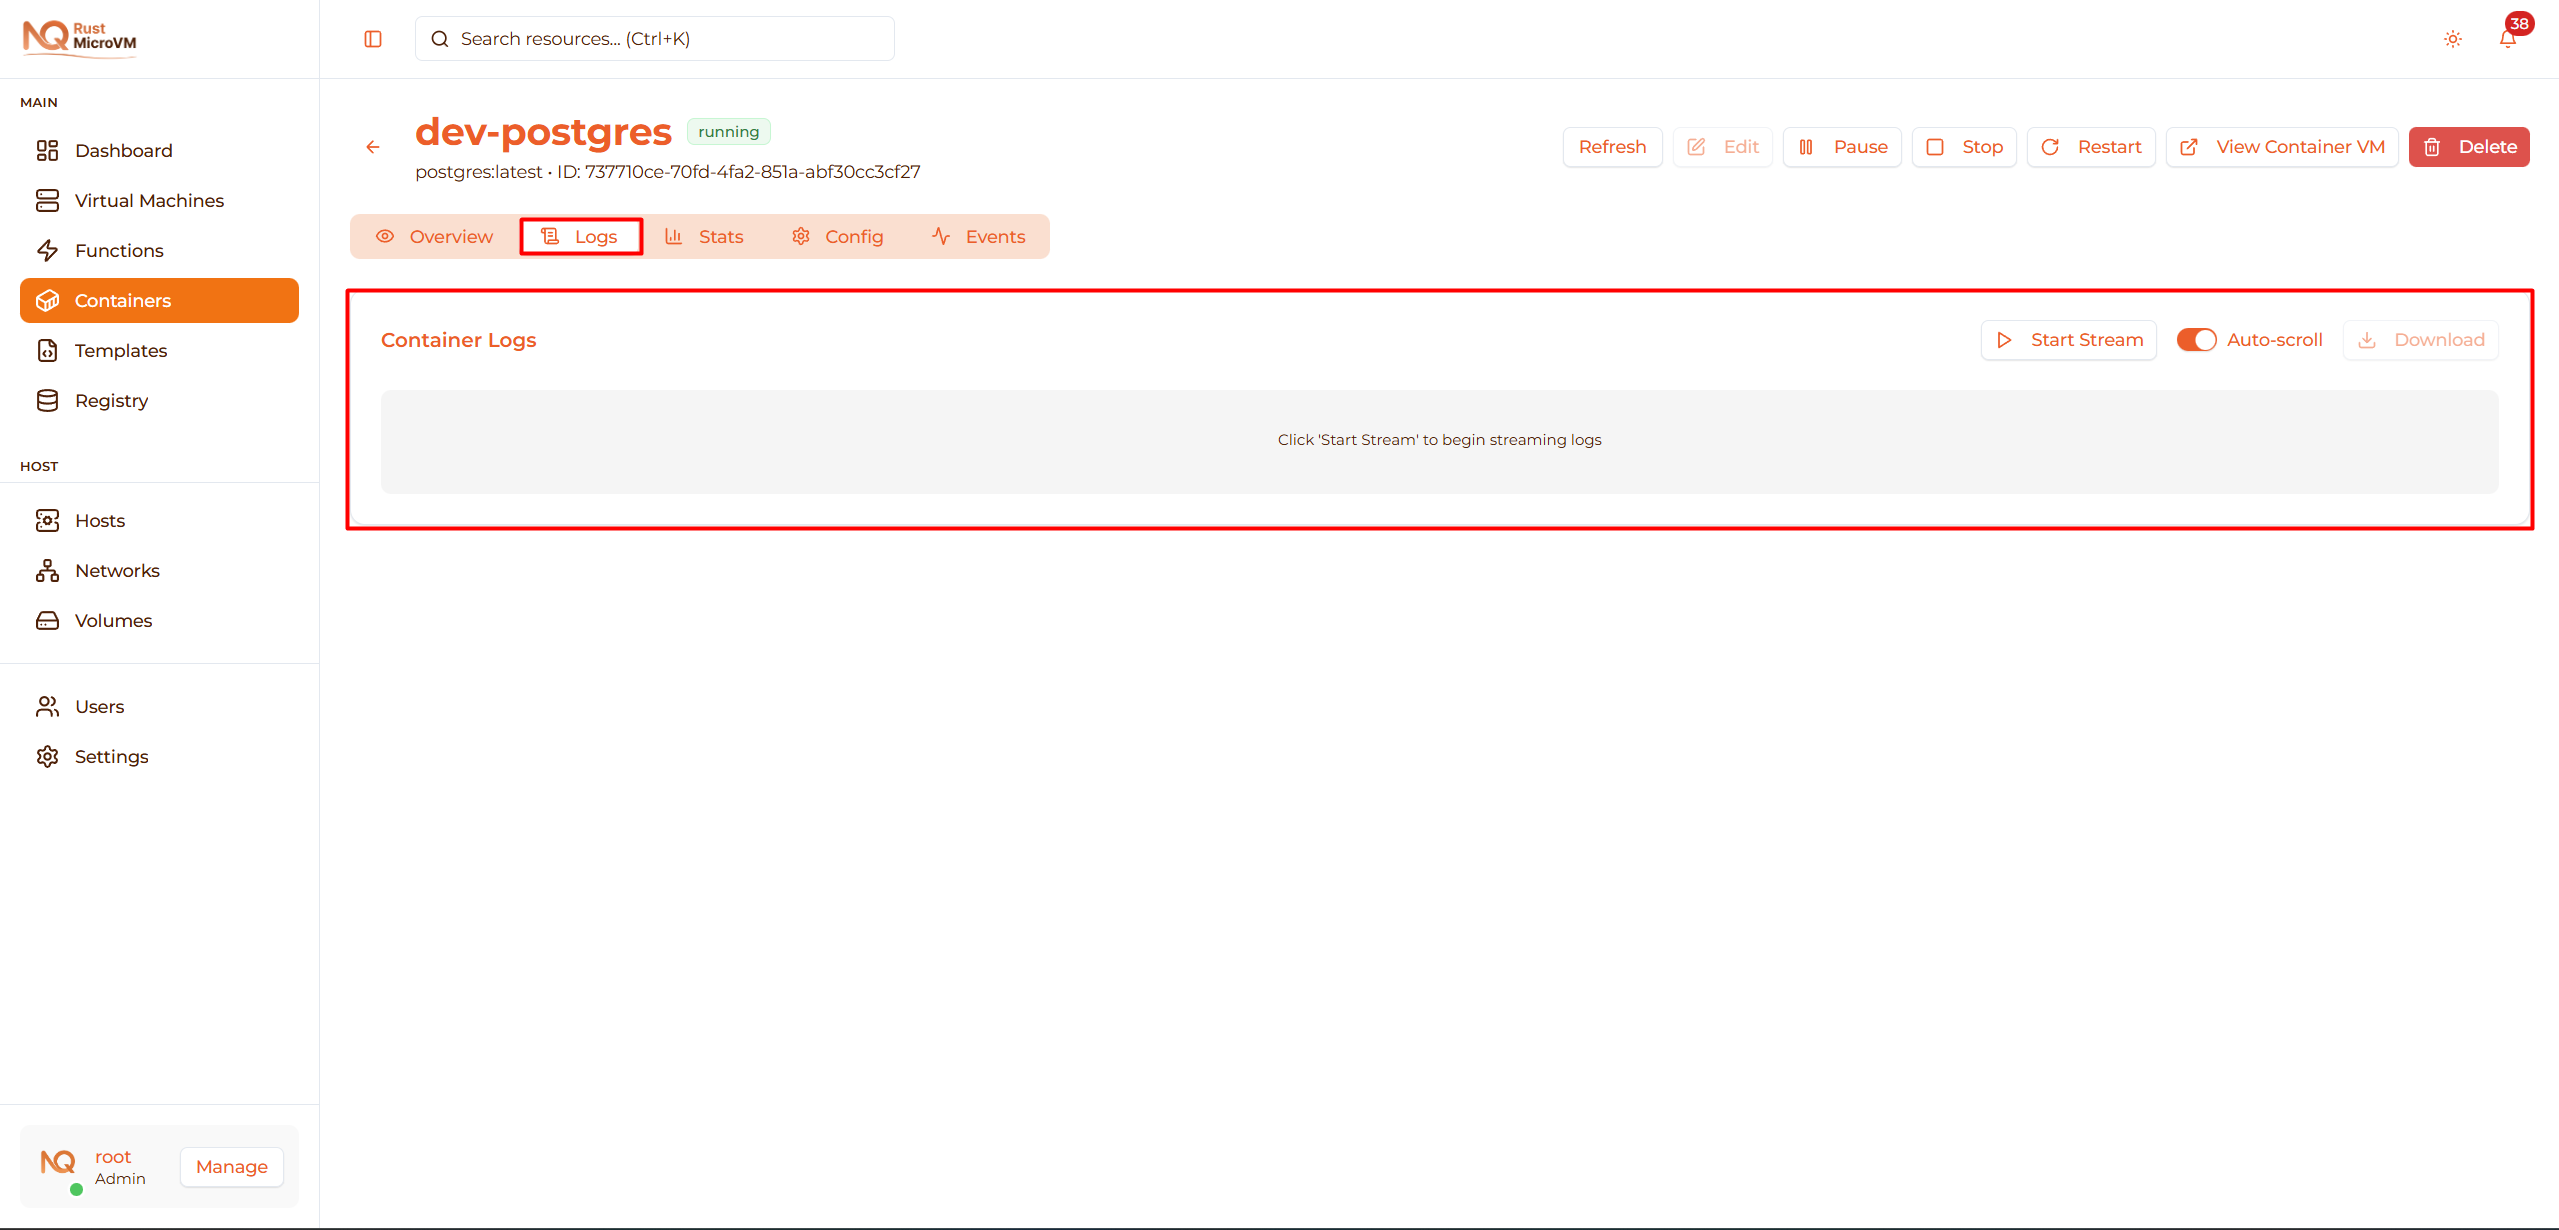
Features:
- Start/stop log streaming
- Auto-scroll to latest logs
- Download logs as text file
- Separate stdout/stderr
- Timestamps for each entry
See View Logs for complete guide.
3. Stats Tab
Resource usage monitoring:
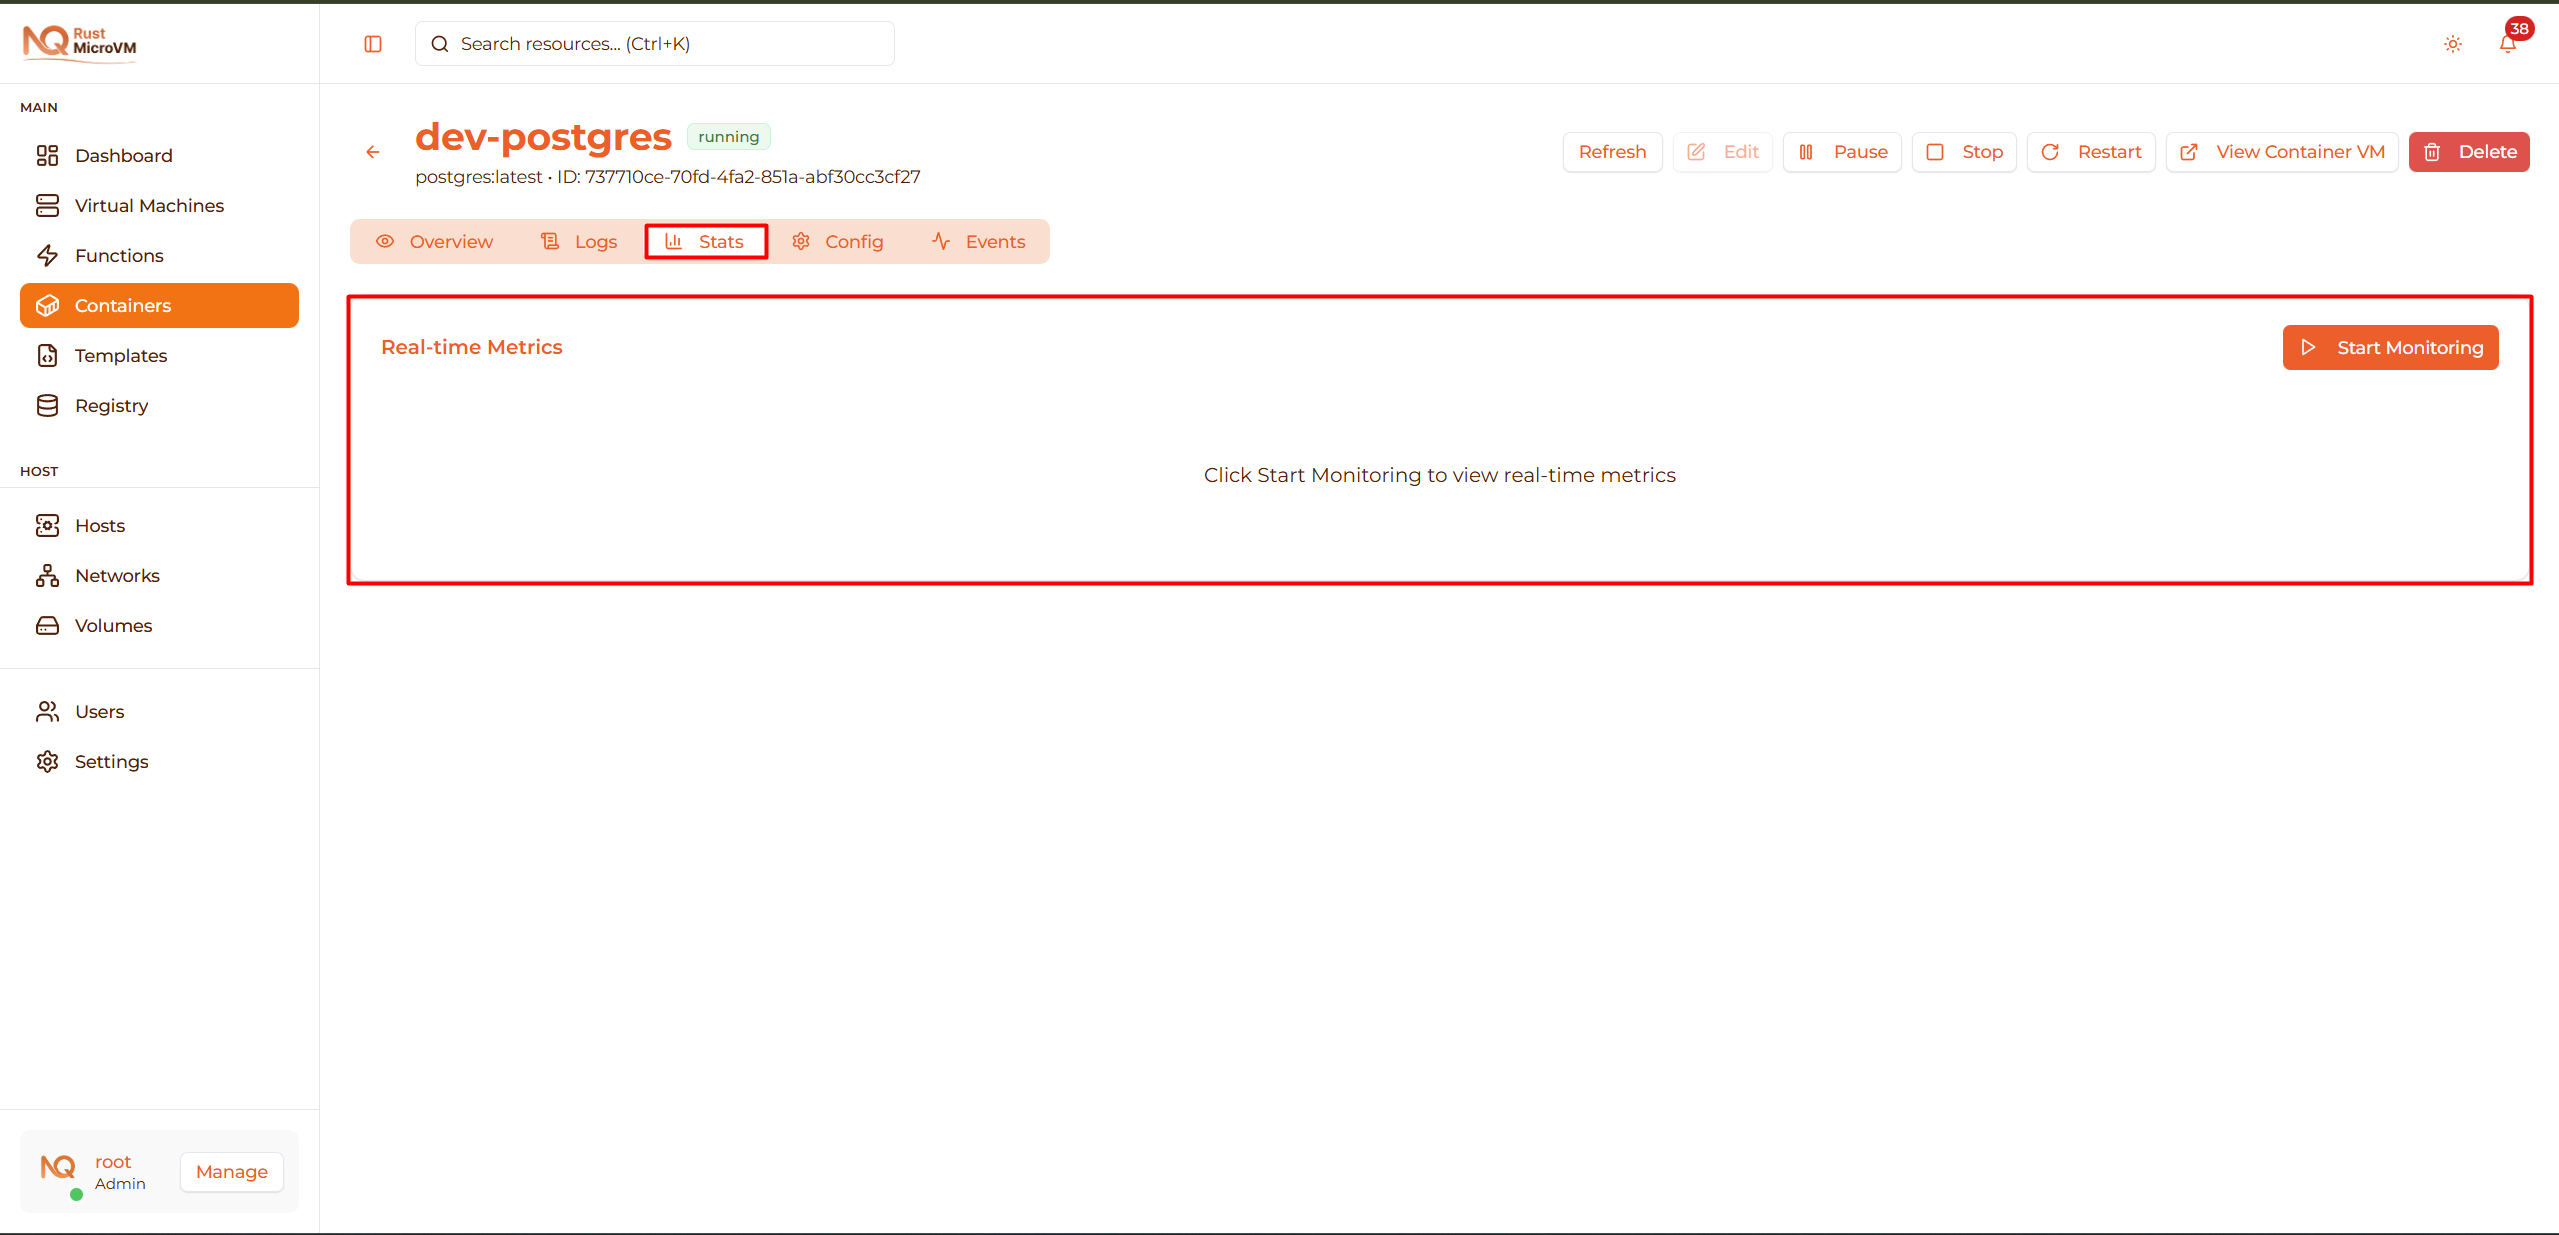
Metrics shown:
- CPU usage (%)
- Memory usage (MB and %)
- Network I/O
- Disk I/O
- Uptime
Features:
- Real-time updates (every 5 seconds)
- Charts and graphs
- Historical data
See Monitor Stats for complete guide.
4. Config Tab
Complete configuration details:
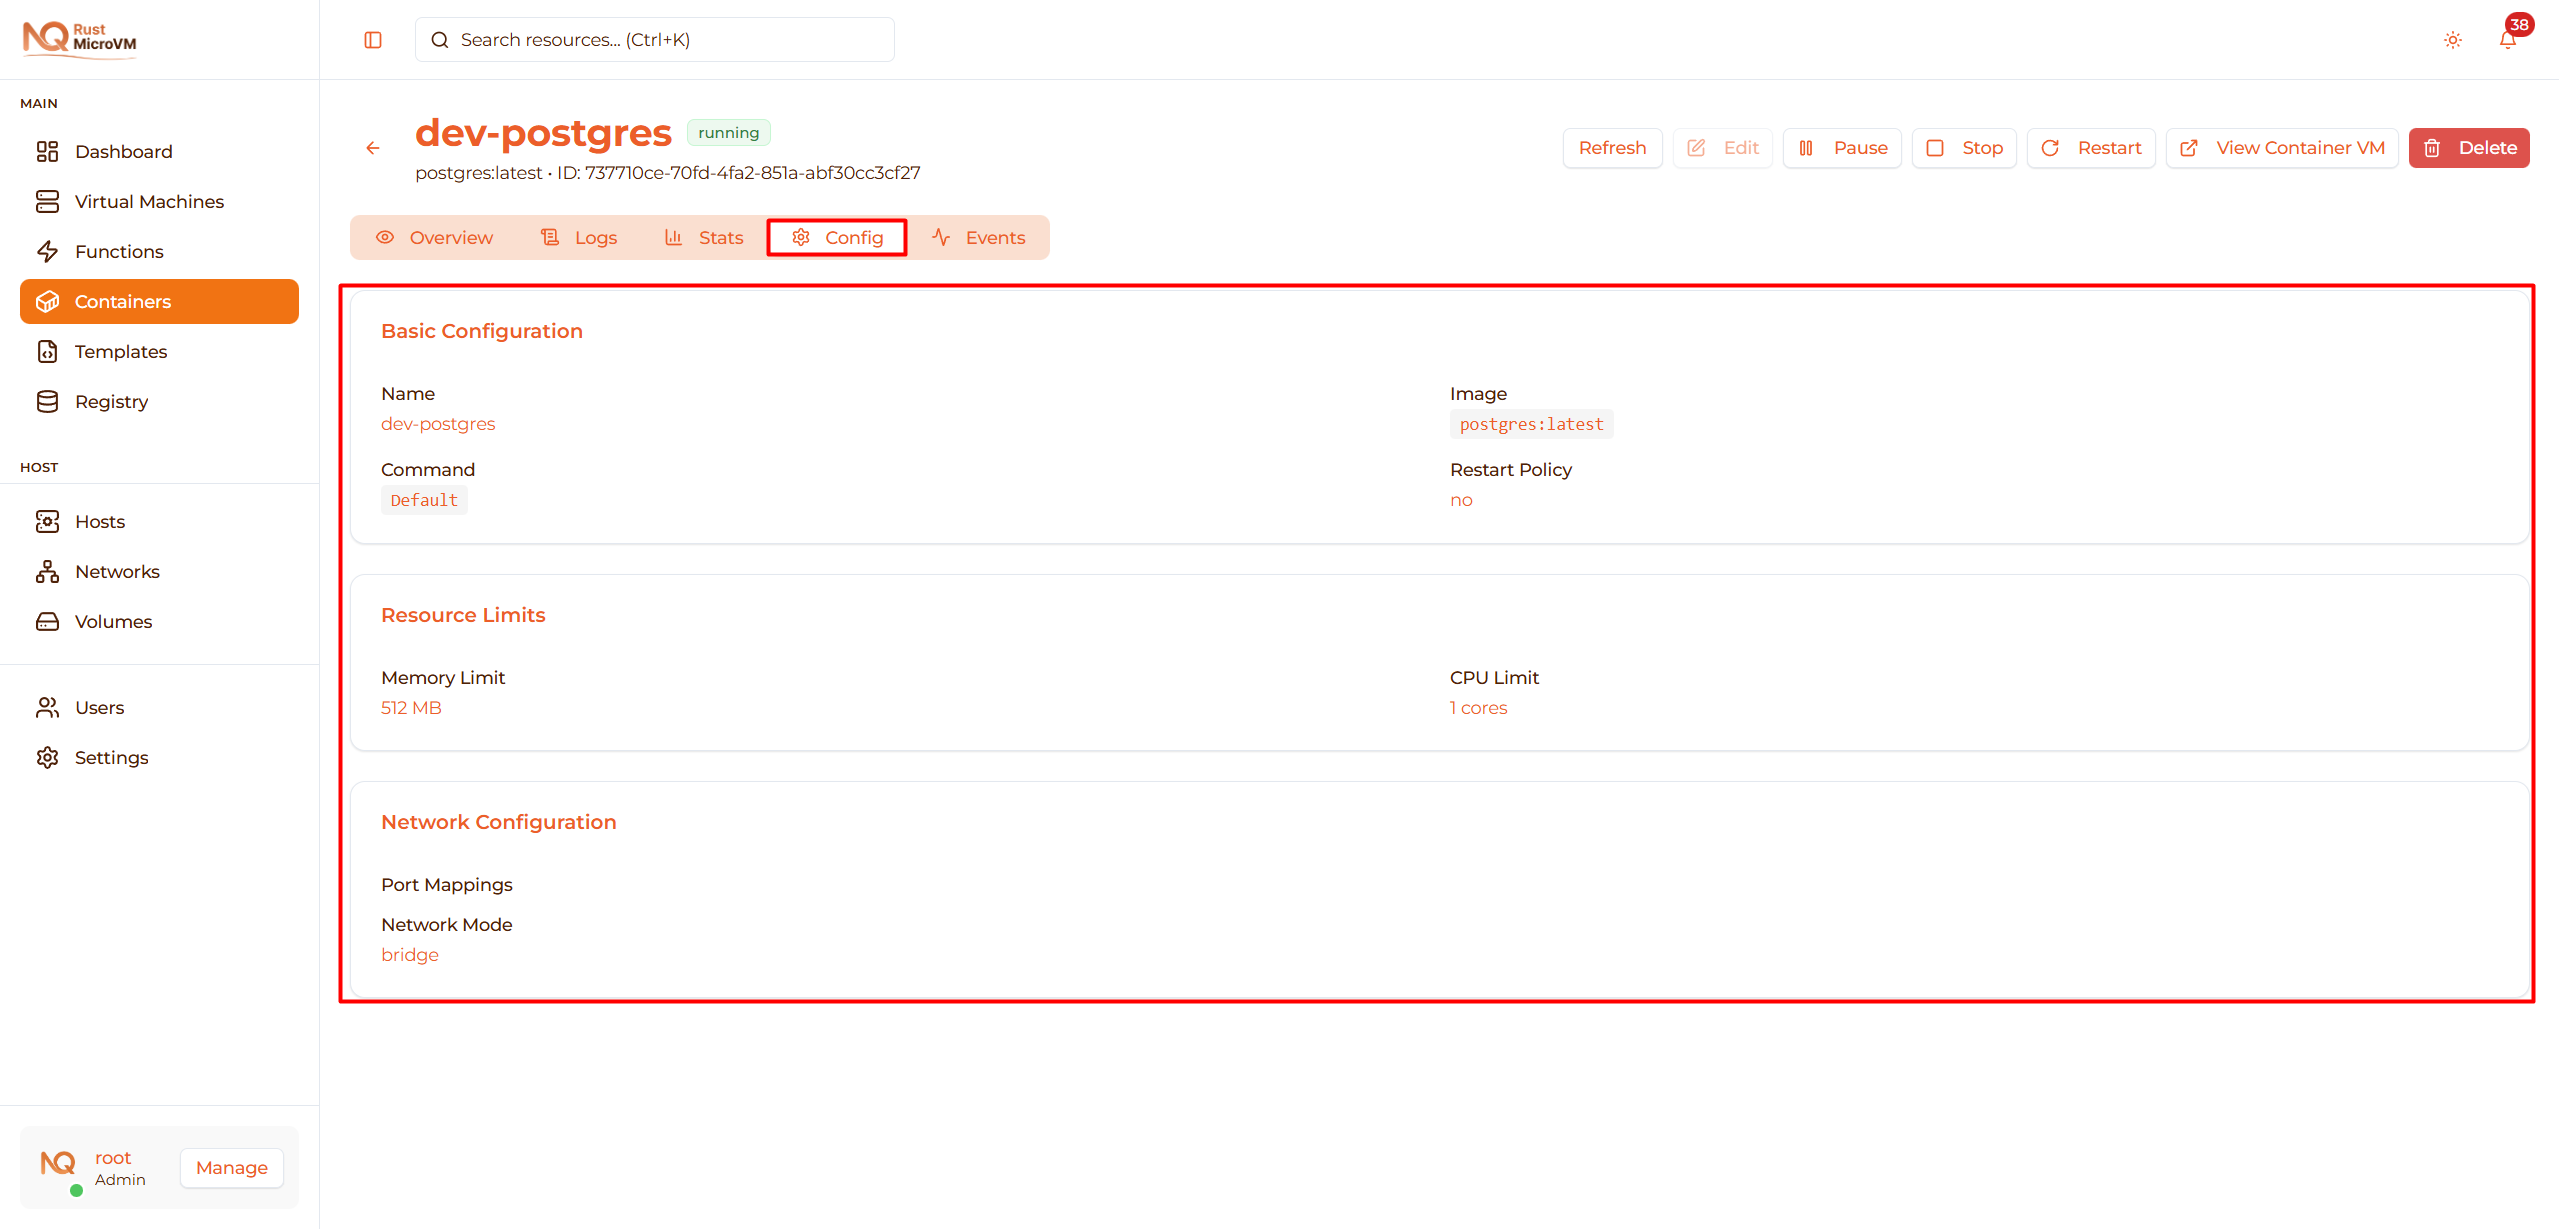
Shows:
- All port mappings
- All environment variables
- All volume mounts
- Resource limits
- Image information
- Container settings
Use cases:
- Verify configuration
- Document settings
- Reference for new deployments
5. Events Tab
Container lifecycle events:
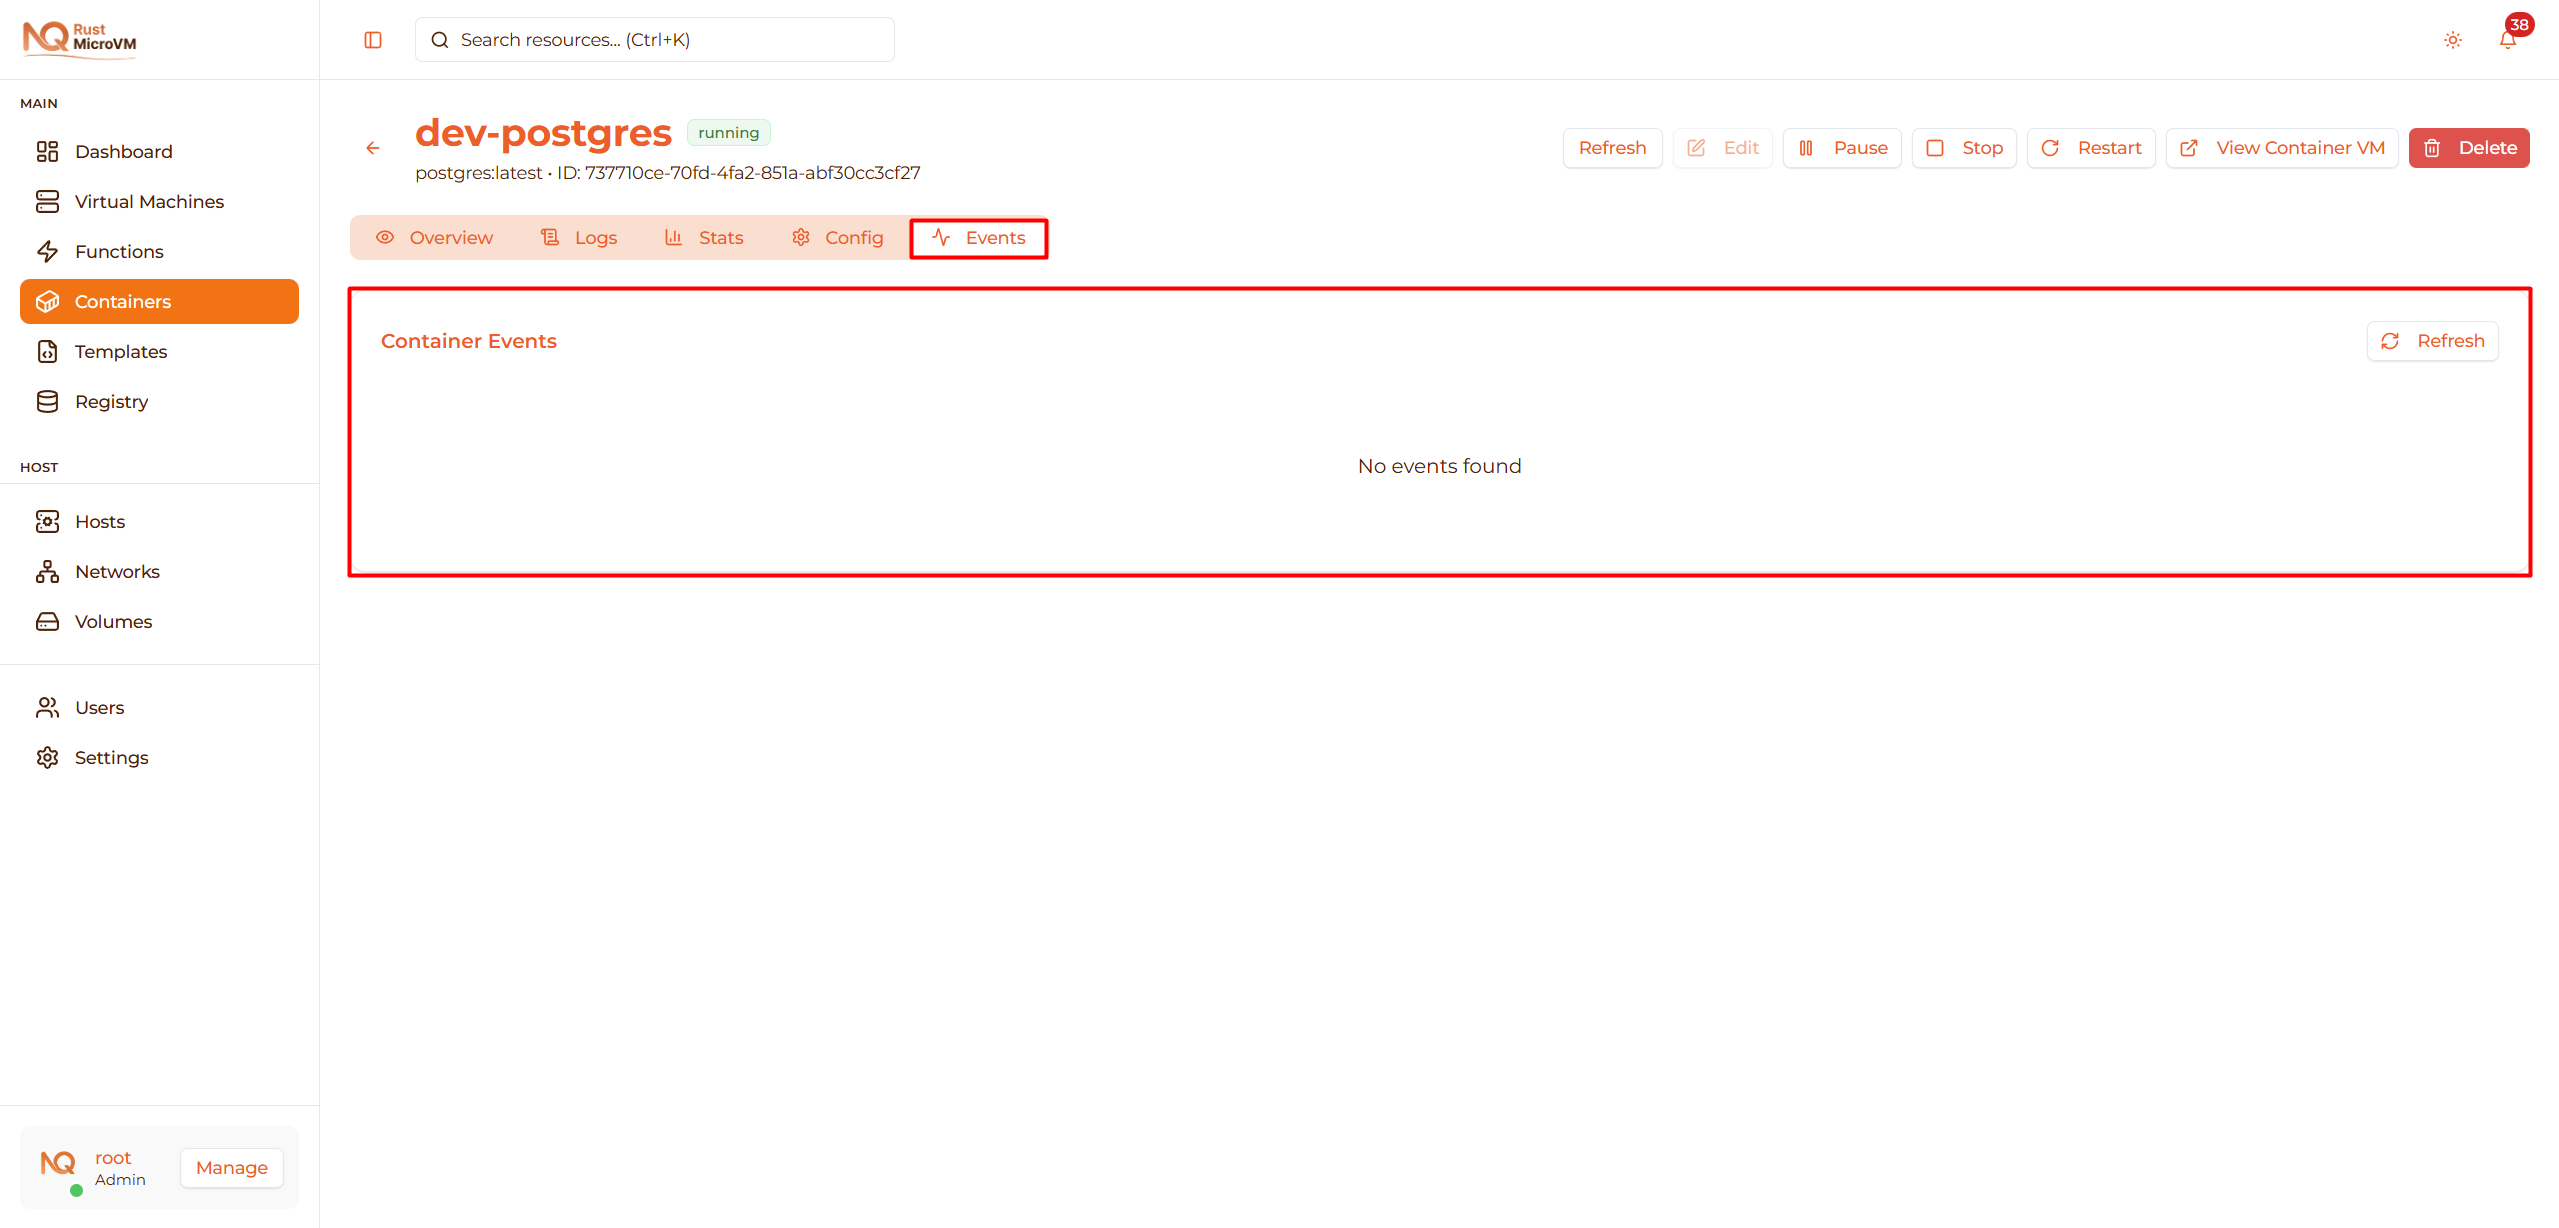
Event types:
- Container created
- Container started
- Container stopped
- Container deleted
- State changes
- Errors and warnings
Event details:
- Timestamp
- Event type
- Event message
- Actor (who triggered)
Edit Container
Modify container configuration when stopped.
When Available
Edit button is enabled only when:
- ✅ Container is Stopped
- ✅ Container is in Error state
- ❌ Disabled when Running, Paused, or Creating
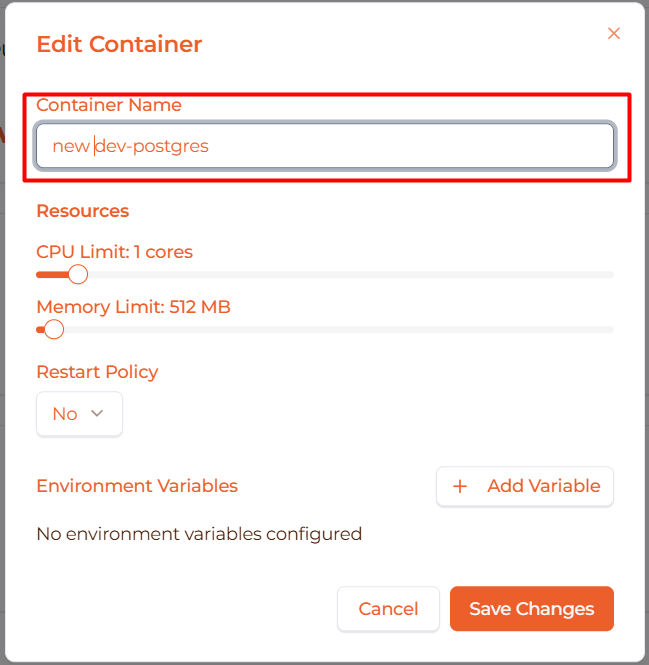
Open Edit Dialog
Click “Edit” button to open the edit dialog:
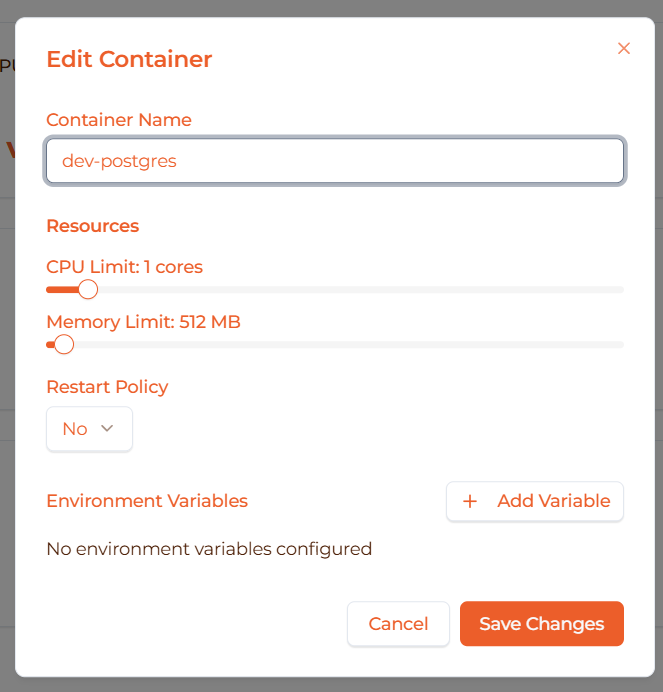
Editable Fields
You can modify:
1. Resource Limits:
- CPU limit (0.1 to 16 vCPU)
- Memory limit (64 MB to 32 GB)
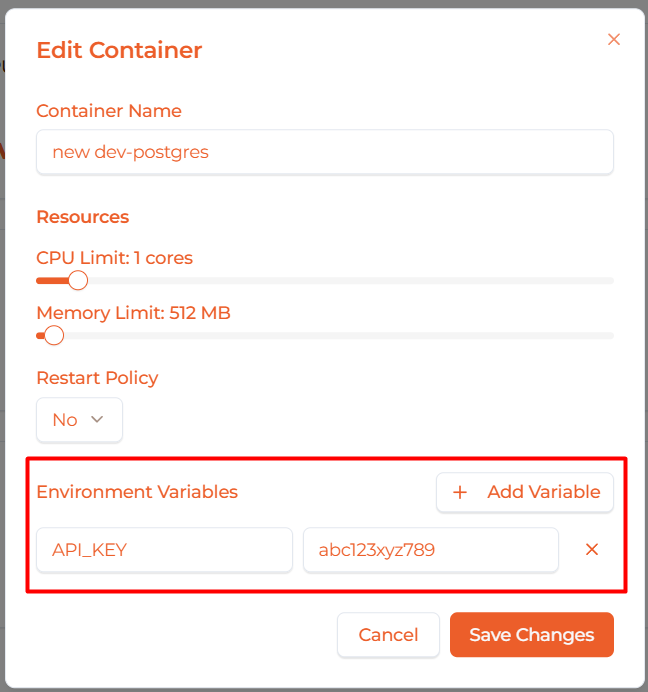
2. Environment Variables:
- Add new variables
- Modify existing variables
- Remove variables
Not editable after creation:
- ❌ Container name
- ❌ Image name
- ❌ Volume mounts (create new container instead)
Save Changes
After editing:
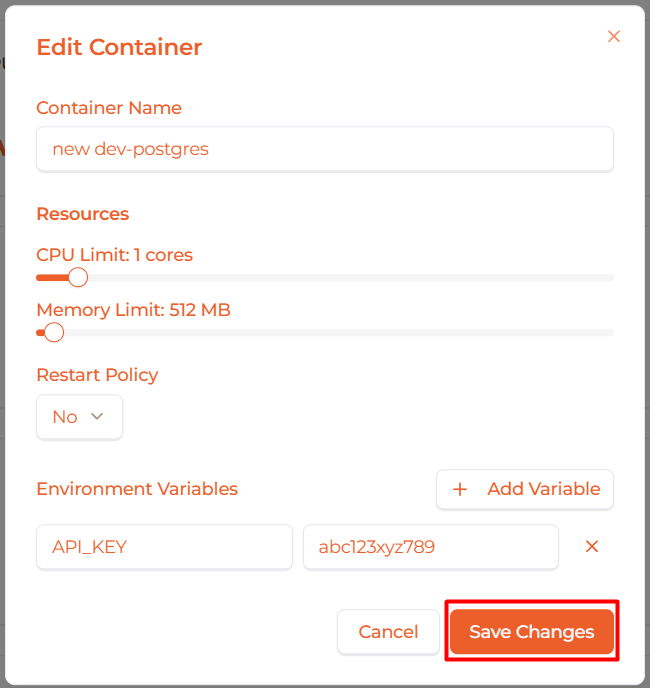
- Review your changes
- Click “Save Changes”
- Container configuration is updated
- Start container to apply changes
Important: Changes only take effect after starting the container.
View Container VM
Each container runs in its own dedicated Firecracker microVM. You can view the underlying VM:
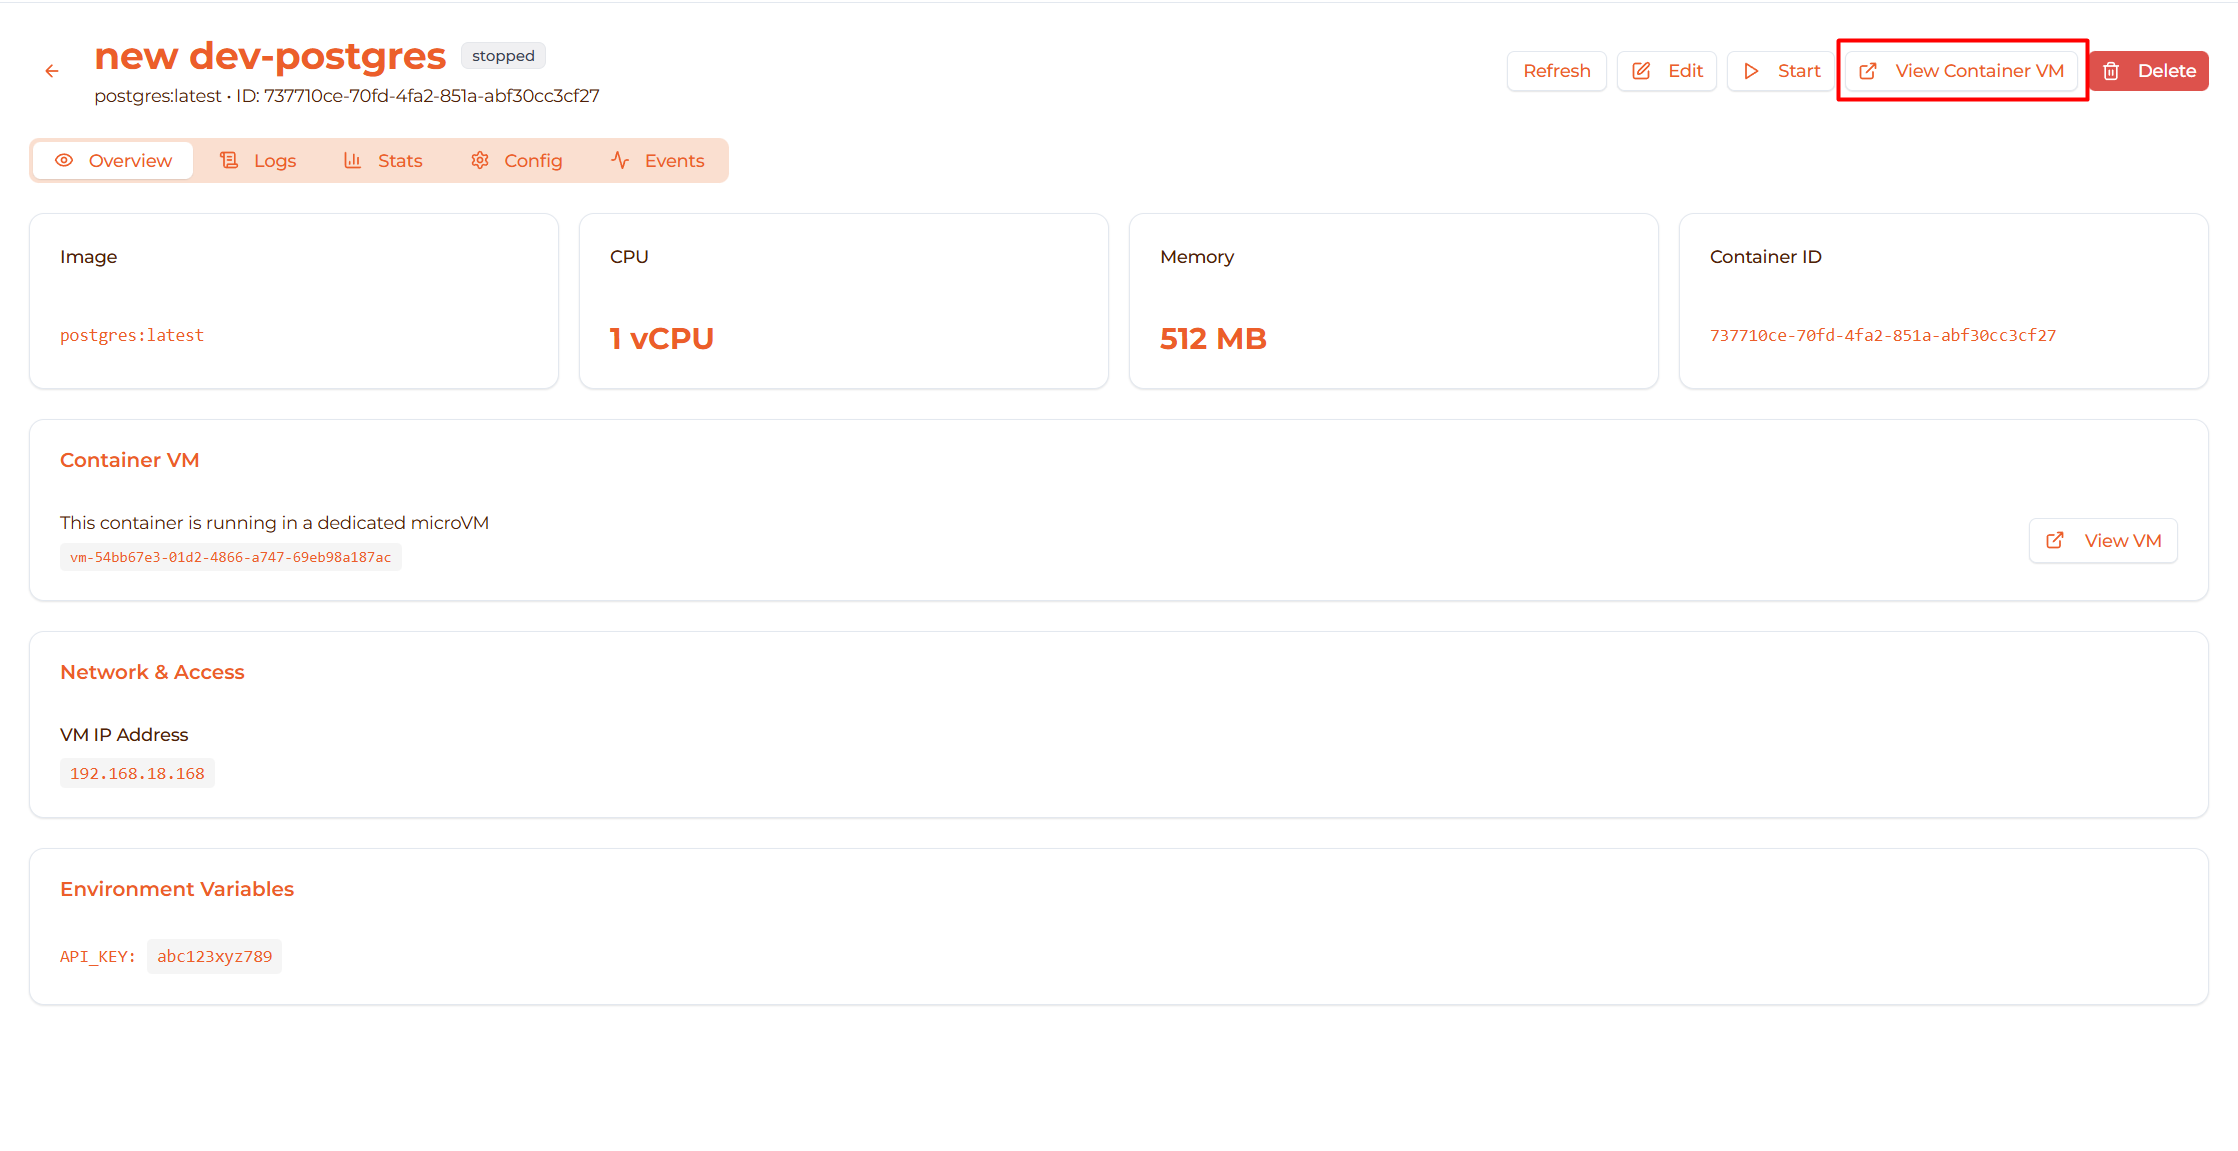
Access Container VM
Click “View Container VM” button:
- Opens VM detail page in new view
- Shows VM that’s running this container
- View VM logs, metrics, configuration

Container VM Details
The container’s VM shows:
- VM ID - Unique identifier (starts with “vm-”)
- State - VM state (matches container state)
- Resources - CPU and memory allocated
- Network - VM network configuration
- Logs - VM boot and system logs
Use cases:
- Debug VM-level issues
- Check VM boot logs
- Verify network configuration
- Monitor VM resource usage
Refresh Container List
Keep the container list up-to-date:

How to Refresh
Click the “Refresh” button in the page header.
What happens:
- Button shows “Refreshing…” with spinner
- Fetches latest container data
- Table updates with new information
When to refresh:
- After deploying new container
- Check status changes
- Verify action completed
- Monitor multiple containers
Auto-refresh: Not available yet. Manual refresh required.
Common Management Tasks
Task: Stop All Running Containers
Steps:
- Filter by status: “Running”
- For each running container, click Stop button
- Wait for each to reach “Stopped” state
- Refresh list to verify
Use case: Maintenance, resource cleanup, shutdown
Task: Restart Failed Containers
Steps:
- Filter by status: “Error”
- For each error container:
- Click container name to view details
- Check logs for error reason
- Fix issue (if configuration problem)
- Delete and recreate container
Use case: Recover from errors, fix configuration
Task: Find Resource-Heavy Containers
Steps:
- Filter by status: “Running”
- Look at CPU and Memory columns
- Click containers with high resources
- Go to Stats tab
- Analyze actual resource usage
- Adjust limits if needed (stop, edit, start)
Use case: Optimize resource allocation, find bottlenecks
Task: Clean Up Old Containers
Steps:
- Filter by status: “Stopped”
- Check Uptime column (shows when last run)
- Delete containers no longer needed
- Confirm deletion for each
Use case: Free up resources, clean up old deployments
Task: Monitor Production Containers
Workflow:
- Search for “prod” to find production containers
- Verify all are in “Running” state
- Click each to check:
- Logs tab: No errors
- Stats tab: Resource usage normal
- Uptime: Stable, no restarts
Use case: Daily health checks, monitoring
Permissions and Access Control
Owner-based Access
Containers are owned by the user who created them:

Owner indicators:
- “You” - Your containers (full control)
- “Other User” - Another user’s containers (limited access)
- “System” - System containers (limited access)
Permission Levels
Your containers (Owner: “You”):
- ✅ View details
- ✅ View logs, stats, config
- ✅ Start, stop, restart, pause, resume
- ✅ Edit configuration
- ✅ Delete
Other users’ containers:
- ✅ View in list (if admin/viewer role)
- ❌ Cannot modify
- ❌ Cannot delete
- Shows “Not permitted” in Actions column

Troubleshooting
Issue: Container Won’t Start
Symptoms:
- Click Start button
- Container goes to “Booting” then back to “Stopped”
- Or goes to “Error” state

Solutions:
Check logs:
- Go to Logs tab
- Look for error messages
- Common: Port conflict, missing env vars
Verify configuration:
- Go to Config tab
- Check environment variables
- Verify port mappings
Check host resources:
- Go to Dashboard → Hosts
- Verify host has enough CPU/memory
- Check host is online
Check container VM:
- Click “View Container VM”
- Check VM state
- View VM logs
Issue: Container Keeps Restarting
Symptoms:
- Container reaches “Running”
- Then goes back to “Stopped”
- Repeats continuously

Solutions:
Check application logs:
- View Logs tab quickly after restart
- Look for crash messages
- Common: Application errors, missing dependencies
Verify environment variables:
- Check required env vars are set
- Examples:
POSTGRES_PASSWORD,API_KEY
Check image requirements:
- Read Docker Hub documentation
- Verify all requirements met
- Check minimum memory requirements
Test locally:
  docker run -it --rm \
  -e VAR=value \
  -p 8080:80 \
  nginx:alpine
Issue: Can’t Delete Container
Symptoms:
- Delete button is disabled
- Container state is “Running” or “Paused”

Solution:
- Stop container first:
- Click Stop button (if running)
- Or Resume then Stop (if paused)
- Wait for “Stopped” state
- Then click Delete
Why: Can’t delete running containers to prevent data loss.
Issue: Edit Button Disabled
Symptoms:
- Edit button is grayed out
- Container is running

Solution:
- Stop container first:
- Click Stop button
- Wait for “Stopped” state
- Then click Edit
Why: Can’t edit configuration while container is running.
Issue: Actions Show “Not Permitted”
Symptoms:
- Can see container in list
- Actions column shows “Not permitted”
- Can’t start, stop, or delete

Reason:
- Container was created by another user
- You don’t have permission to modify
Solution:
- Ask container owner to grant access
- Or ask admin to transfer ownership
- Or create your own container
Issue: Container Missing from List
Symptoms:
- Container existed before
- Now missing from table
- Not deleted intentionally

Solutions:
Check filters:
- Verify status filter is “All Status”
- Clear search box
- Click “Refresh”
Check ownership filter:
- Non-admin users only see their own containers
- Admin/viewer roles see all containers
Verify not deleted:
- Check with other team members
- Check Events tab of other containers
Best Practices
Lifecycle Management
✅ Stop containers when not in use:
- Free up host resources
- Reduce costs
- Easy to restart when needed
✅ Monitor container health:
- Check logs regularly
- Monitor resource usage in Stats
- Watch for errors or warnings
✅ Restart containers periodically:
- Clear memory leaks
- Apply configuration changes
- Refresh connections
❌ Don’t delete containers with data:
- Stop instead of delete if data is important
- Use volumes for persistent data
- Volumes survive container deletion
Resource Optimization
✅ Right-size containers:
- Monitor actual usage in Stats tab
- Adjust resources based on data
- Stop, edit, start to apply new limits
✅ Use pause for temporary idle:
- Pause instead of stop for short periods
- Resume faster than restart
- Maintains state
❌ Don’t over-allocate resources:
- Check actual usage before increasing
- Wastes host resources
- Limits number of deployable containers
Security
✅ Regular updates:
- Periodically recreate containers with latest images
- Check for security updates
- Test before deploying to production
✅ Review permissions:
- Check who has access to containers
- Remove unnecessary access
- Use ownership model properly
✅ Monitor logs:
- Watch for unusual activity
- Check for unauthorized access
- Set up alerts (future feature)
Troubleshooting
✅ Check logs first:
- Most issues show up in logs
- Start with Logs tab
- Look for error messages and stack traces
✅ Use Stats for resource issues:
- If container is slow, check Stats
- Look for high CPU or memory
- Adjust limits if needed
✅ Test configuration changes:
- Edit container when stopped
- Test in non-production first
- Verify before deploying
Quick Reference
Container State Actions
| Current State | Available Actions |
|---|---|
| Creating | Wait |
| Booting | Wait |
| Initializing | Wait |
| Running | Stop, Restart, Pause, Logs, Shell, Stats |
| Stopped | Start, Edit, Delete |
| Paused | Resume, Stop |
| Error | Logs, Edit, Delete |
Common Action Shortcuts
| Want to… | Steps |
|---|---|
| Start container | Click ▶️ Play button |
| Stop container | Click ⏹️ Stop button |
| Restart container | Click 🔄 Restart button |
| View logs | Click 📄 Logs button |
| Open shell | Click ⌨️ Shell button |
| Delete container | Stop → Click 🗑️ Delete → Confirm |
| Edit config | Stop → Edit → Save → Start |
Keyboard Shortcuts
| Shortcut | Action |
|---|---|
| Click container name | Open detail page |
| Back button | Return to containers list |
| Tab in table | Navigate to next cell |
Next Steps
- View Logs - Real-time log streaming and debugging
- Monitor Stats - Resource usage and performance metrics
- Deploy a Container - Create new containers
- Container Overview - Learn more about containers