Settings
Settings
The Settings page lets you configure your account profile, platform appearance, system defaults, logging, and license. Click Settings in the left sidebar to open it.
Settings are organized into six tabs:
| Tab | What you can configure |
|---|---|
| Account | Profile, password, avatar |
| Appearance | Theme, timezone, language |
| Logging | Activity logs, export |
| Defaults | Default VM resource sizes |
| System | Platform info and database stats |
| License | Software license activation and status |
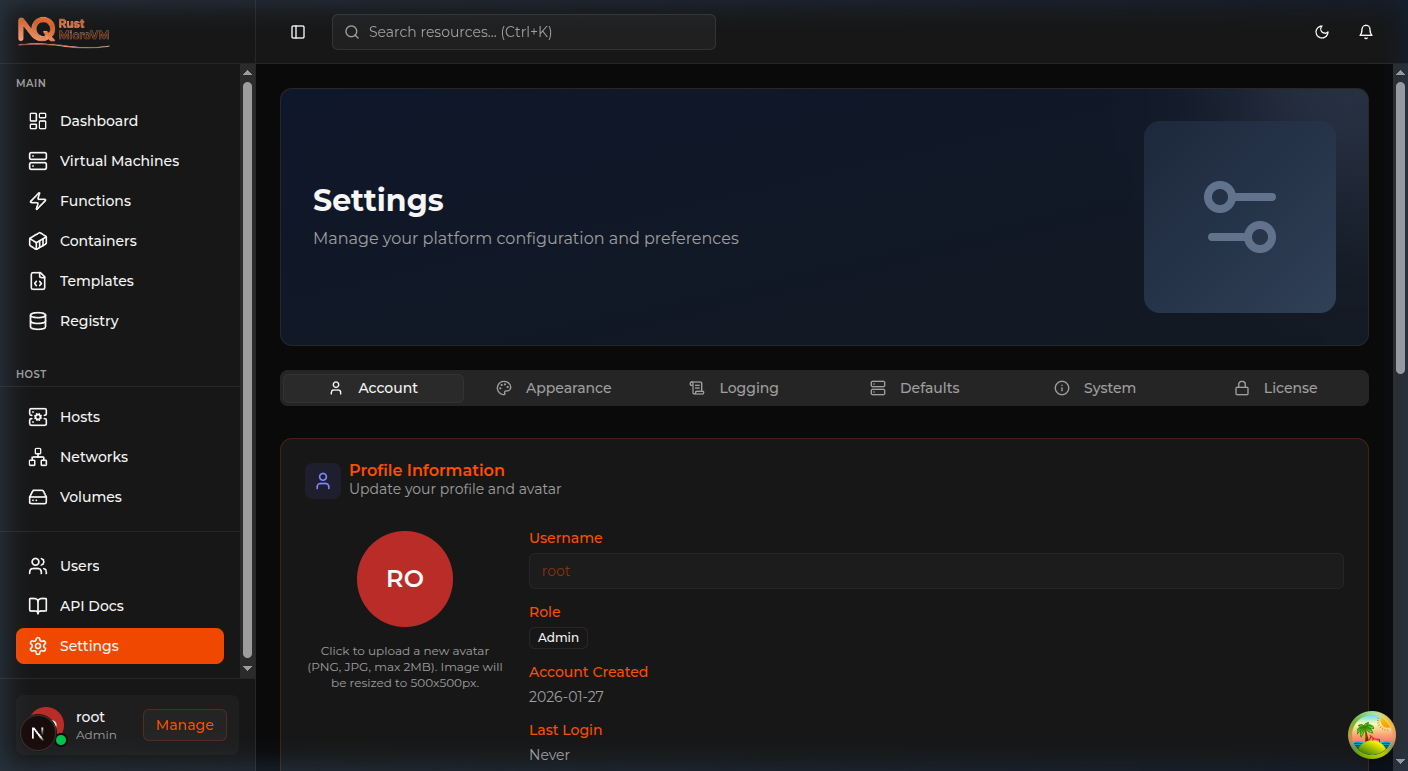
Account Tab

Manage your user profile:
- Display Name / Avatar — Upload a profile picture or change your display name
- Change Password — Enter your current password and a new one to update it
- Profile Information — Update username and other account details
Changing Your Password
- Go to Settings → Account
- Scroll to the Change Password section
- Enter your current password
- Enter and confirm your new password
- Click Save
Appearance Tab
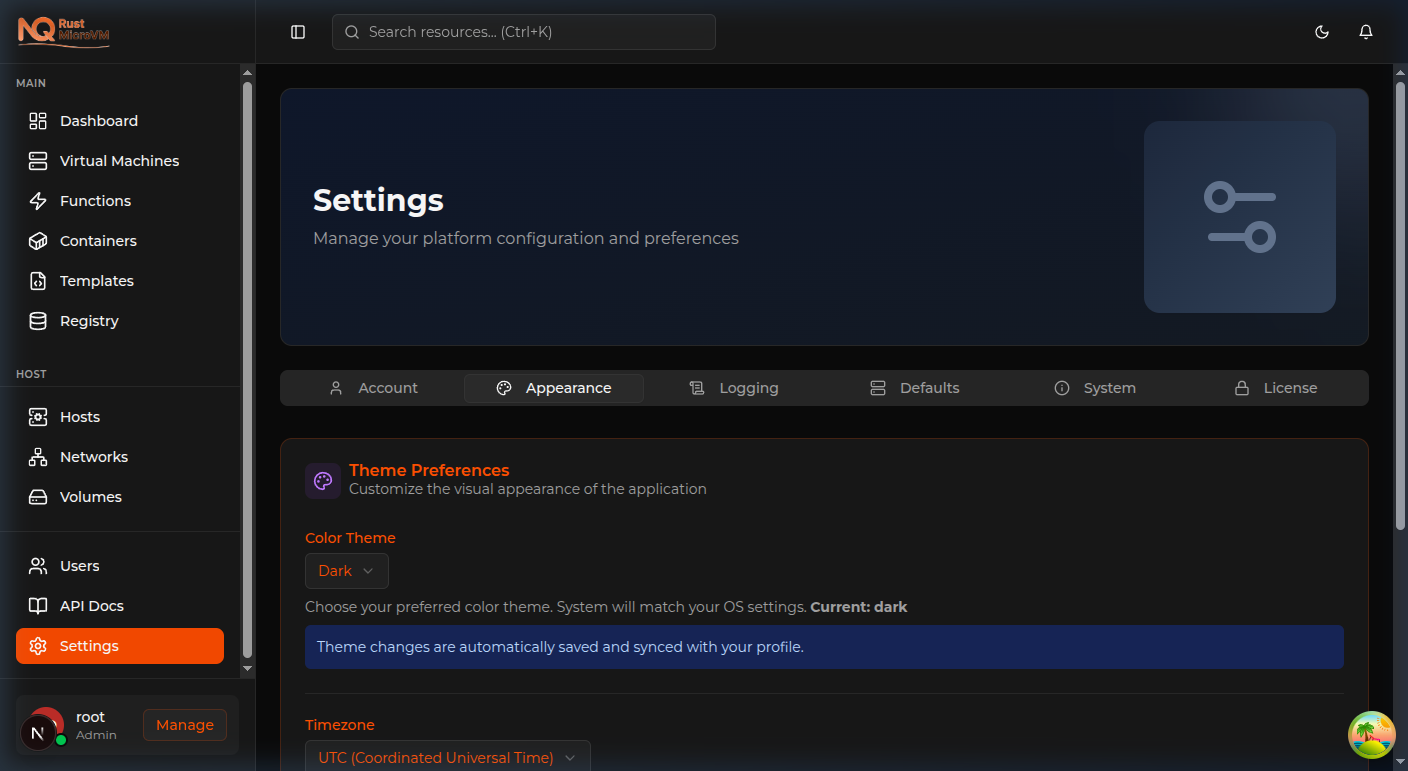
Customize the look and feel:
- Theme — Choose Dark, Light, or System default
- Timezone — Set your local timezone for timestamps
- Date Format — Switch between regional date formats
- Language — Interface language preference
Changes apply immediately without a page reload.
Logging Tab
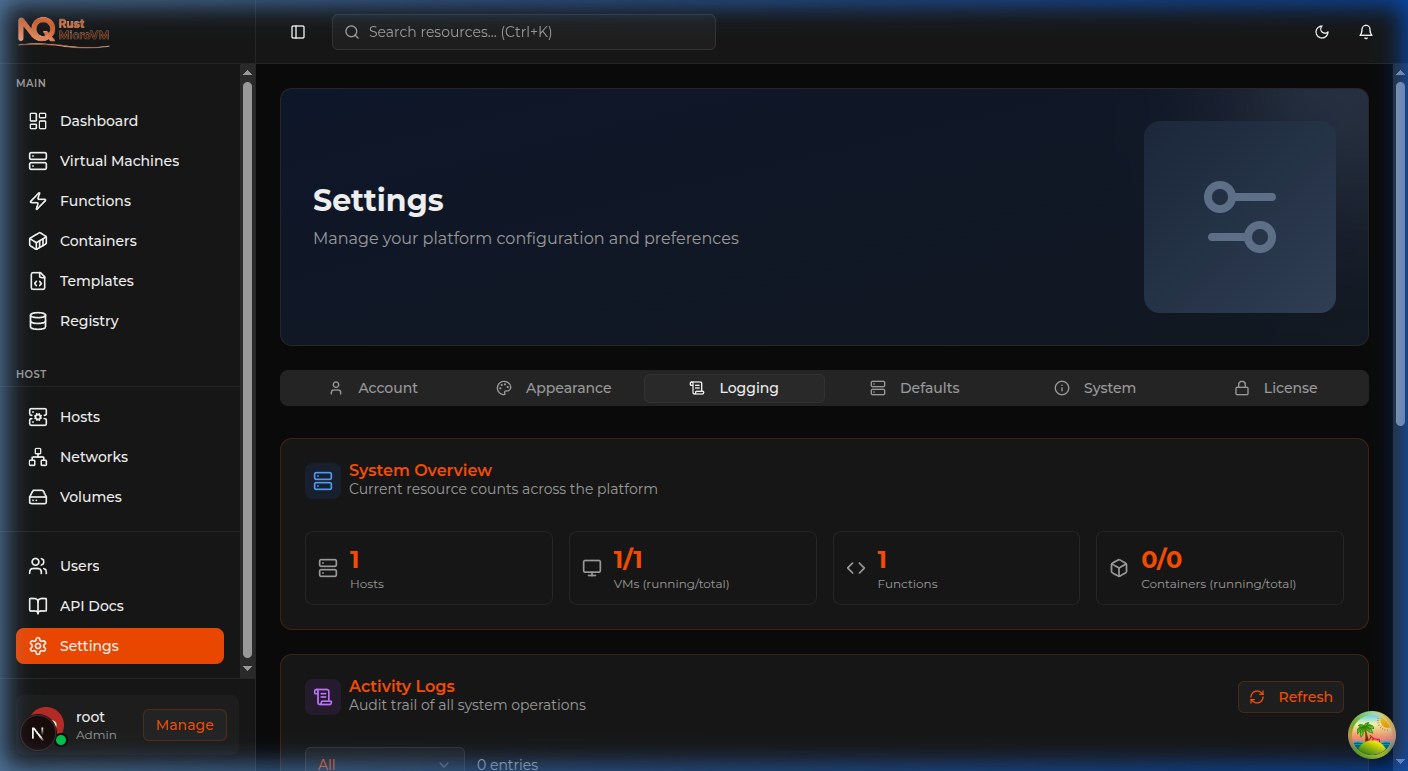
View the platform activity log, which records system events such as:
- VM lifecycle operations (create, start, stop, delete)
- User logins and authentication events
- Container deployments
- License activations
Use the Export button to download logs as CSV for compliance or review purposes.
Defaults Tab

Configure default values pre-filled when creating new VMs:
- vCPUs — Default CPU count for new VMs
- Memory — Default RAM allocation (MB)
- Boot Arguments — Default kernel boot args
- Image Selection — Preferred kernel and rootfs images
These are user-level preferences — each user can set their own defaults.
System Tab
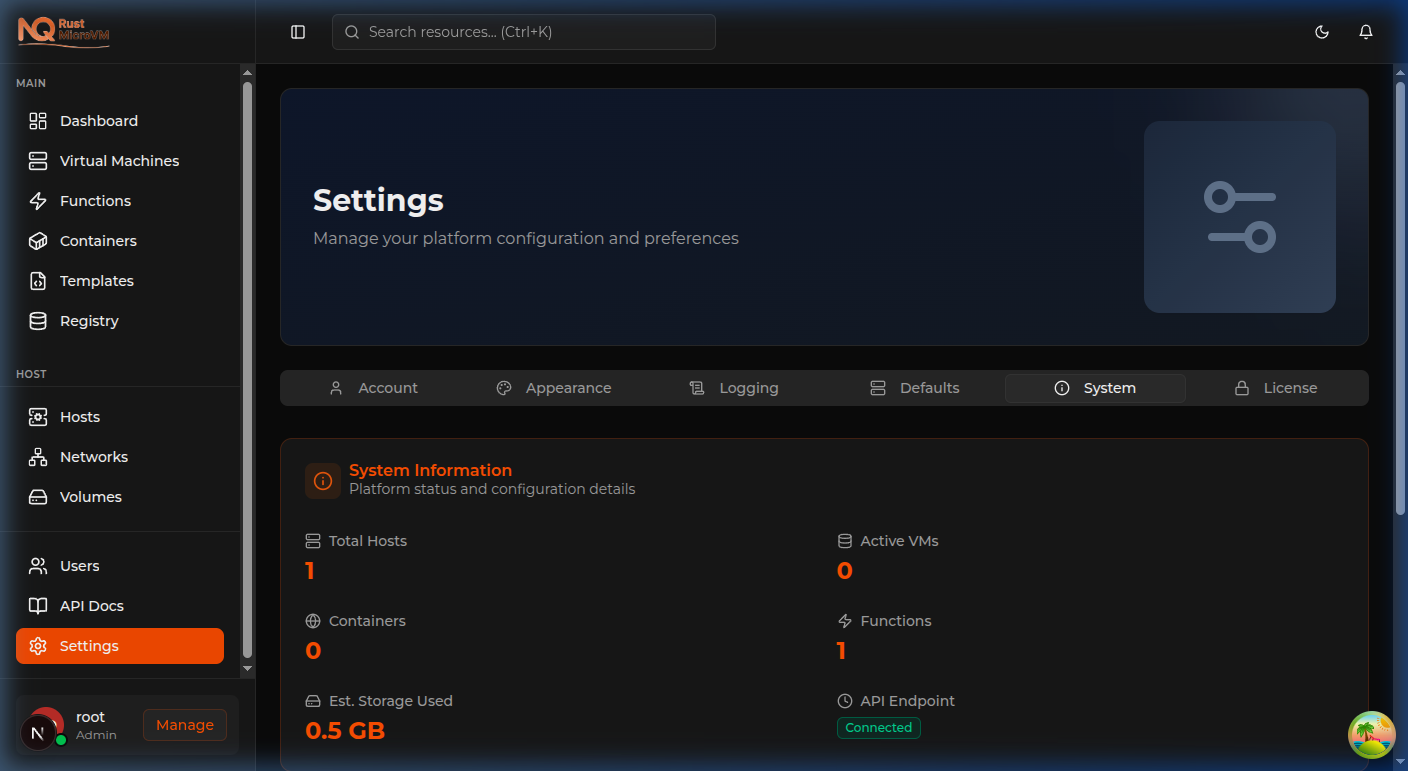
View platform status and technical information:
- Manager Version — Current build version
- Database — PostgreSQL connection status and migration version
- Uptime — How long the Manager service has been running
- Registered Hosts — Count of active compute hosts
- API Endpoint — Manager API URL for client configuration
This tab is read-only and useful for support and diagnostics.
License Tab
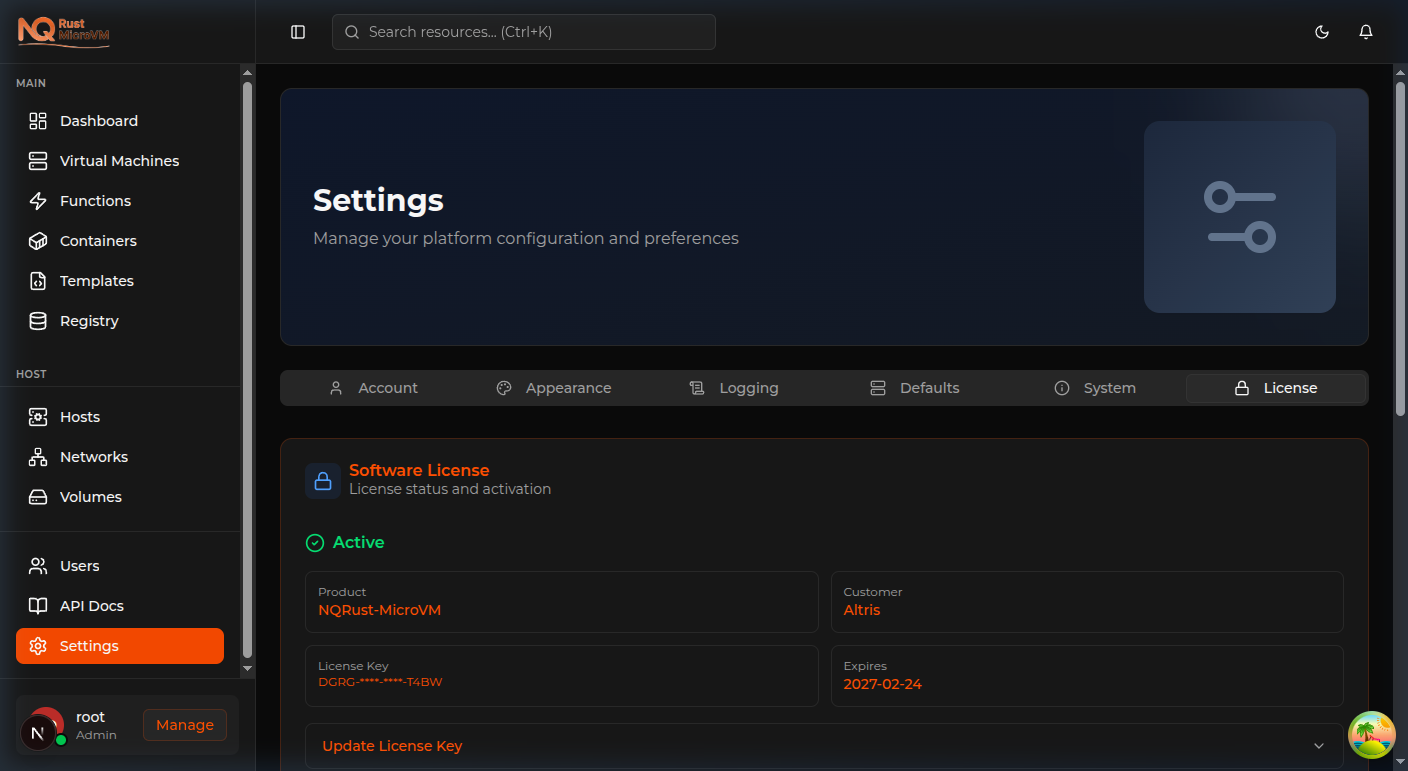
Manage your software license:
License Status
The License tab shows current activation status:
- 🟢 Active — License is valid and activated
- 🟡 Grace Period — License expired; limited time to re-activate
- 🔴 Unlicensed — No valid license; restricted to setup page
Viewing License Details
When activated, you’ll see:
- Product — Licensed product name
- Customer — Your organization name
- License Key — Masked key (e.g.
DGRG-****-****-T4BW) - Expires — License expiry date
Activating a License
If your license is not yet activated:
- Go to Settings → License
- Click Update License Key
- Enter your license key in
XXXX-XXXX-XXXX-XXXXformat - Click Activate
For offline activation, use the Upload License File option to upload a .lic file provided by Nexus Quantum.
EULA
The License tab also shows your EULA acceptance status and links to the full End User License Agreement. Click View EULA to open the full agreement.