Backup & Snapshot
Learn how to protect your VMs with snapshots for quick backup and recovery.
What are Snapshots?
Snapshots capture the complete state of a VM at a specific point in time:
- Full VM State: Memory, disk, and configuration
- Instant Creation: Takes seconds to create
- Quick Restore: Restore VM in seconds
- Multiple Snapshots: Keep several backup points
Use Cases
Before Risky Changes:
Create Snapshot → Make Changes → Success? Keep | Failure? Restore
Regular Backups:
- Daily snapshots of production VMs
- Before system updates
- Before application deployments
Testing & Development:
- Save clean state before testing
- Restore to clean state between tests
- Experiment safely
Disaster Recovery:
- Quick recovery from failures
- Rollback from bad updates
- Restore from accidental deletions
Creating a Snapshot
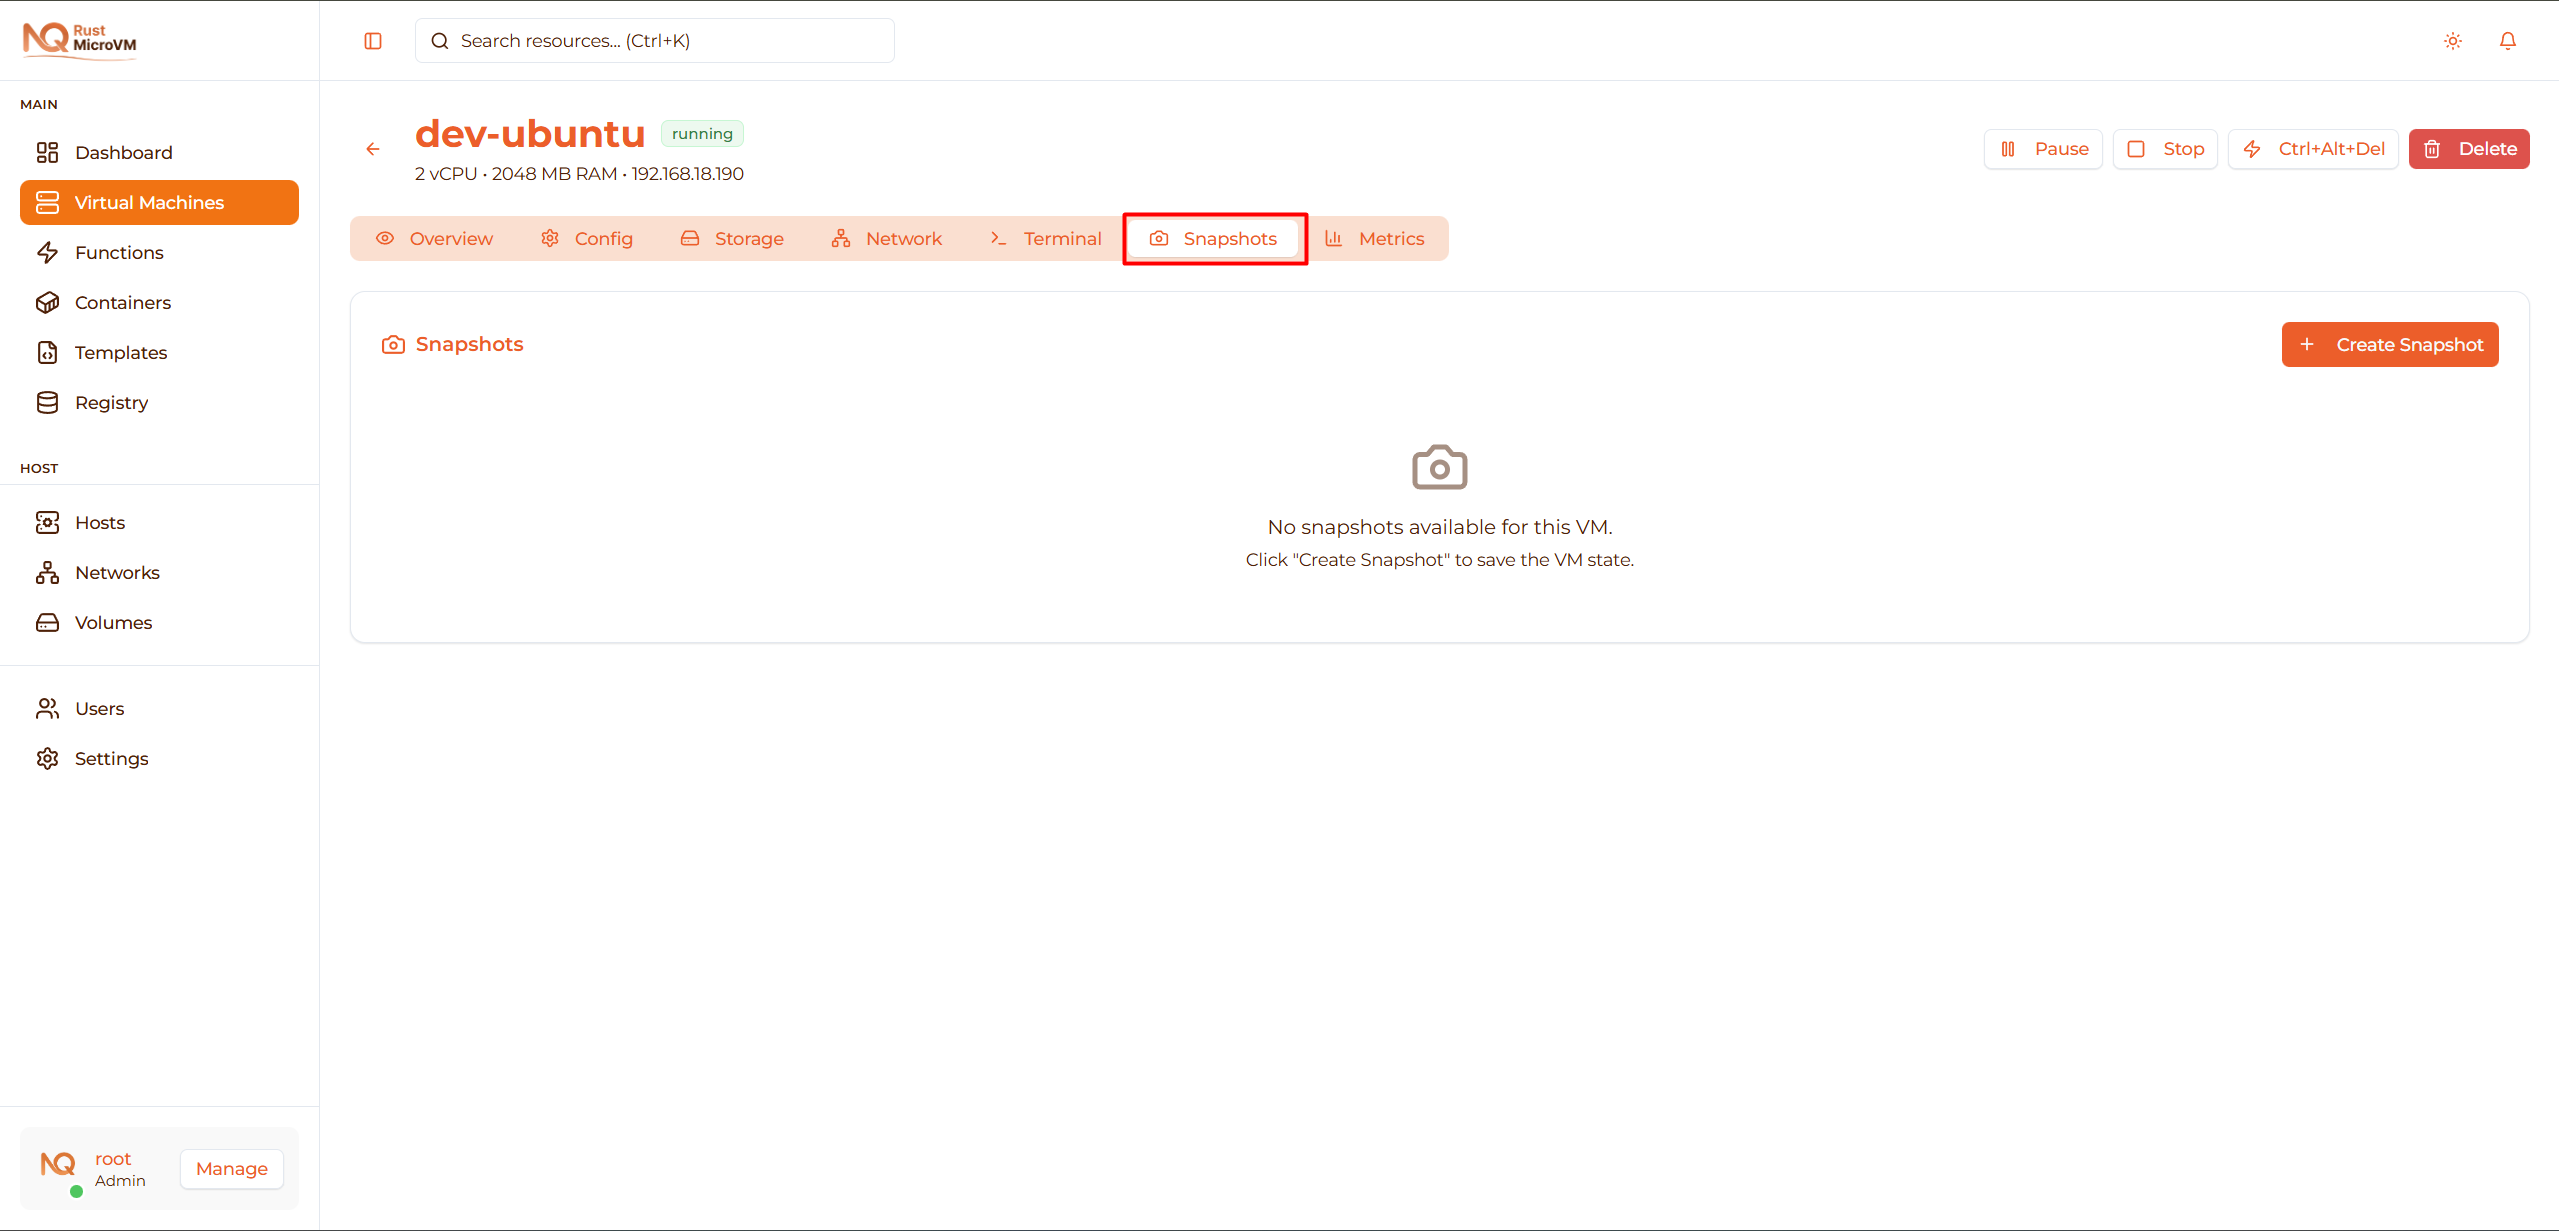
Step 1: Navigate to VM
- Go to Virtual Machines page
- Click on the VM you want to snapshot
- Click the Snapshots tab
Step 2: Create Snapshot
Click the Create Snapshot button:
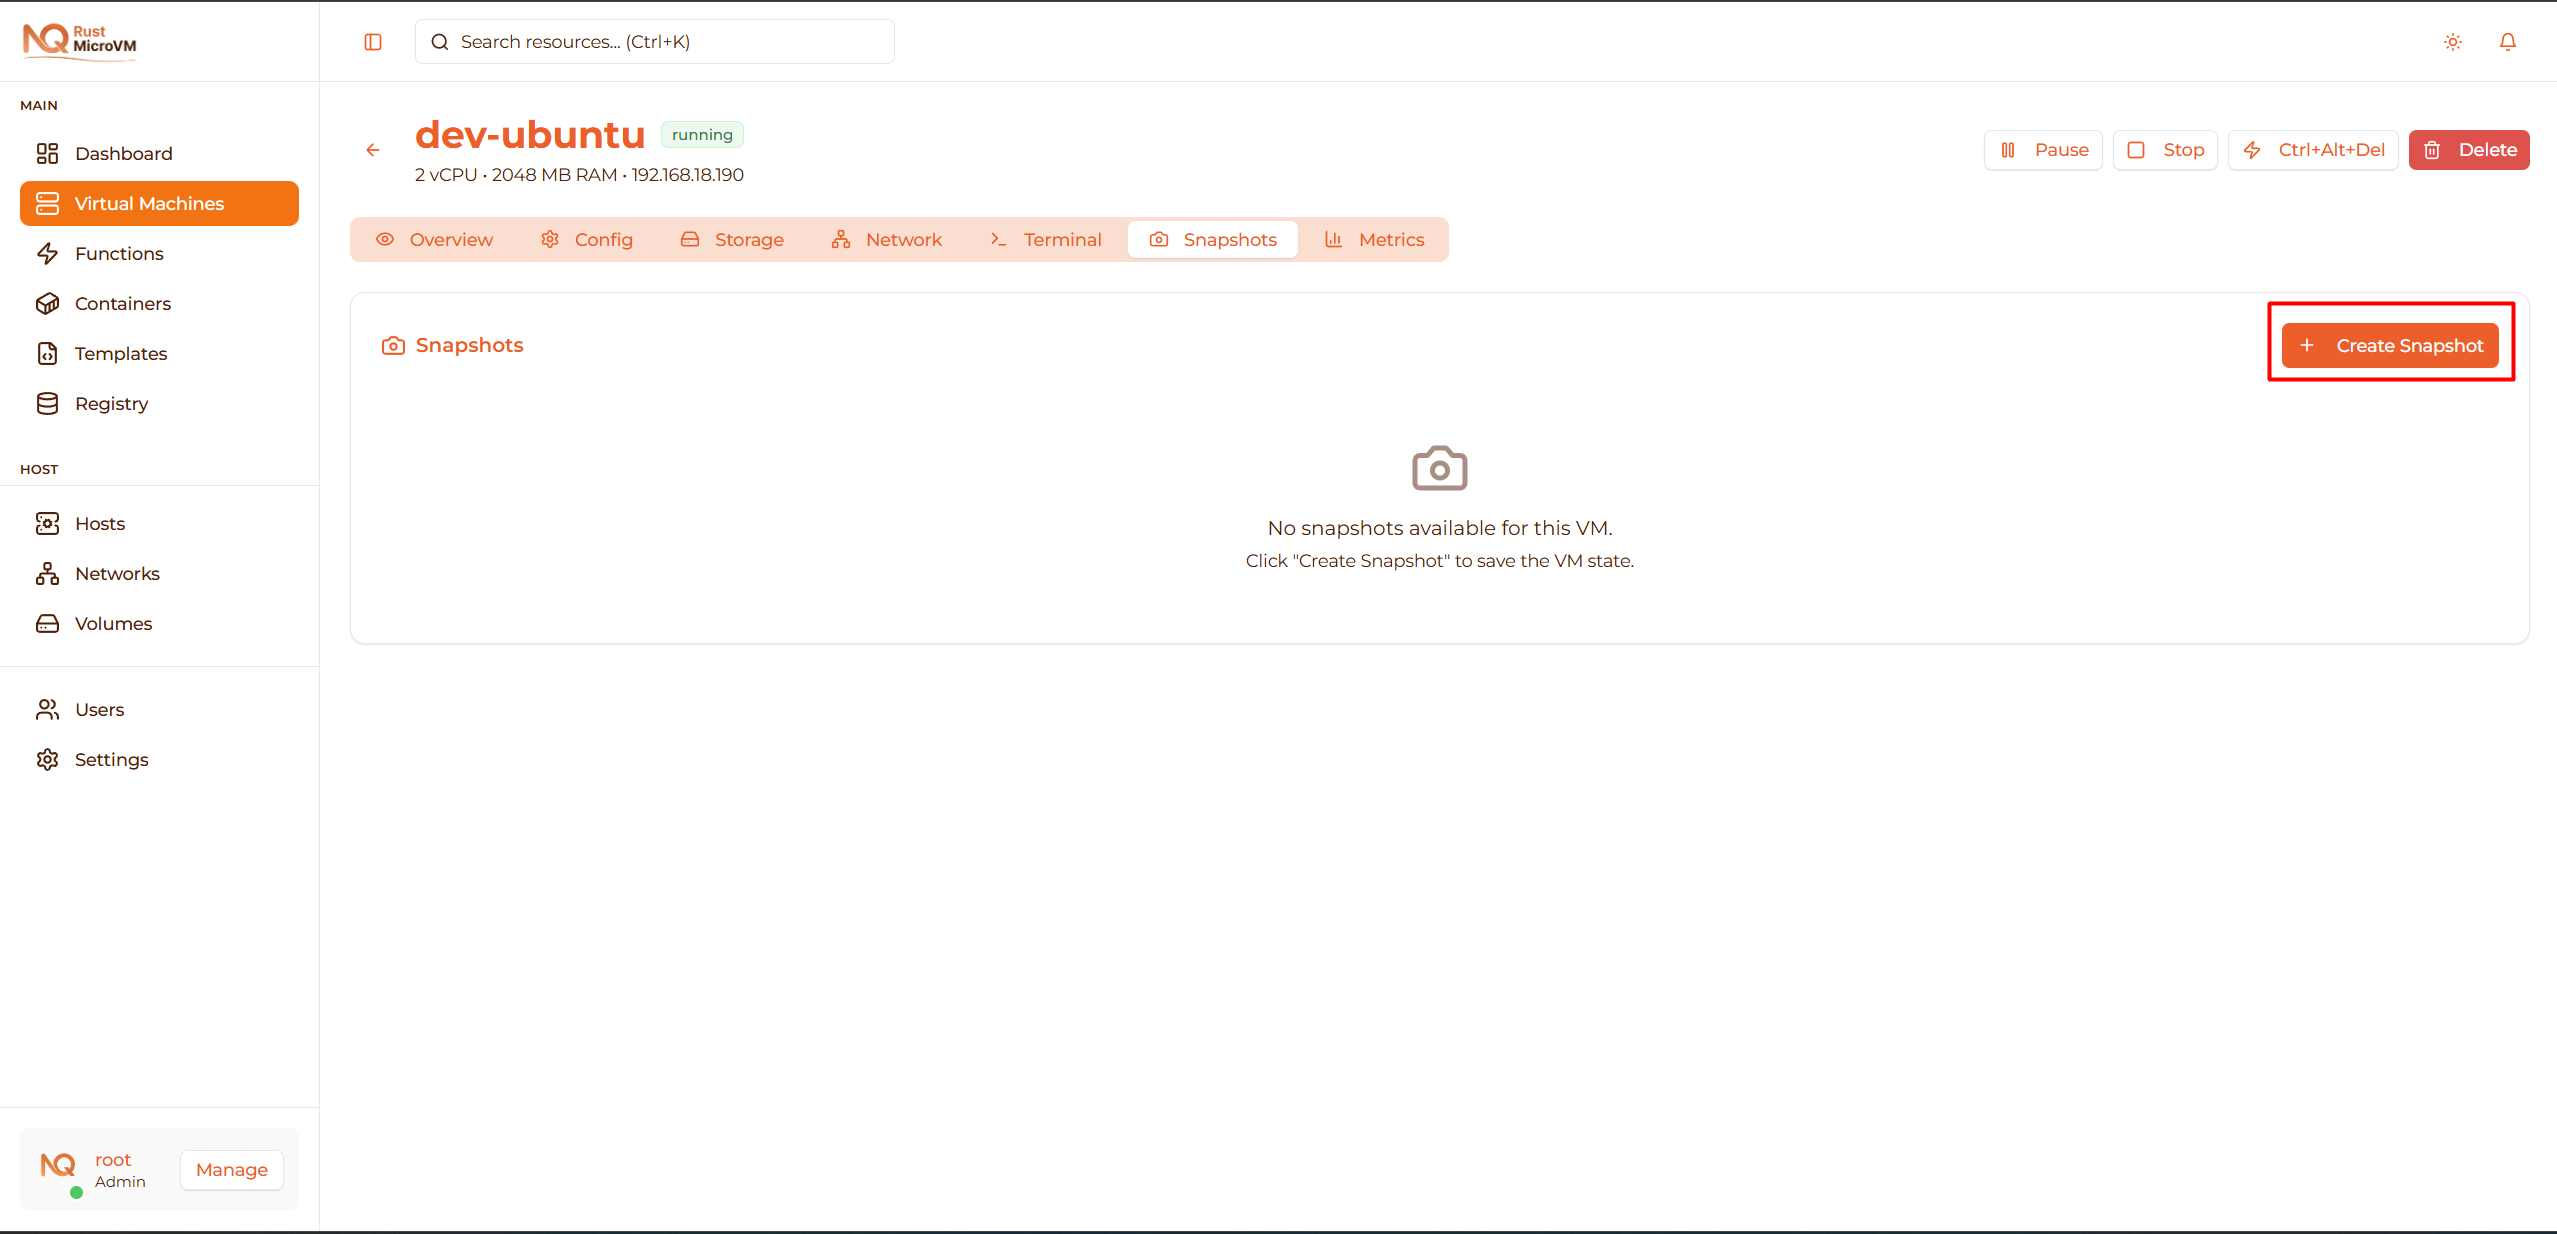
A dialog will appear:
Step 3: Enter Snapshot Details
Snapshot Name:
- Use descriptive names
- Include date/time or purpose
- Examples:
before-upgrade-2025-12-16clean-installbefore-database-migrationdaily-backup-20251216
Description (Optional):
  Before upgrading to PostgreSQL 15
Installed packages: postgresql-14, nginx, nodejs
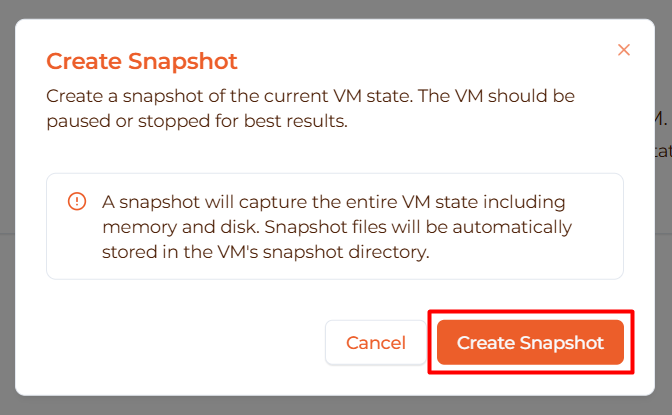
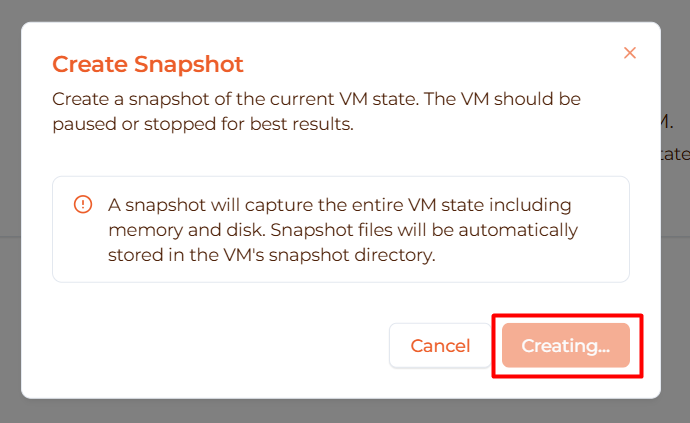
Step 4: Create
Click Create to start the snapshot process:
What happens:
- VM state is paused briefly
- Memory contents are saved
- Disk state is captured
- VM resumes automatically
Time: Usually 5-15 seconds depending on VM size
Step 5: Snapshot Created
The new snapshot appears in the list:

You’ll see:
- Snapshot name
- Creation date/time
- Size (disk + memory)
- Actions (Restore, Delete)
Restoring from Snapshot
Warning: Restoring replaces current VM state with snapshot!
Before Restoring
Important considerations:
- Current VM data will be lost
- VM will revert to snapshot time
- Create new snapshot of current state if needed
- Stop VM before restoring (recommended)
Restore Process
- Go to VM Snapshots tab
- Find the snapshot you want to restore
- Click Restore button

- Confirm the restoration:
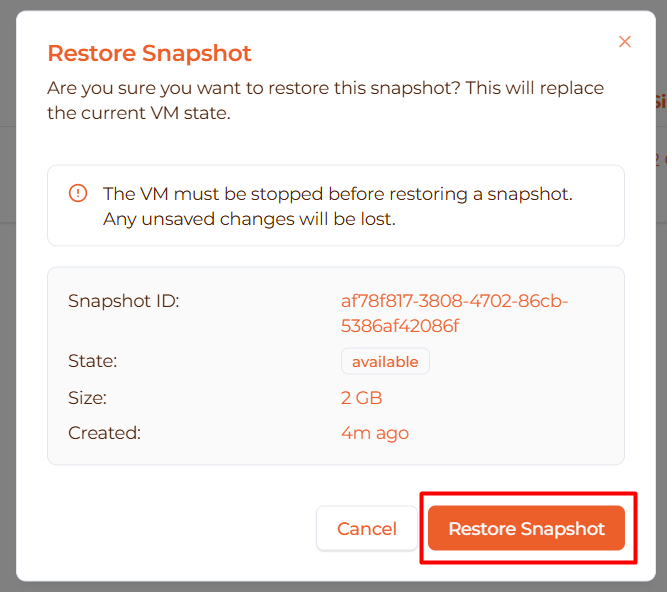
Confirmation message:
  ⚠️  Warning: This will restore VM to snapshot state.
Current data will be lost. This cannot be undone.

Snapshot: before-upgrade-2025-12-16
Created: 2025-12-16 10:30:00

Type VM name to confirm: my-vm
- Type VM name and click Confirm Restore
Restoration Progress
The system will:
- Stop the VM (if running)
- Replace disk with snapshot
- Restore memory state
- Restart the VM
Time: Usually 10-30 seconds
Verify Restoration
After restoration:
- Check VM is in “Running” state
- Access console and verify data
- Test that everything works as expected
- Check timestamp — should match snapshot time
Example verification:
  # Check system uptime (should show recent boot)
uptime

# Check file timestamps
ls -la /var/log/

# Verify applications are running
ps aux | grep nginx
Managing Snapshots
Renaming a Snapshot
- Click ⋮ menu next to snapshot
- Select Rename
- Enter new name
- Click Save
Deleting a Snapshot
Caution: Deleted snapshots cannot be recovered!
- Click ⋮ menu next to snapshot
- Select Delete
- Confirm deletion
What happens:
- Snapshot is permanently removed
- Disk space is freed
- Cannot be restored after deletion
- VM is not affected
Snapshot Types
Full Snapshots
Captures complete VM state:
- ✅ All disk data
- ✅ Memory contents
- ✅ Configuration
- ✅ Independent restore point
Size: Matches VM disk + memory size
Use when: Creating major backup points
Incremental Snapshots
Captures only changes since last snapshot:
- ✅ Changes since parent snapshot
- ✅ Smaller size
- ✅ Faster creation
- ⚠️ Requires parent snapshot
Size: Only changed data
Use when: Frequent backups of same VM
Best Practices
Snapshot Naming
Good names:
  before-update-2025-12-16
after-install-postgres
clean-os-install
production-daily-20251216-0300
pre-migration-backup
Bad names:
  snapshot1
backup
test
20251216
Snapshot Frequency
Production VMs:
- Daily snapshots at off-peak hours
- Before any changes
- Keep last 7 daily snapshots
- Monthly long-term snapshots
Development VMs:
- Before major changes
- After successful configurations
- Clean state snapshots
- Keep 2-3 recent snapshots
Test VMs:
- Before each test cycle
- Clean baseline state
- Delete after testing complete
Snapshot Retention
Recommended retention policy:
| Snapshot Type | Keep For | Example |
|---|---|---|
| Daily | 7 days | Last week’s backups |
| Weekly | 4 weeks | Last month |
| Monthly | 3-12 months | Quarterly archives |
| Before Changes | Until verified | 1-2 weeks |
Delete old snapshots:
- Free up disk space
- Reduce clutter
- Focus on important backups
- Automate cleanup if possible
Storage Management
Monitor snapshot storage:
- Go to Snapshots page
- Check total size
- Review storage usage
Optimize storage:
- Delete unnecessary snapshots
- Use incremental snapshots
- Compress old snapshots
- Archive to external storage
Disaster Recovery
Recovery Plan
Scenario: VM crashed and won’t boot
Recovery steps:
Assess damage:
- Try restarting VM
- Check error messages
- Identify last known good state
Find latest snapshot:
- Go to VM Snapshots tab
- Identify most recent working snapshot
- Note what data will be lost
Restore snapshot:
- Stop failed VM
- Click Restore on chosen snapshot
- Confirm restoration
- Wait for completion
Verify recovery:
- Check VM starts successfully
- Test critical services
- Verify data integrity
- Document what was lost
Prevent recurrence:
- Identify failure cause
- Implement fixes
- Create new snapshot of fixed state
Testing Restores
Monthly practice:
- Choose non-critical VM
- Create test snapshot
- Make some changes
- Restore from snapshot
- Verify restoration worked
- Delete test snapshot
Why test?:
- Verify backups are valid
- Practice recovery process
- Build confidence
- Find issues before emergencies
Troubleshooting
Issue: Snapshot Creation Fails
Problem: Error message when creating snapshot
Solutions:
- Check available disk space on host
- Ensure VM is in stable state
- Try stopping VM first, then snapshot
- Reduce snapshot frequency
- Contact administrator if disk full
Issue: Restore Takes Too Long
Problem: Restoration stuck or very slow
Solutions:
- Wait - large VMs take longer (can be minutes)
- Check network connection to server
- Refresh browser after 5 minutes
- Check VM status directly
- Contact administrator if >10 minutes
Issue: Can’t Delete Snapshot
Problem: Delete button greyed out
Solutions:
- Check if snapshot is in use
- Stop dependent VMs
- Wait for other operations to complete
- Refresh the page
- Check permissions
Issue: Snapshot Missing
Problem: Expected snapshot not in list
Solutions:
- Refresh the browser page
- Check you’re looking at correct VM
- Check All Snapshots page
- Verify snapshot wasn’t auto-deleted
- Check with team if someone deleted it
Advanced Tips
Pre-Snapshot Checklist
Before creating important snapshots:
  # In VM console/SSH

# 1. Stop services gracefully
systemctl stop nginx
systemctl stop postgresql

# 2. Sync filesystem
sync

# 3. Clear cache (optional)
sync; echo 3 > /proc/sys/vm/drop_caches

# 4. Create marker file
echo "Snapshot created at $(date)" > /root/snapshot-$(date +%Y%m%d).txt
Then create the snapshot.
Why?:
- Ensures consistent state
- Prevents corruption
- Makes restore cleaner
Snapshot Metadata
Add useful metadata in description:
  Created: 2025-12-16 15:30:00
Purpose: Before PostgreSQL 15 upgrade
Installed: PostgreSQL 14.5, Nginx 1.24, Node.js 20
Services Running: web-api, background-worker
IP Address: 192.168.1.100
Last Updated: 2025-12-15
Helps identify correct restore point later!
Next Steps
- Monitoring - Monitor VM performance
- Manage VM - VM lifecycle operations
- Create VM - Create new VMs